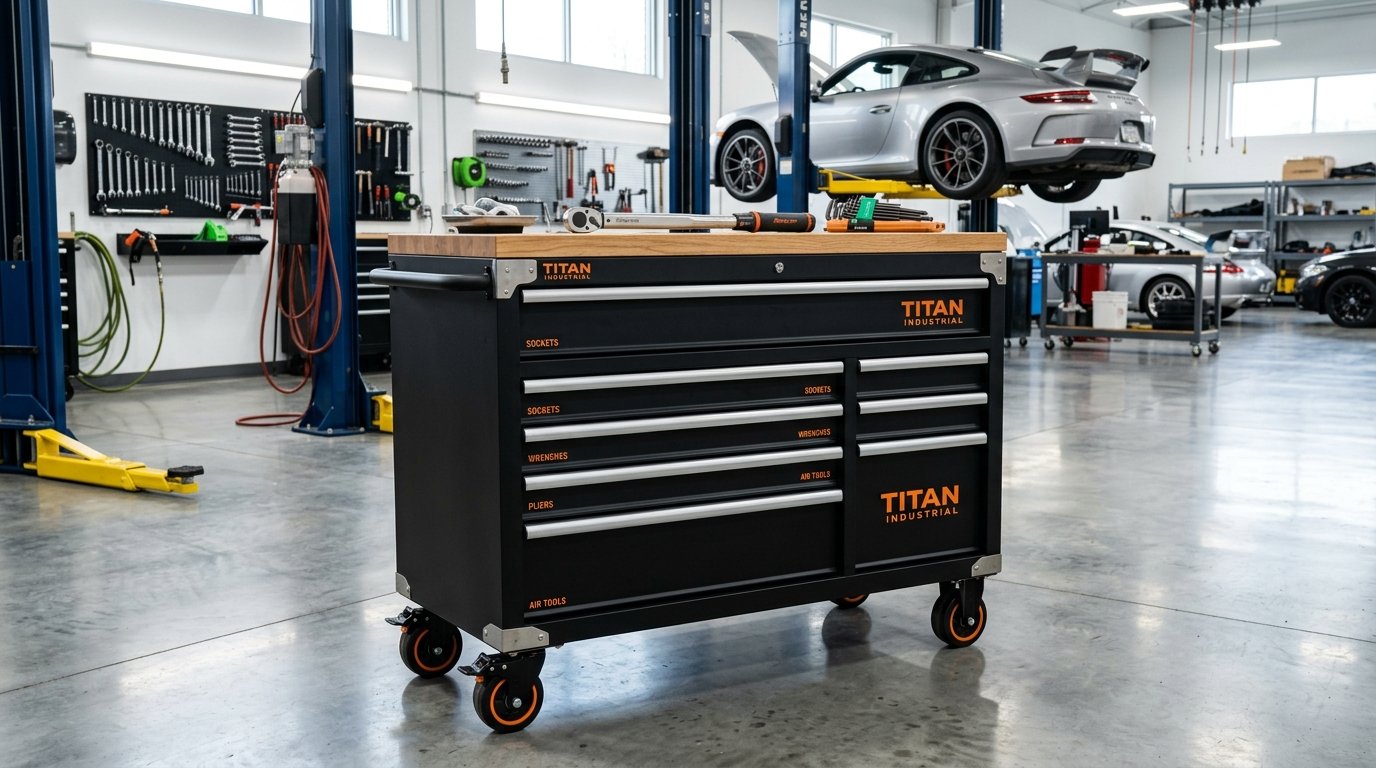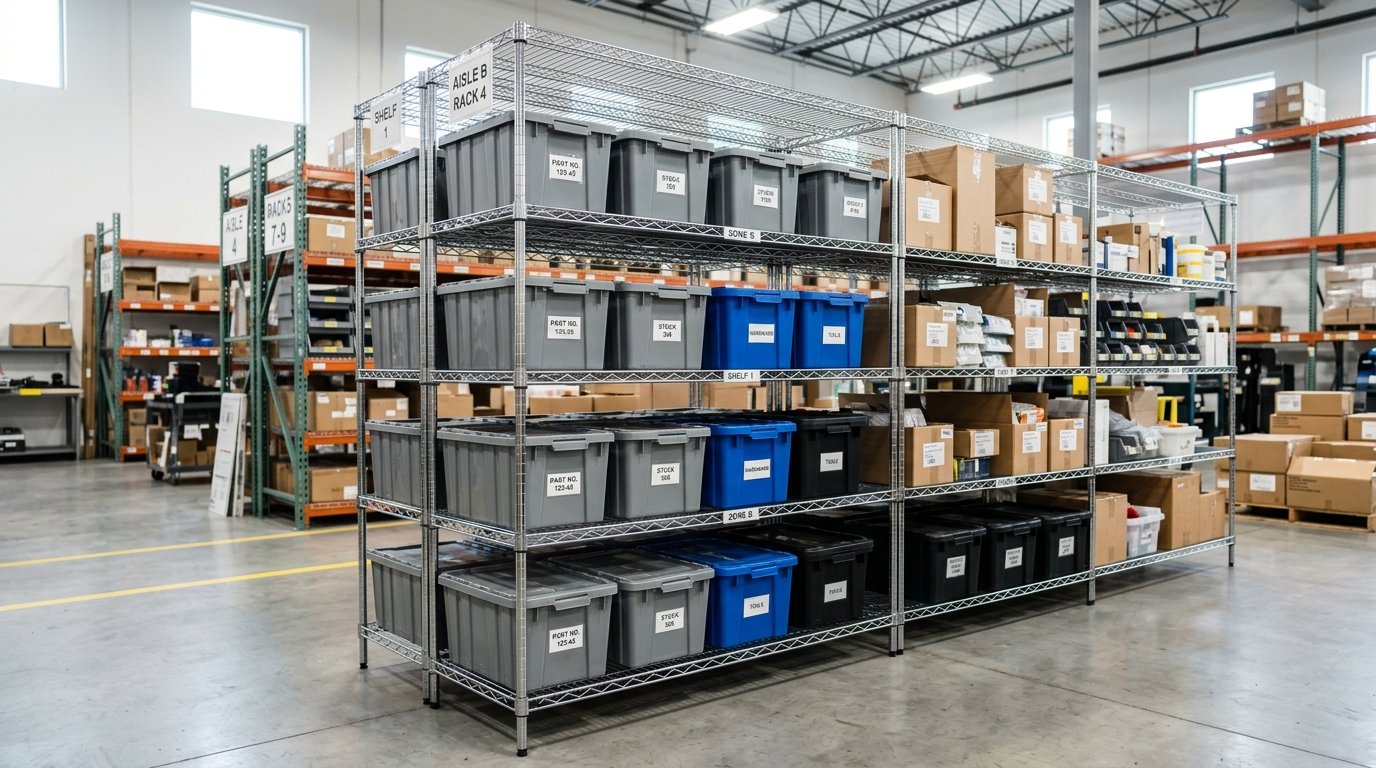
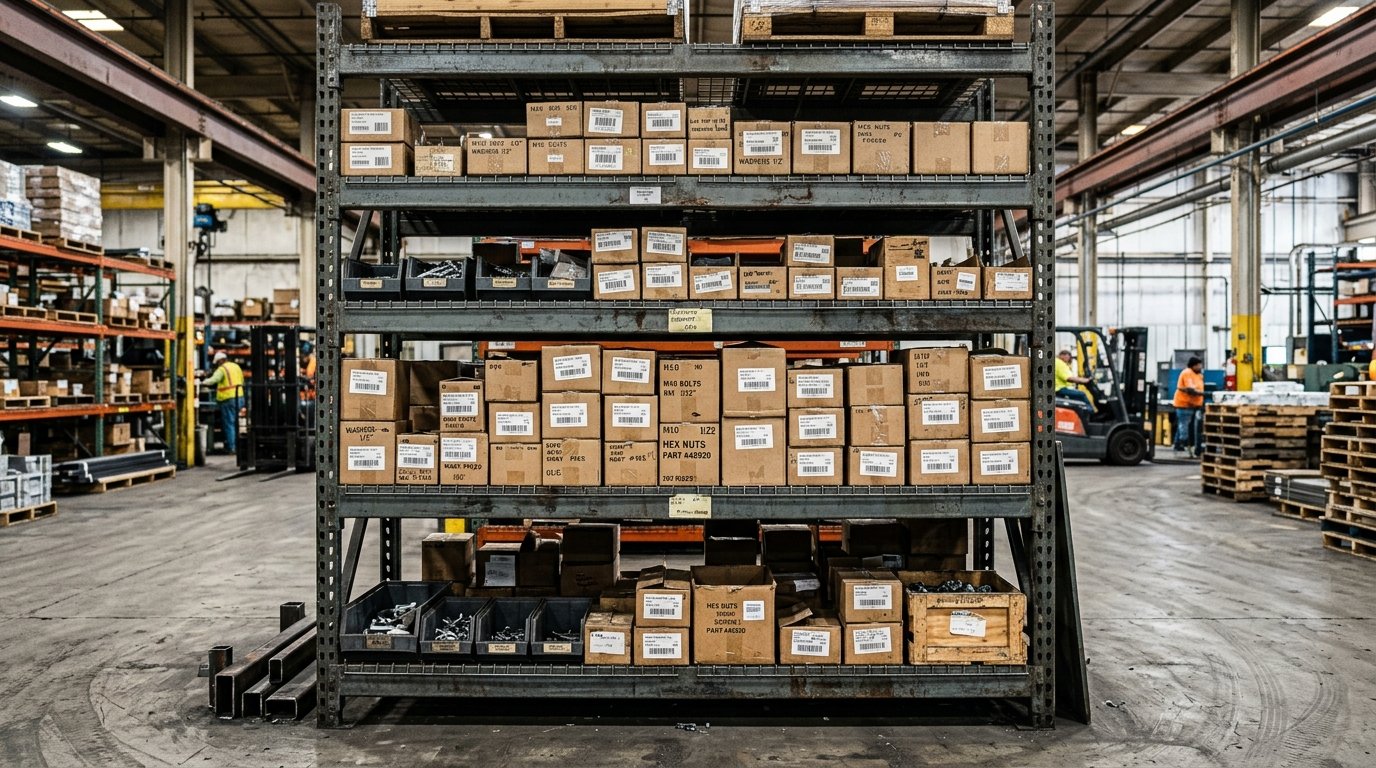
Metal shelves and brackets give you strong storage without taking up floor space. They work in garages, workshops, kitchens, stockrooms, retail areas, closets, and utility rooms. The right setup can hold tools, boxes, cookware, books, or stock for years.
The wrong setup can bend, pull away from the wall, or damage the shelf and wall.
Your choice depends on four main factors: shelf depth, total load, bracket spacing, and wall construction. Steel thickness matters, but it isn’t the only factor. A strong bracket attached to weak drywall won’t support a heavy cantilever load.
A thick shelf can also fail if the brackets are too far apart.
Quick Answer: How to Spec Metal Shelves and Brackets
Heavy-duty metal shelves and brackets use 1/4-inch (7-gauge) cold-rolled steel L-brackets or J-brackets holding 300 to 600 lb UDL per pair. Mount brackets directly into 16-inch on-center wall studs using 1/4-inch by 3-inch lag screws driven 2 inches into solid wood. Space brackets 16 inches apart for heavy tools or 24 inches for standard loads. Avoid using hollow drywall anchors for deep cantilever shelves.
Key Takeaways
- Steel Thickness Specs: Select 1/4″ (7-gauge) steel for 300 to 600 lb heavy tool loads and 3/16″ (11-gauge) for 150 to 300 lb medium storage.
- Stud Mounting Fasteners: Always anchor brackets into 2×4 studs with 1/4″ x 3″ lag screws; drywall anchors fail under rotational.
- Bracket Arm Spacing: Space brackets 16 inches apart for heavy point loads and 24 inches maximum for evenly distributed weight.
- Cantilever Math: Shelf depth extending past bracket length increases rotational pull on top mounting screws exponentially.
What to Check Before You Buy
Start with the load, shelf size, and wall type. Write down the weight of the items you plan to store, then add extra capacity for future use. A shelf rated for 150 pounds shouldn’t carry 150 pounds every day.
A practical target is to keep the working load below the published maximum,. Especially when the load contains heavy point items such as toolboxes or storage bins.
- Light-duty storage: 25 to 75 pounds, such as small décor and light containers.
- Medium-duty storage: 100 to 250 pounds, such as books, cookware, and pantry stock.
- Heavy-duty storage: 300 to 600 pounds or more per pair, with stud mounting and suitable shelf material.
Check the shelf depth too. A 12-inch shelf on an 8-inch bracket creates more pull at. The upper wall screw than a 10-inch shelf on an 8-inch bracket.
The load sits farther from the wall, so the bracket tries to rotate. This force is called torque.
As a simple example, a 100-pound load centered on a 12-inch shelf produces. About 600 inch-pounds of moment if its center sits 6 inches from the wall. If the load sits near the front edge, the force rises sharply.
Keep heavy items close to the wall and use longer brackets when the shelf is deep.
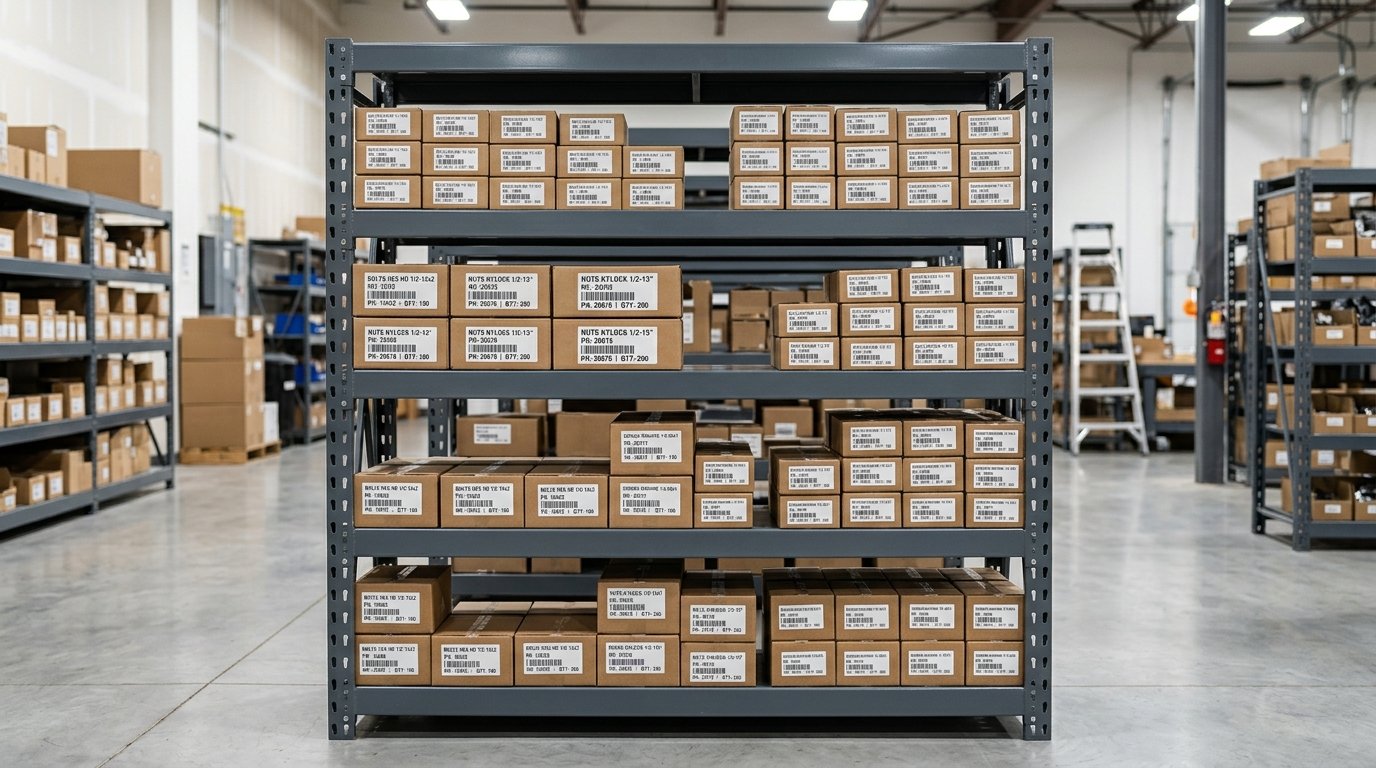
Metal Bracket Types Compared
Each bracket style serves a different purpose. Fixed L-brackets are easy to inspect and suit garages and workshops. J-brackets and floating rods hide much of the support, but they need careful installation.
Twin-slot standards give you adjustable shelf levels and work well when storage needs change.
| Bracket Type | Steel Thickness | Max UDL Rating (Per Pair) | Best Mounting Purpose |
|---|---|---|---|
| Heavy-Duty L-Brackets | 1/4 in (7-gauge) cold-rolled steel | 300 to 600 lb UDL | Garage workbenches, heavy tool storage, industrial shelves |
| J-Brackets & Lip Brackets | 3/16 in (11-gauge) steel | 150 to 300 lb UDL | Kitchen pantries, commercial retail display, wood shelves |
| Twin-Slot Wall Standards | 14 to 16-gauge slotted steel | 200 to 400 lb per level | Adjustable stockroom shelves, archive storage, closets |
Heavy-duty L-brackets
L-brackets have a horizontal arm under the shelf and a vertical leg against the wall. They show exactly how the load is supported, which makes inspection simple. Look for gussets, welded corners, and holes that accept structural screws or lag screws.
For heavy tools, use 1/4-inch, or 7-gauge, cold-rolled steel. The bracket arm should support most of the shelf depth. A bracket that’s much shorter than the shelf creates a high torque load at the wall connection.
J-brackets and lip brackets
J-brackets support the shelf with a raised front edge or a hidden inner arm. Lip brackets add support along the shelf edge and can help keep a board seated. These styles suit kitchens, retail displays, and wood shelves where a cleaner appearance matters.
Check how the shelf attaches to the bracket. Some J-brackets rely on set screws, while others use a shelf that slides over the support. Secure the shelf if it could shift sideways.
Side movement can place shear force on the screws and loosen the wall connection.
Twin-slot wall standards
Twin-slot systems use vertical steel standards fixed to the wall. Brackets hook into slots at selected heights, so you can change shelf levels without removing the standards. This makes them useful for closets, archive rooms, and stock storage.
Don’t judge a twin-slot system by its bracket rating alone. The standard, screws, shelf deck, and wall studs all need enough capacity. Use the manufacturer’s spacing rules, and fix each standard to as many studs as the layout allows.
Steel Gauge and Finish Choices
Steel gauge numbers can be confusing because a smaller gauge number usually means thicker steel. A 7-gauge bracket is thicker than an 11-gauge bracket. For medium storage, 3/16-inch steel in the 11 to 12-gauge range is common.
For heavy storage, 1/4-inch steel in the 7 to 10-gauge range gives more stiffness.
Stiffness helps stop the bracket arm from bending. It doesn’t replace sound wall attachment. A bracket can stay straight while its screws pull out of the stud or crush the drywall around the fastener.
Finish also affects service life:
- Matte black powder coat: Resists surface rust and gives a clean appearance in garages, shops, and homes.
- Clear-coated raw steel: Keeps an industrial appearance but needs protection from damp air and standing water.
- 304 stainless steel: Suits kitchens, bathrooms, food areas, and other damp locations. It resists rust better than ordinary painted steel.
Inspect the finish for chips after installation. Touch up exposed steel, especially near sinks, exterior doors, and unheated garages.
Wall Mounting and Fastener Selection
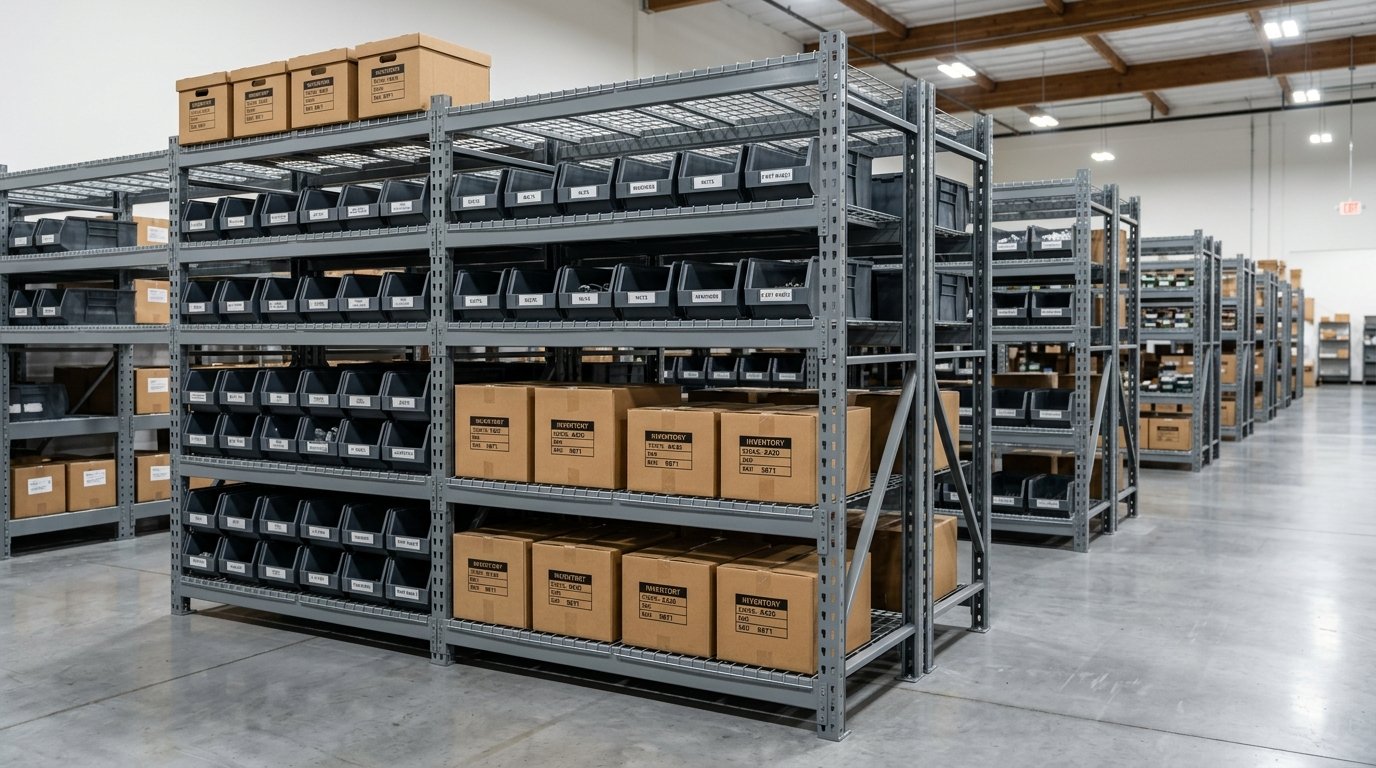
For a heavy shelf, the wall connection matters more than the label on the bracket. Find the 2×4 studs before you mark the bracket holes. Studs are commonly placed 16 inches on center, with some walls using 24 inches on center.
Use 1/4-inch by 3-inch lag screws or structural screws for heavy L-brackets. The screw should pass through the bracket and wall finish, then enter solid wood by about 2 inches. A pilot hole helps prevent splitting and makes the screw easier to drive straight.
Don’t drive a long screw into a stud without checking for pipes and wiring. Use a stud finder, inspect both sides of the wall when possible,. And avoid areas near switches and outlets unless you know the service path.
Why drywall anchors often fail
Hollow drywall anchors can work for light shelves, but they aren’t a sound choice for deep shelves carrying heavy loads. The shelf acts like a lever. Downward weight creates a rotation that pulls the upper screw away from the wall.
And pushes the lower part of the bracket into the wall.
Toggle bolts spread force over a larger area behind drywall. They can help when studs don’t line up, but they still have limits. Don’t use them for loads above 100 pounds on a deep cantilever shelf unless an engineer.
Or the bracket maker provides a rated installation method.
For concrete or masonry, use anchors rated for the wall material. A wood lag screw won’t work in concrete. Drill to the anchor maker’s diameter and depth, clean the hole, and follow the stated tightening instructions.
Bracket Spacing and Load Distribution
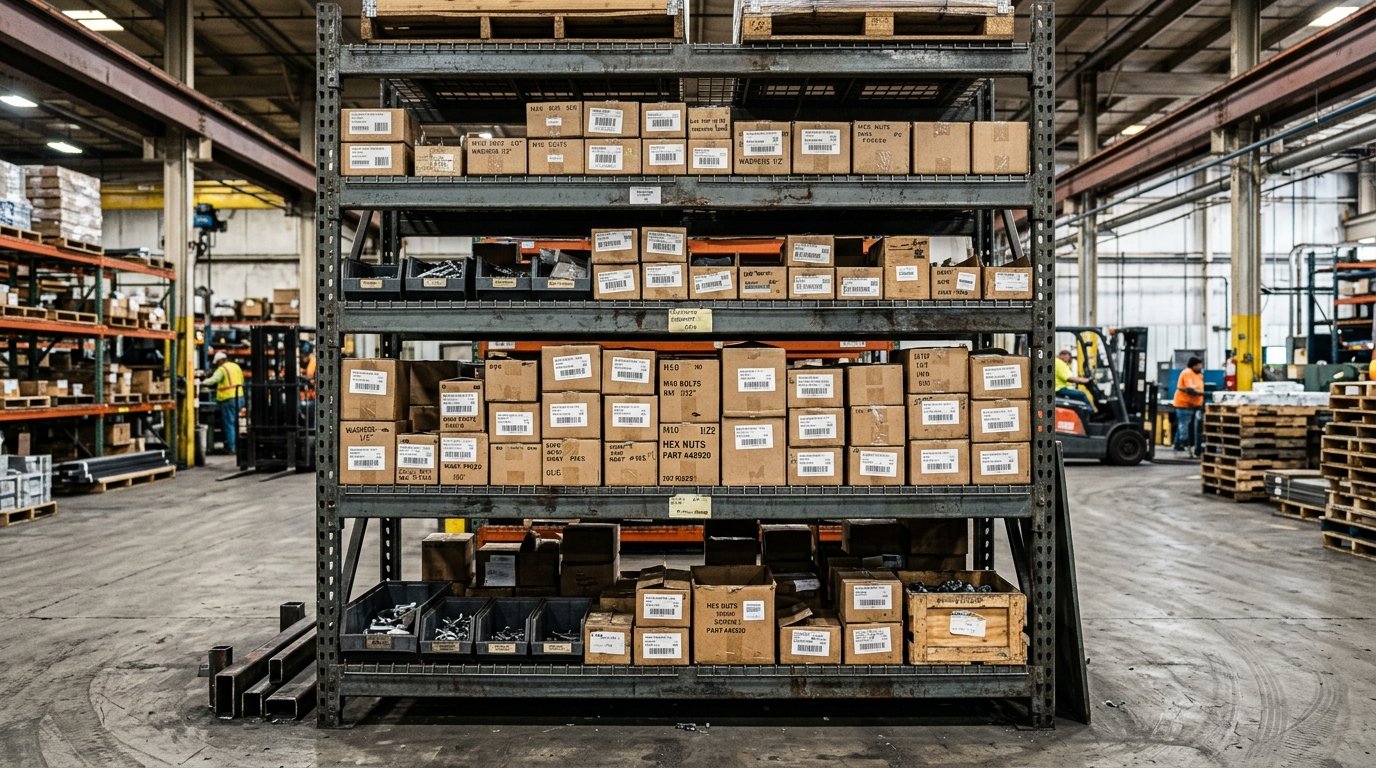
Bracket spacing controls how much the shelf bends between supports. For standard, evenly spread loads, keep brackets no more than 24 inches apart. For heavy tools, dense books, or point loads, use 16-inch spacing.
Match the layout to the studs when possible. If studs are 16 inches on center, place brackets on those lines. A long shelf may need three or more brackets.
Put one near each end, then add supports at the required spacing. Avoid placing a heavy item midway between widely spaced brackets.
For example, a 48-inch shelf carrying light boxes may use three brackets at roughly 24-inch intervals. A 48-inch shelf carrying power tools should use supports close to 16 inches apart. The shelf itself must also be thick and stiff enough to resist sagging.
Distribute weight across the shelf. Put dense items over or close to the brackets. Keep lighter items at the front.
Don’t stack a single heavy machine at the outer edge of a deep shelf.
Shear, Tension, and Torque Forces
Three forces affect a wall shelf:
- Shear: The load pushes down along the wall connection. The bracket screws and stud resist this force.
- Tension: The top screw is pulled out from the wall as the bracket tries to rotate.
- Torque: The load creates rotation because it sits away from the wall.
Many shelf failures start with sideways movement or shear, rather than a direct downward pull. A bumped shelf, shifting storage bin, or uneven floor load can move the bracket. That movement enlarges holes and loosens fasteners.
Bracket arm length should be close to shelf depth. A 10-inch shelf on an 8-inch bracket has a smaller overhang than a 12-inch shelf on that same bracket. The second setup places the load farther out and creates a higher rotational demand.
Use a level during installation, but also check the bracket itself for twist. Tighten fasteners evenly. If a bracket has two wall holes, use both.
If it has four, use all four when the wall and stud layout allow it.
Installation Steps for Metal Shelves
- Measure the shelf: Mark its length, depth, and the location of heavy items.
- Check the wall: Find studs or confirm the masonry type. Mark stud centers clearly.
- Set bracket spacing: Use 16 inches for heavy loads and 24 inches maximum for standard loads.
- Mark a level line: Use a long level or laser level across the wall.
- Pre-drill holes: Drill pilot holes in wood studs to the screw maker’s instructions.
- Install the brackets: Start with one bracket, check level, then fix the remaining brackets.
- Secure the shelf: Add screws through the bracket into the shelf if the design allows it.
- Test gradually: Add weight in stages. Watch for movement, bending, wall damage, or fastener pullout.
Wear eye protection when drilling steel, masonry, or painted walls. Remove dust before placing the shelf. For large commercial storage, review the Material Handling Institute technical standards.
And the OSHA material storage safety standards.
When Floating Brackets Make Sense
Floating brackets hide most of the support, so they suit clean kitchen, living room, and retail designs. J-brackets and floating rods are common choices. They need precise stud mounting because the support is less visible after the shelf is installed.
Use a shelf thick enough to receive the rods or inner arms. Follow the required hole depth and diameter. A loose fit can let the shelf sag or shift.
Don’t use a floating bracket for a heavy workbench load unless its rating covers the full shelf depth. And the installation uses the required studs or masonry anchors.
For more product selection help, see this metal shelving units guide. For high-load storage, review the recommendations in heavy duty metal shelving.
Safety Checks After Installation
Inspect the shelf soon after loading it, then check it at regular intervals. Look for sagging, bent bracket arms, cracked welds, loose screws, torn drywall, and rust. Remove the load before tightening or replacing a fastener.
Keep shelves within their rated capacity. A rating may assume an evenly distributed load, often called UDL. A single heavy item can create more stress than the same weight spread across the shelf.
Follow the lowest rating shown for the bracket, shelf, fasteners, or wall anchors.
Keep heavy items low when you have several shelf levels. Secure tall shelving if it could tip. Leave enough clearance for doors, walkways, sprinklers, and electrical equipment.
In a workplace, mark load limits where staff can see them.
Frequently Asked Questions
How much weight can metal shelf brackets hold?
Metal shelf brackets can hold about 25 to 75 pounds for light storage, 100 to 250 pounds for medium storage,. And 300 to 600 pounds or more for heavy-duty pairs. The true capacity depends on steel thickness, bracket shape, arm length, spacing, fasteners, shelf material, and wall construction.
The published rating usually assumes a specific installation and an evenly distributed load.
How far apart should metal shelf brackets be spaced?
Space brackets up to 24 inches apart for standard loads spread across the shelf. Use 16-inch spacing for heavy tools, dense books, or point loads. Place supports over studs when possible,.
And add brackets if the shelf is deep, long, or made from a material that can sag.
Can you mount heavy metal shelves without studs?
You can use heavy-duty toggle bolts when studs aren’t available, but this option has limits. Toggle bolts may work for moderate loads on shallow shelves when the wall is in good condition. They aren’t a sound choice for loads above 100 pounds on deep cantilever shelves.
For heavier storage, add a plywood mounting panel fixed to studs, use masonry anchors in concrete,. Or change the shelf location.
What is the best bracket type for heavy-duty floating shelves?
J-brackets or floating support rods are the usual choices for heavy-duty floating shelves. Select a model rated for the shelf depth and load, then mount it directly into studs or suitable masonry. The shelf must be thick enough for the support arms, and the rods must fit tightly in their holes.
For very heavy tools or workshop loads, visible L-brackets are usually easier to inspect and safer to service.
Final Selection Checklist
- Confirm the total load and add a sensible capacity margin.
- Choose 3/16-inch steel for medium storage and 1/4-inch steel for heavy loads.
- Match the bracket arm length to the shelf depth.
- Use 16-inch spacing for heavy loads and 24 inches maximum for standard loads.
- Mount heavy brackets into 2×4 studs with 1/4-inch by 3-inch lag screws or structural screws.
- Use the correct anchors for concrete, block, or brick.
- Keep heavy items near the wall and close to bracket lines.
- Inspect the wall, fasteners, shelf, and brackets after loading.
When the shelf, bracket, fastener,. And wall work as one load path, metal shelves and brackets provide dependable storage for homes, garages, and workplaces. Take the measurements first, use the right steel thickness, and don’t treat drywall as a substitute for structural support.

Callum Langham
Founder & Technical Storage Editor
Callum Langham is the founder and technical editor of Rack System. With over 12 years of hands-on field experience in warehouse logistics, garage organization, and industrial storage installations, Callum specializes in engineering safety standards, beam load calculations, and OSHA/RMI compliance. Every guide on Rack System is audited against verified steel gauge tolerances and municipal building codes.