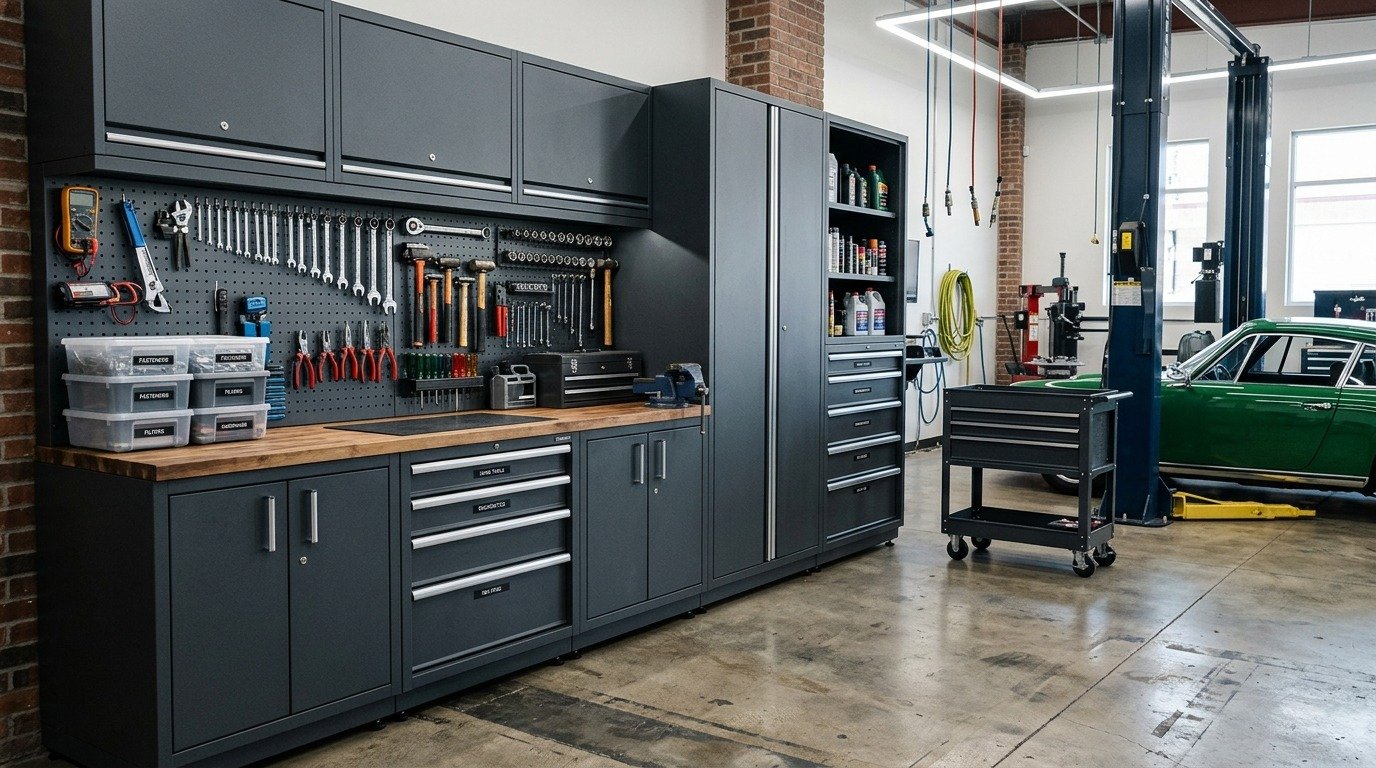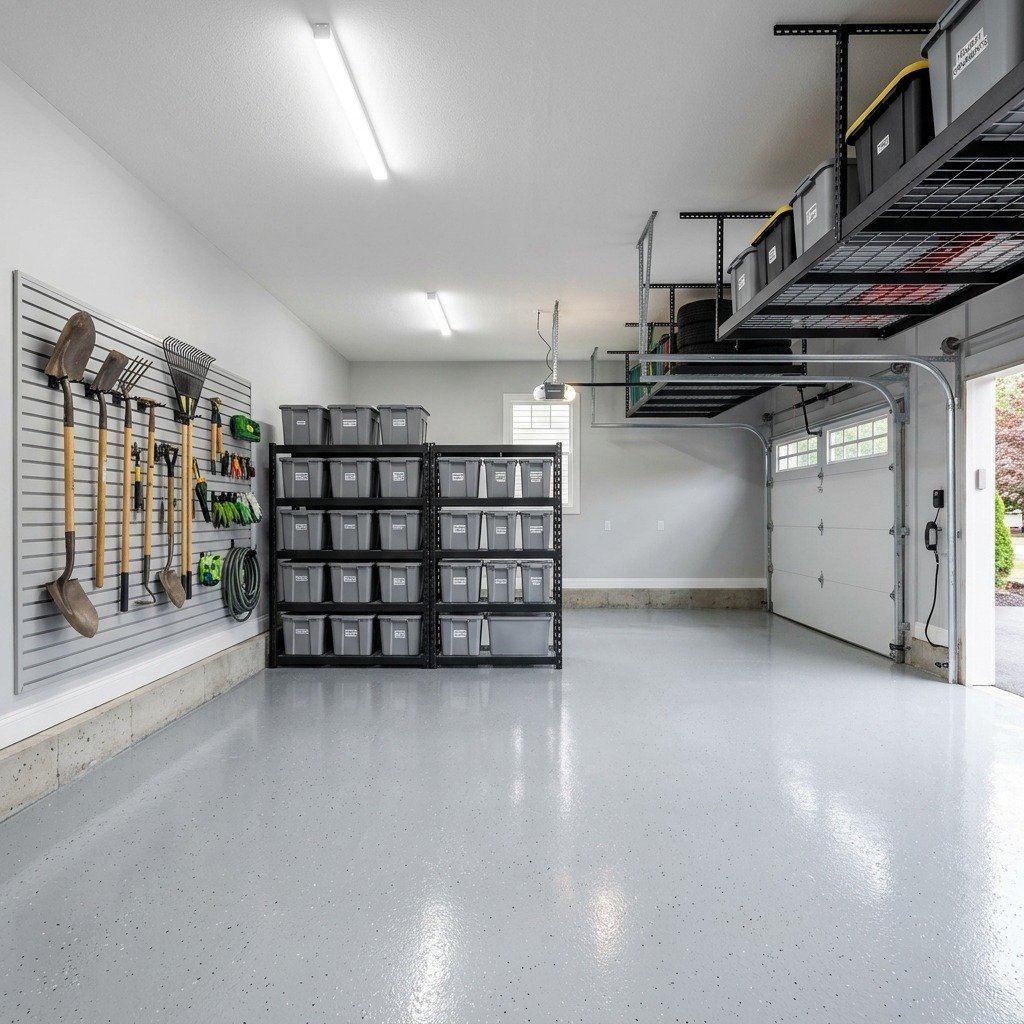
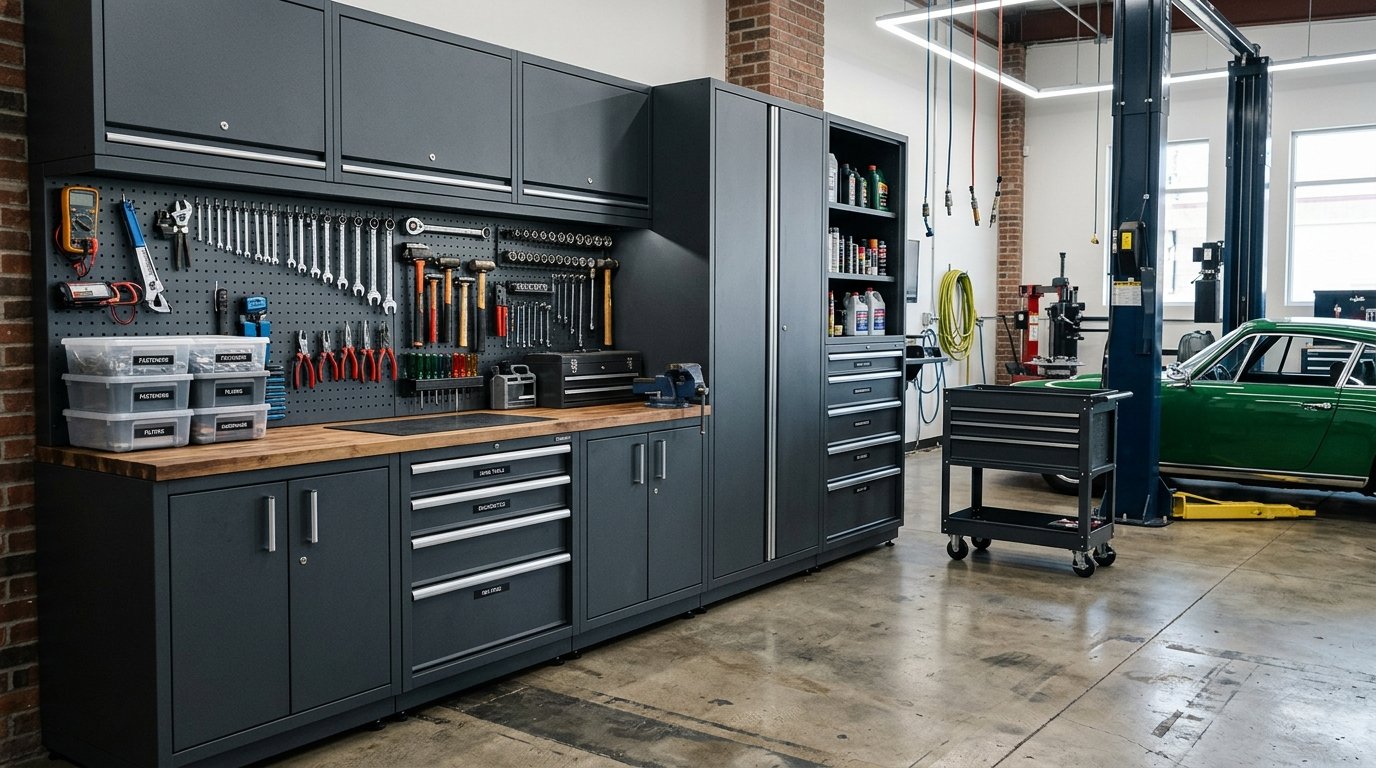
Good garage tool storage keeps tools visible, protects them from damage, and gives every item a fixed place. It also keeps your floor clear, reduces trip hazards, and makes work faster. A useful system combines wall storage, drawers, cabinets, gear tracks, and overhead racks instead of relying on one product.
Start by sorting tools into groups: hand tools, cordless tools, sockets, long-handled equipment, seasonal gear, and supplies. Then match each group to a storage type based on weight, size, and how often you use it. Light items can go on hooks or pegboards.
Heavy tools need steel rails, cabinets, or wall-mounted shelves fixed to studs.
Quick Answer: How to Build Garage Tool Storage
Garage tool storage systems combine 20-gauge galvanized steel pegboards (holding 200 lb per 16×32 inch panel), PVC or aluminum slatwalls (supporting 75 to 150 lb per square foot), and heavy steel gear tracks. Anchor wall tracks into 16-inch on-center wood studs using 1/4-inch by 2.5-inch lag screws. Organize cordless power tools on dedicated charging stations and place heavy sockets in full-extension ball-bearing drawers.
Key Takeaways
- Steel Pegboard vs Fiberboard: 20-gauge steel pegboard panels support 10 times more weight without blowout compared to 1/4″ fiberboard.
- Wall Track Weight Ratings: Steel gear tracks carry 50 to 100 lb per hook when secured into 16-inch on-center wall studs.
- Power Tool Stations: Dedicated wall-mounted drill charging stations eliminate clutter on main workbench surfaces.
- Drawer Construction: Ball-bearing drawer slides rated for 100 lb keep heavy socket sets gliding smoothly.
Choose Storage by Tool Type
Tool storage works best when the storage method fits the tool. A hammer needs quick access and a strong hook. A socket set needs shallow drawers and labels.
A ladder needs a pair of secure wall hooks. Cordless drills need a charging area with room for batteries and cables.
Use the following system as a starting point:
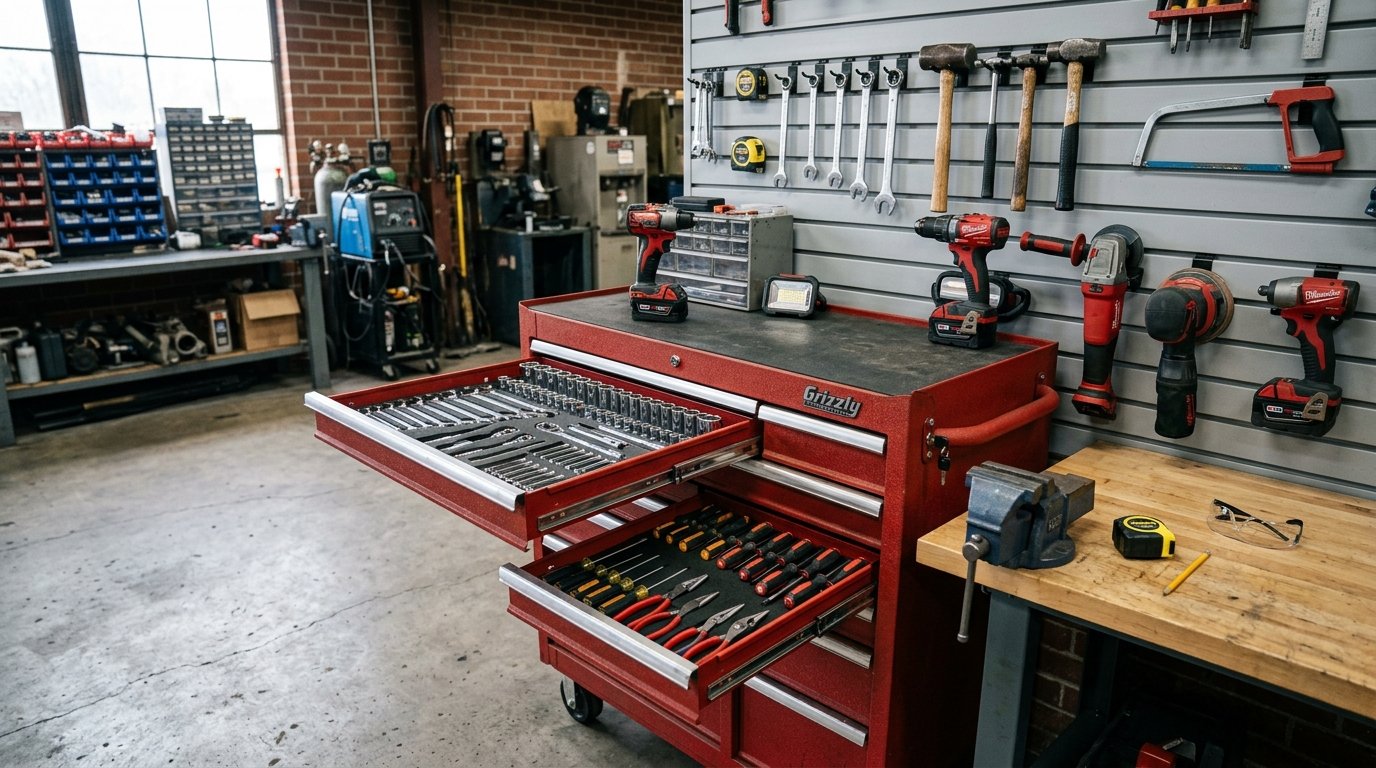
- Steel pegboard: Hand tools, drills, drivers, pliers, clamps, and small bins.
- Slatwall: Shovels, trimmers, gear bags, hoses, and adjustable hooks.
- Steel gear tracks: Ladders, extension cords, rakes, and bulky power tools.
- Tool cabinets: Sockets, precision tools, fasteners, and items that need dust protection.
- Overhead racks: Seasonal equipment and lightweight storage bins that you don’t use every day.
Keep frequently used tools between waist and shoulder height. Place heavy items between knee and chest height, where you can lift them with a straight back. Store seasonal items high on the wall or overhead,.
But don’t place heavy bins above a vehicle, doorway, or work area.
Garage Tool Storage System Comparison
| Storage System Type | Material Construction | UDL Weight Capacity | Best Tool Storage Function |
|---|---|---|---|
| Galvanized Steel Pegboard | 20-gauge cold-rolled steel | 200 lb per 16×32 in panel | Cordless drills, hammers, socket sets, heavy hand tools |
| PVC & Aluminum Slatwall | Heavy-duty extruded PVC / aluminum | 75 to 150 lb per sq ft | Modular hanging, trimmers, shovels, gear bags |
| Steel Gear Track Rails | Heavy-gauge powder-coated steel | 50 to 100 lb per hook | Ladders, extension cords, rakes, heavy power tools |
These ratings are product and installation ratings, not a promise that every wall will support the listed load. The wall material, fasteners, spacing, hook design, and load position all affect safe capacity. Check the manufacturer’s rating before loading a panel or rail.
Steel Pegboard vs PVC Slatwall
Steel pegboard and slatwall solve similar problems, but they suit different garages. Pegboard gives you many small mounting points across a flat panel. It’s useful for arranging hand tools in a tight layout.
Hooks, bins, shelves, and holders can move as your collection changes.
Twenty-gauge galvanized steel pegboard offers far more resistance to cracking and hole blowout than 1/4-inch fiberboard. A 16 by 32 inch steel panel can support 200 lb when installed and loaded according to its specifications. Steel costs about twice as much as PVC slatwall in many product ranges.
But it offers a stronger strength-to-cost ratio for dense hand-tool storage.
PVC slatwall uses horizontal channels. You can move hooks and brackets along the channels without removing a row of accessories. It’s a useful choice for long tools, bags, and equipment that changes size.
Typical PVC systems support about 75 to 100 lb per square foot. Aluminum channels can reach 150 lb per square foot or more when correctly installed.
Slatwall also gives the wall a finished appearance and can protect drywall from bumps. Steel pegboard usually gives you better small-tool density. A mixed wall often works best: use steel pegboard above a bench, then install slatwall.
Or gear tracks beside the vehicle bay.
Plan Your Wall Before Drilling
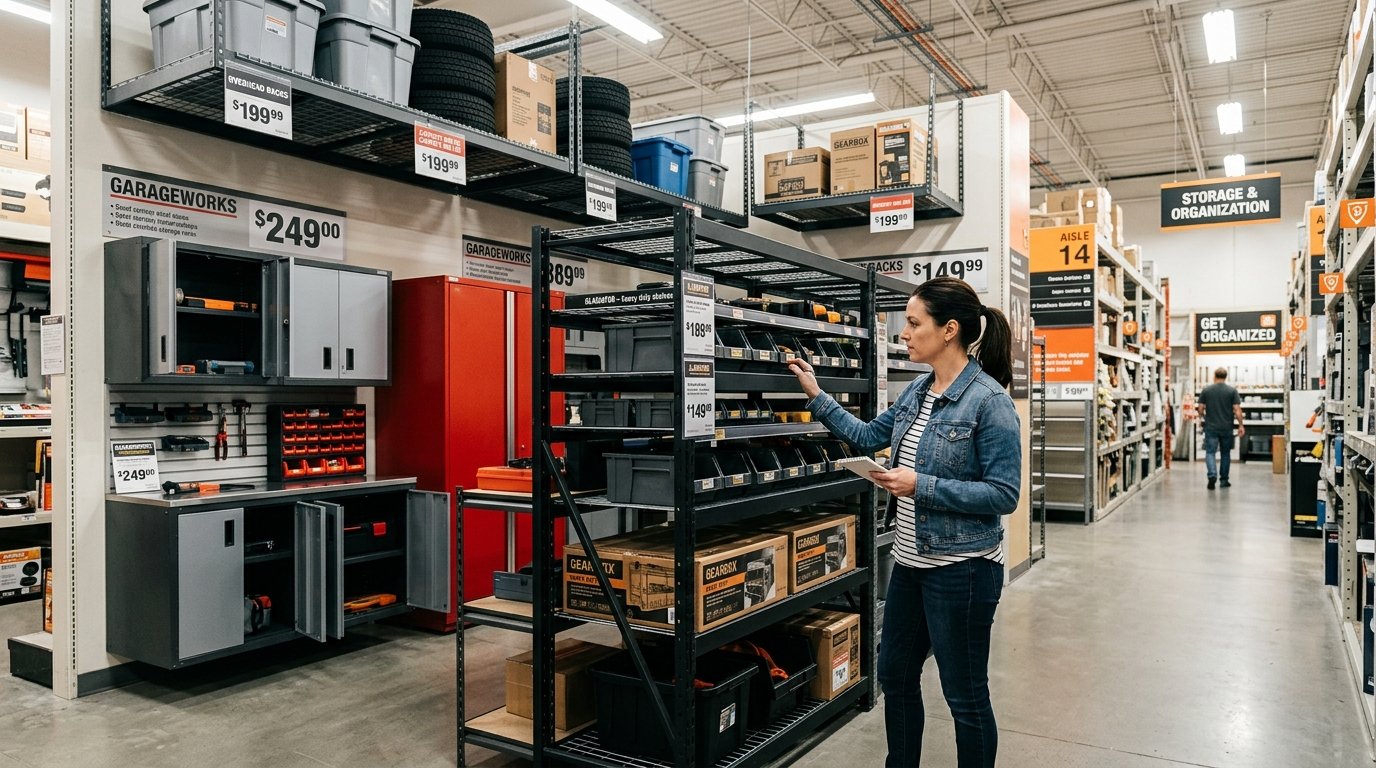
Measure the wall, then mark doors, windows, electrical outlets, lights, and the path of the garage door. Leave enough space to open cabinet drawers and remove tools from hooks. A storage panel that blocks a light switch will cause daily frustration.
Find the studs with a stud finder, then confirm their position with a small pilot hole. Most wood-framed garage walls use studs at 16 inches on center. Some use 24-inch spacing.
Mark every stud line from floor to ceiling with painter’s tape. This makes it easier to line up rails, mounting strips, and panel screws.
Use Stud-Mounting Geometry
For loads above 50 lb, arrange the main mounting points so they meet studs at 16-inch or 24-inch intervals. Don’t place a heavy hook at the center of a drywall span. And expect an anchor to carry the full load.
Drywall anchors can hold light bins, but they aren’t a replacement for structural fastening.
Use 1/4-inch by 2.5-inch lag screws for heavy wall tracks and rails, with the correct washers and pilot holes. Drive the screws into the center of the studs. If a rail has mounting holes that don’t match your stud spacing, add a solid plywood backer first.
Fasten the backer to several studs, then attach the storage system to the backer.
For a 16-inch stud layout, position a rail so its holes cross as many studs as possible. For a 24-inch layout, use a wider backer or a rail with longer mounting slots. Keep major fasteners no more than 16 inches apart for heavy loads when the product instructions allow it.
Read the installation instructions before changing hole spacing.
Build a Cordless Tool Station
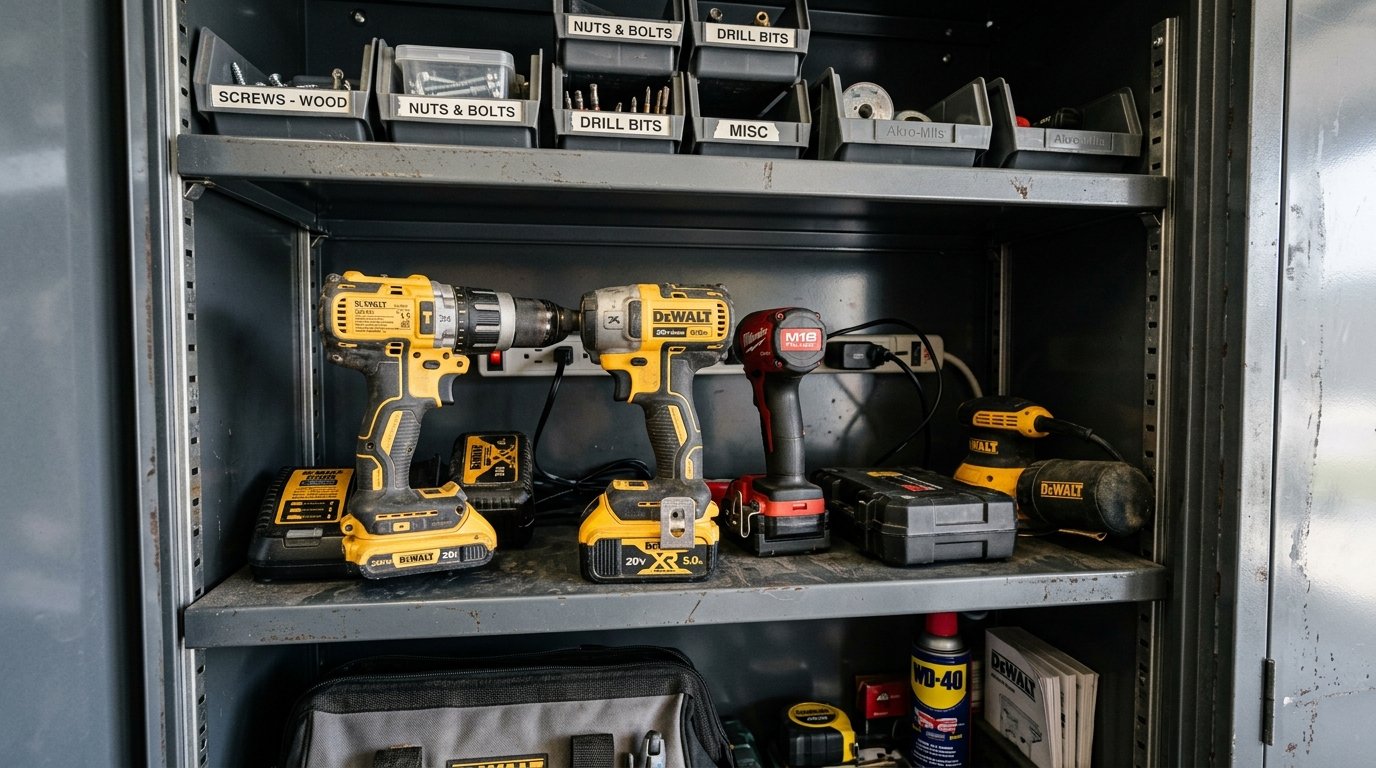
Cordless drills, impact drivers, saws, and batteries create clutter when they sit on a workbench. A dedicated charging station keeps them ready and protects the bench for actual work.
Mount a steel or plywood shelf above the bench. Add individual holders for drills and drivers, with the handles pointing down or slightly forward. Leave space between tools so you can remove one without knocking over the next.
Place battery chargers on a shelf or a ventilated charging board. Don’t cover charger vents, and don’t charge damaged or swollen batteries.
Run power cords along the side or underside of the station with cable clips. Keep cables away from sharp steel edges. Label each charger by battery platform.
If several chargers share one power strip, check the strip’s rating and avoid overloading the circuit.
A practical layout has the most-used drill at the dominant-hand side, spare batteries below the chargers,. And drill bits in a small drawer or labeled bin. Put saws and larger tools on a nearby gear track instead of forcing them into small holders.
Use Cabinets for Heavy and Small Parts
Open wall storage makes tools easy to see, but drawers protect small parts and keep a bench clear. Choose a cabinet with full-extension ball-bearing slides rated for at least 100 lb if you’ll store socket sets, impact accessories,. Or metal hardware.
Foam cutouts help each tool stay in place. A two-color foam insert makes missing tools easy to spot because the lower layer shows through. For sockets, use drawer rails or shallow trays.
Group metric and SAE sets separately, then label the drawer fronts.
Put heavy drawers near the bottom of a cabinet. Store precision instruments in a closed drawer away from grinding dust. Don’t fill a top drawer with dense steel tools if the cabinet isn’t anchored.
A loaded drawer can shift the center of gravity and tip a narrow cabinet.
Store Long Tools on Gear Tracks
Rakes, shovels, trimmers, ladders, and extension cords waste floor space when they lean in a corner. Heavy-duty steel gear tracks with J-hooks give these items a fixed home. Steel rails commonly support 50 to 100 lb per hook, depending on the anchor type and hook design.
Use two hooks for ladders and long equipment. Set them far enough apart to spread the load and stop the item from twisting. Place a rubber-coated hook at each contact point to reduce scratches and sliding.
Hang cords in large loops, not tight coils, to reduce kinks.
Store sharp tools with blades facing away from walking paths. Keep trimmer heads and saw blades above shoulder height only if they have guards. A rail beside the garage door can hold items you use outside,.
While a rail near the bench can hold tools used during repairs.
Add Overhead Storage With Care
Overhead racks are useful for seasonal bins, camping gear, and spare materials. They should not become a place for heavy toolboxes that you lift over your head. Keep the load within the rack rating and distribute bins across the frame.
Attach overhead racks to ceiling joists, not just drywall. Locate joists before drilling, then use the fasteners listed by the rack manufacturer. Leave clearance for the garage door tracks, opener, lights, and the roof of your vehicle.
Use matching bins with lids and labels on the visible side. Keep a simple inventory list near the garage entry. If you can’t safely lift a bin from a step ladder, it’s too heavy for overhead storage.
Small Garage Layout Rules
A small garage needs vertical storage and clear zones. Start with a narrow wall-mounted workbench or folding bench. Install steel pegboard above it for daily hand tools.
Place drawers below the bench for sockets, fasteners, and accessories.
Use the side walls for slatwall and gear tracks. Hang long tools in a vertical row, leaving the center floor open. Use high wall shelves for spare supplies, but keep daily-use items at reachable height.
A narrow cabinet can fit between a door and a corner if its drawers open fully.
Mark a walking lane from the entry door to the vehicle and keep it free of bins. Store nothing in front of electrical panels, water shutoffs, or furnace access points. For more layout measurements, see this garage storage for tools guide.
Install and Load the System Safely
Wear eye protection when drilling masonry, wood, or metal. Check for wiring and plumbing before drilling into a wall. Use a level on every rail, then tighten each fastener without stripping the screw head or crushing the panel.
Load storage in stages. Place a few tools on the system, check for movement, and inspect the fasteners. Add more weight only after the panel or rail stays flat against the wall.
Keep dense loads close to mounting points. Avoid hanging a heavy tool at the far end of a long, lightly fixed rail.
Inspect hooks, brackets, screws, and panels every few months. Replace bent hooks and cracked accessories. Rust, loose fasteners, and overloaded shelves can turn a useful system into a hazard.
The OSHA material storage safety standards provide useful guidance for keeping stored materials stable and safe.
For larger workshops, review the Material Handling Institute technical standards when selecting racks, shelving, and load ratings. Product labels still control the final installation because designs vary by manufacturer.
Garage Tool Storage Buying Checklist
- Measure the wall and mark studs before choosing panel sizes.
- Pick steel pegboard for dense hand-tool storage and high panel strength.
- Pick PVC or aluminum slatwall for adjustable hooks and long equipment.
- Use steel gear tracks for ladders, cords, rakes, and bulky tools.
- Check UDL ratings, hook ratings, and fastener requirements separately.
- Use 1/4-inch by 2.5-inch lag screws in studs for heavy wall loads.
- Install drawers with full-extension ball-bearing slides for dense tools.
- Create a charging station with ventilation and managed cables.
- Keep heavy items low and use two hooks for long or awkward loads.
- Label drawers, bins, and charger bays so tools return to their places.
If you need to compare complete layouts, materials, and cabinet options, review these best garage storage systems. Build the system in sections, test each section under load, and add accessories only when you know where they belong.
Frequently Asked Questions
What is the strongest garage wall storage system?
Steel pegboards and heavy-duty aluminum slatwall are among the strongest garage wall storage options. A 20-gauge steel pegboard panel can support 200 lb per 16 by 32 inch panel when installed to its specifications. Aluminum slatwall can support 150 lb per square foot or more in some systems.
Traditional 1/4-inch fiberboard is weaker and can suffer hole blowout under heavy loads. The wall framing and fasteners must match the storage system’s rating.
How much weight can garage slatwall hold?
PVC slatwall commonly supports 75 to 100 lb per square foot. Aluminum slatwall can support about 150 lb per square foot or more. The actual rating depends on channel design, bracket spacing, wall backing, fasteners, and load position.
Always check the manufacturer’s UDL rating. A heavy item placed on one small bracket can create more stress than a spread-out load across several brackets.
What is the best way to organize tools in a small garage?
Use vertical storage first. Install steel pegboard above a workbench, then add slatwall or gear tracks on side walls. Keep daily tools at hand height, put sockets.
And small parts in drawers, and use overhead racks for light seasonal items. A dedicated cordless tool charging station keeps chargers and batteries off the main work surface. Leave a clear walking lane and keep access panels unobstructed.
How do you mount heavy tools to garage studs safely?
Find the stud centers, mark them, and use 1/4-inch lag screws that reach at. Least 2 inches into sound wood after passing through the rail and wall finish. A 2.5-inch lag is a common choice for wall tracks.
Use washers, drill suitable pilot holes,. And keep mounting points no more than 16 inches apart for heavy loads when allowed by the product instructions. For 24-inch stud spacing, use a structural plywood backer fixed to several studs.
Don’t rely on drywall anchors for tools above 50 lb.

Callum Langham
Founder & Technical Storage Editor
Callum Langham is the founder and technical editor of Rack System. With over 12 years of hands-on field experience in warehouse logistics, garage organization, and industrial storage installations, Callum specializes in engineering safety standards, beam load calculations, and OSHA/RMI compliance. Every guide on Rack System is audited against verified steel gauge tolerances and municipal building codes.