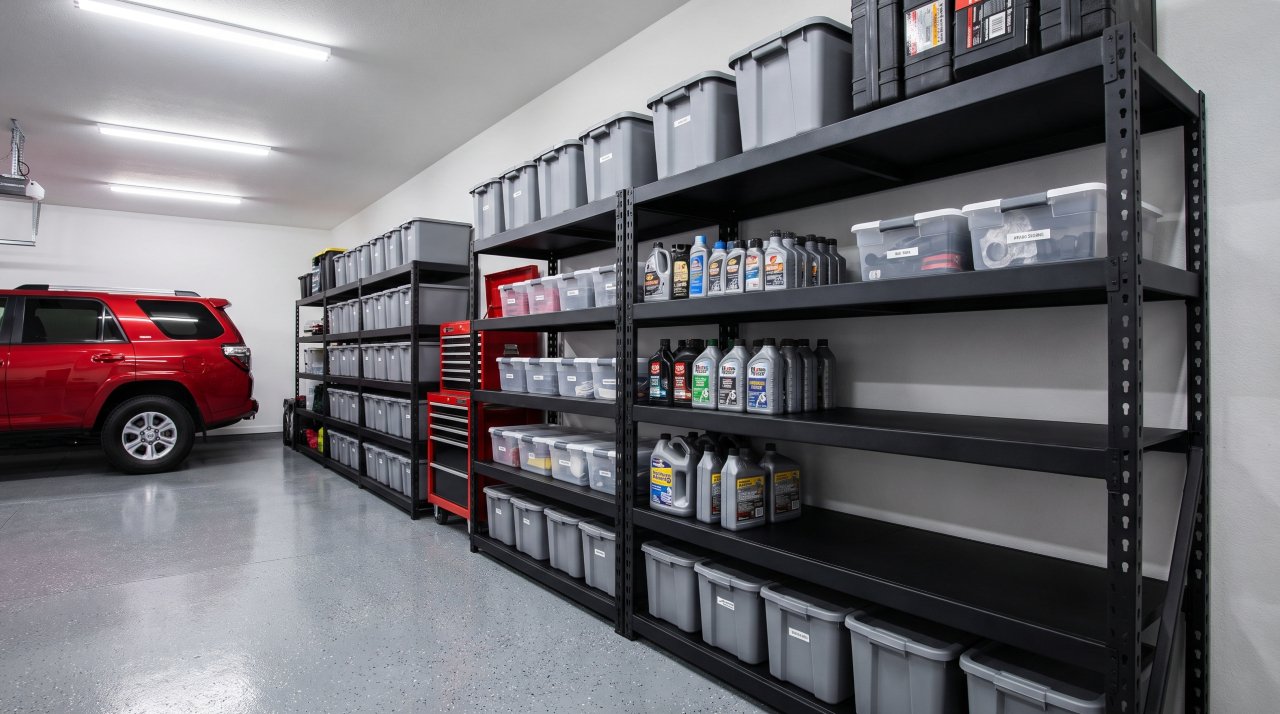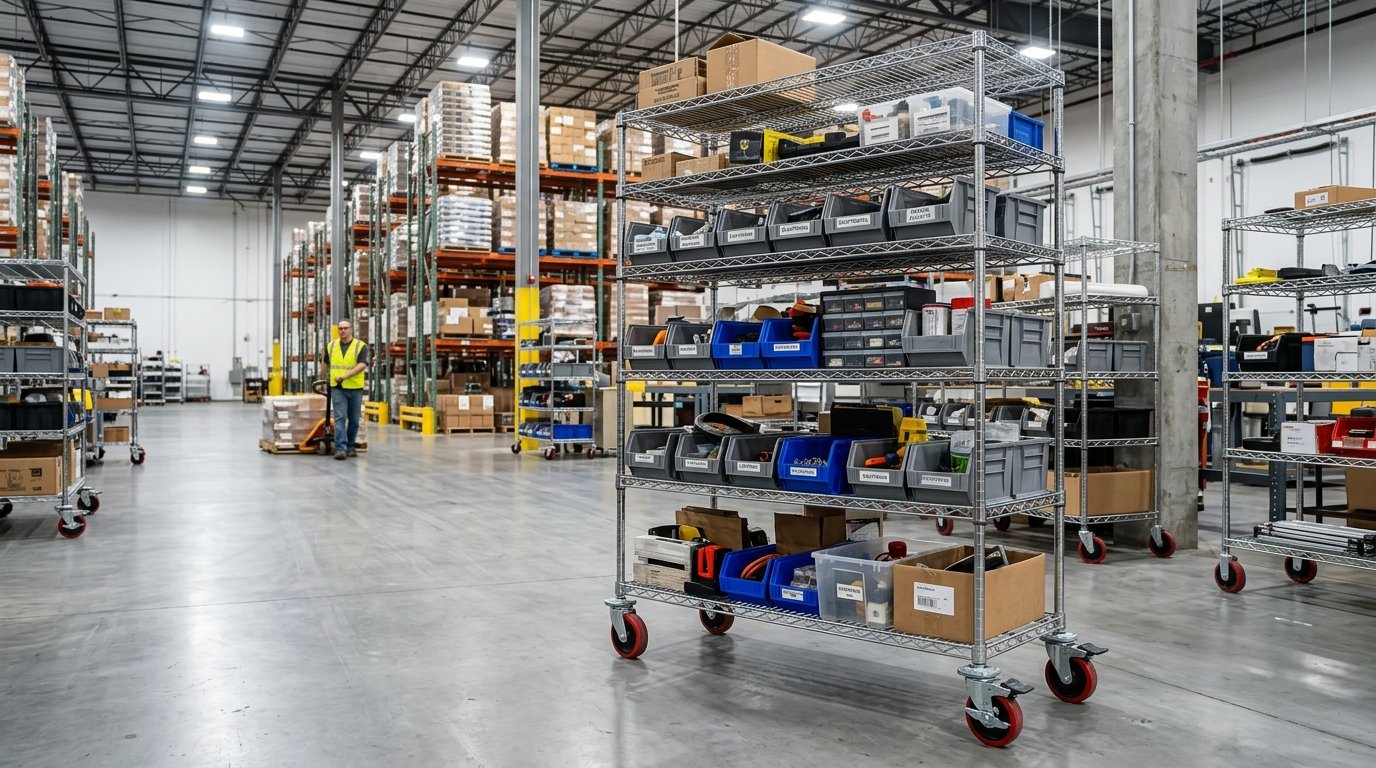
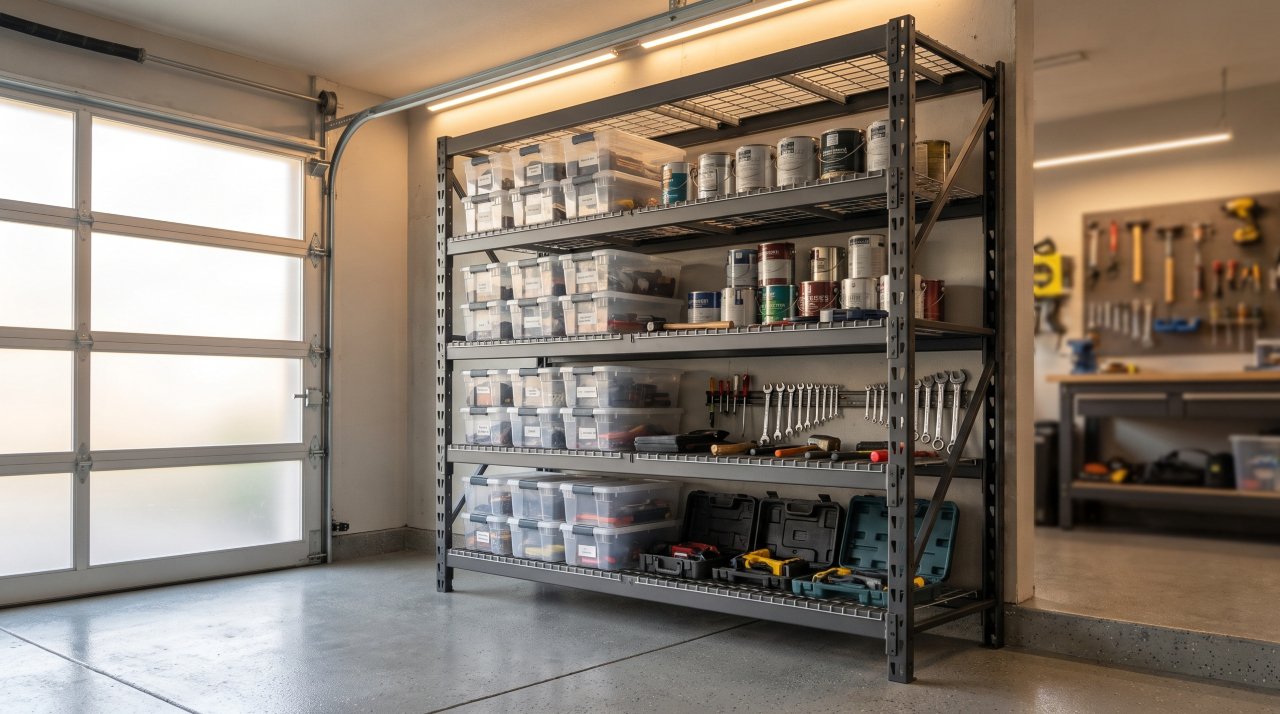
Here’s something most people don’t realize: nearly 40% of garage shelving failures happen because homeowners buy “heavy duty” units that aren’t actually rated for their storage weight. You probably assume that metal shelving automatically means heavy duty. It doesn’t.
This guide will show you exactly what qualifies as a true heavy duty shelving unit, how to calculate what you actually need for your garage, and which materials work best in different situations. You’ll learn to decode weight capacity ratings, avoid common safety mistakes, and choose shelving that won’t collapse under your paint cans, tools, and holiday decorations.
By the end, you’ll know more about shelf load capacity than most hardware store employees. Let’s get your garage organized the right way.
What Actually Qualifies as Heavy Duty Shelving?
A heavy duty shelving unit must hold at least 1,000 pounds per shelf when evenly distributed. Anything less falls into light duty (200-500 lbs) or medium duty (500-1,000 lbs) categories.
Most manufacturers list two numbers: shelf capacity and total unit capacity. You need to know both. A unit might advertise “4,000 lb capacity” but only support 800 lbs per individual shelf. That distinction matters when you’re storing engine parts or cases of motor oil.
The Industrial Shelving Association requires heavy duty certification to meet specific load testing standards. Look for ANSI MH16.1 compliance on the packaging. This certification means the manufacturer tested the unit under controlled conditions and documented the results.
Here’s the reality check: garage humidity and temperature swings affect weight capacity over time. A unit rated for 1,500 lbs in a climate-controlled warehouse might only safely hold 1,200 lbs in your garage after two years.
Decoding Weight Capacity: Real Numbers for Your Garage
You can’t estimate weight accurately just by looking at your stuff. Most people guess their storage weight at about half what it actually is.
Here’s what common garage items actually weigh:
| Item | Approximate Weight |
|---|---|
| Standard paint can (gallon) | 11 lbs |
| Toolbox (fully loaded) | 40-75 lbs |
| Box of tile (12″×12″, case of 12) | 35 lbs |
| Car battery | 40 lbs |
| Bag of concrete (60 lb) | 60 lbs |
| 5-gallon bucket (filled water/compound) | 50 lbs |
| Case of motor oil (12 quarts) | 25 lbs |
| Power tool storage case | 15-30 lbs |
| Camping gear bin (filled) | 30-45 lbs |
| Holiday decoration boxes (large) | 20-35 lbs |
Add up what you’re actually storing. Five gallons of paint plus a toolbox plus some tile already puts you at 150+ pounds on one shelf section. Multiply that across a 4-foot shelf, and you’re approaching 600 pounds before you’ve even stored the heavy stuff.
According to Consumer Product Safety Commission data, most garage shelving accidents happen when users exceed 60% of the rated capacity with unevenly distributed weight. Don’t load one side of a shelf with paint while the other side holds empty boxes.
Calculate your total weight need, then add 30% for safety margin. If you need 800 lbs of actual capacity, buy shelving rated for at least 1,050 lbs per shelf. You’ll thank yourself when you add more items later.
Material Showdown: Steel vs. Wire vs. Resin for Garage Storage
Steel shelving dominates the heavy duty category, but you need to understand the three distinct types before you buy.
Steel Frame with Particle Board Shelves handles 1,000-1,500 lbs per shelf when the particle board is minimum 5/8-inch thick. The steel frame does the structural work while the board distributes weight. Temperature doesn’t affect these much, but garage moisture warps particle board within 3-5 years. You’ll see sagging and delamination around the edges first.
All-Steel Wire Shelving supports 1,000-2,000 lbs per shelf and won’t warp from moisture. Wire spacing matters more than thickness. Look for 1-inch maximum wire spacing. Wider spacing lets small items fall through and creates pressure points that dent softer storage containers. Wire shelving works great for bins and boxes but frustrates you if you’re storing loose items.
Heavy Duty Resin Shelving tops out at 1,000-1,200 lbs per shelf for true heavy duty models. Resin won’t rust, never needs painting, and handles temperature swings from -20°F to 120°F without becoming brittle. The downside? Resin costs 20-40% more than equivalent steel, and the plastic aesthetic doesn’t appeal to everyone.
Here’s what most articles won’t tell you: all-steel construction isn’t always stronger than steel-and-board combinations. A well-designed composite unit with proper cross-bracing often outperforms cheaper all-steel designs. Look at the frame gauge (14-16 gauge is ideal) rather than just the material type.
The National Association of Home Builders research shows garage temperature cycling causes steel fatigue over 7-10 years. Check your shelving annually for joint loosening and shelf deflection.
How to Calculate Your Actual Shelving Needs
Start by measuring your garage wall space, but don’t just multiply length times height. You need to account for garage door clearance, electrical panels, windows, and door swing radius.
Most building codes require 36 inches of clearance in front of electrical panels. Your garage door track typically extends 8-12 inches from the ceiling, eliminating that space for tall shelving units. Measure with a tape measure, not by estimation.
Now inventory what you’re storing using the weight chart from earlier. Group items by weight category:
- Super heavy (40+ lbs per item): batteries, paint, tools, chemicals
- Medium (15-40 lbs): storage bins, seasonal items, automotive supplies
- Light (under 15 lbs): camping gear, sports equipment, decorations
Place heavy items on lower shelves for stability. This isn’t just safety advice—it’s physics. Top-heavy shelving units tip forward when you pull items off upper shelves. The center of gravity shifts, and 800 pounds of storage becomes a falling hazard.
For a standard two-car garage (20×20 feet), you can typically fit 24-32 linear feet of shelving without blocking vehicle access. That translates to 3-4 standard shelving units at 6 feet wide each.
Here’s the calculation most people miss: vertical capacity. An 8-foot tall unit with six shelves gives you 36 square feet of storage from just 6 feet of floor space. Compare that to stacking boxes on the floor, which gives you maybe 12 square feet from the same footprint.
Don’t forget depth. Standard heavy duty shelving comes in 18-inch or 24-inch depths. Choose 24-inch for storage bins and large items. Pick 18-inch if your garage is narrow or you’re storing mostly smaller items. That extra 6 inches of floor space matters when you’re parking.
Installation Reality Check: Time and Difficulty Ratings
Let’s be honest about installation because the marketing materials won’t be. A “simple assembly” heavy duty shelving unit still takes 45-90 minutes per unit if you’re working alone.
Freestanding Units (No Wall Attachment): These bolt together with included hardware. Expect 45-60 minutes with a rubber mallet and adjustable wrench. The shelves are heavy (20-30 lbs each for steel), so you’ll need help lifting them into position if you’re under 5’6″ or have back issues. Don’t skip the leveling step—uneven shelving stresses the joints and reduces weight capacity by up to 30%.
Wall-Mounted Track Systems: Plan for 2-3 hours per 8-foot section. You’re finding studs, drilling pilot holes, and ensuring level installation across the entire wall. One-eighth inch deviation across 8 feet creates visible tilting and uneven weight distribution. You’ll need a stud finder, level (4-foot minimum), drill with masonry bits (if you’re drilling concrete), and at least 3-inch lag bolts for proper support.
Hybrid Systems (Freestanding with Optional Wall Anchors): These give you flexibility but require wall attachment if you’re loading them above 70% capacity. Figure 60-75 minutes per unit including wall anchoring. The wall anchor points prevent forward tipping, which matters more than most people think.
Here’s what trips up beginners: connecting multiple units together. Heavy duty shelving often comes in individual sections that you can connect to create longer runs. Each connection point needs proper alignment and hardware. Misaligned connections create stress points that reduce weight capacity.
You’ll also need a second person for about 20 minutes during assembly, even on “one person” units. Holding a 6-foot upright steady while you attach cross-braces requires either a helper or creative use of clamps and scrap wood.
One more thing nobody mentions: concrete anchoring. If your garage has a concrete wall, you need concrete anchors, not standard lag bolts. This Old House explains proper concrete anchor installation techniques that prevent wall crumbling and ensure 1,000+ lb holding strength per anchor point.
Safety Features That Actually Matter (and Marketing Hype That Doesn’t)
Some safety features prevent disasters. Others just sound impressive in product descriptions.
Critical Safety Features:
- Cross-bracing on all four sides prevents lateral movement and unit twisting. Front-to-back bracing matters as much as side-to-side. Check for X-pattern bracing, not just horizontal bars.
- Shelf clips or locking pins keep shelves from dislodging under weight. Gravity-feed shelving that just rests on brackets can shift and slide if you bump the unit. Positive locking systems prevent this.
- Foot levelers with wide base plates distribute weight across more floor area and let you adjust for uneven concrete. Narrow feet concentrate load and can crack garage floor slabs over time.
Marginal Features:
- Powder coating prevents rust but doesn’t add strength. Galvanized steel works just as well in garage environments at lower cost.
- Tool-free assembly sounds convenient but often means plastic clips instead of bolts. Bolted connections handle vibration and long-term stress better.
- Adjustable shelf heights in 1-inch increments versus 2-inch increments rarely matters for garage storage. The extra adjustment holes can weaken the upright structure if poorly designed.
Marketing Hype:
- “Industrial grade” without certification numbers means nothing. True industrial shelving lists ANSI compliance and load testing documentation.
- “Lifetime warranty” on plastic components just means the manufacturer bets you won’t use it long enough to file a claim. Steel warranties matter more.
The Occupational Safety and Health Administration provides commercial shelving safety standards that apply equally to home garage use. Look for units that mention OSHA compliance even if they’re marketed to homeowners.
Check weight distribution requirements in the manual. Good manufacturers specify maximum point loads (weight concentrated in one area) separately from distributed loads. A shelf rated for 1,500 lbs distributed might only safely hold 400 lbs concentrated in one square foot.
Size and Configuration Planning for Your Space
Standard heavy duty shelving comes in three footprints: 48-inch wide, 72-inch wide, and 96-inch wide. The 72-inch (6-foot) width offers the best strength-to-cost ratio for garage storage.
Height options run from 72 inches (6 feet) to 96 inches (8 feet). Taller isn’t always better. If you’re under 5’10”, you’ll struggle accessing items on the top shelf of an 8-foot unit without a step stool. That inconvenience means you won’t use that space efficiently.
Here’s the configuration most people get wrong: they buy one tall unit instead of two shorter ones. Two 6-foot tall units give you more usable middle-height shelf space than one 8-foot unit. Middle shelves (waist to shoulder height) get accessed 10 times more than top or bottom shelves.
Depth standardizes at 18 inches or 24 inches. Measure your storage bins before you buy. Standard 18-gallon storage bins measure 23.5 inches long, which means they won’t fit front-to-back on 18-inch shelving. You’ll end up with wasted space or protruding bins that get knocked off when you walk past.
Corner configurations waste less space than two separate units meeting at a wall corner. L-shaped shelving systems eliminate the dead zone where two units meet at 90 degrees. You gain 3-4 square feet of usable storage per corner.
Mobile versus stationary matters more than most people think. Heavy duty shelving on casters (rated for the full load plus rolling stress) lets you access wall areas behind the unit. This helps when you need to reach electrical outlets or clean behind storage areas annually. Static units become permanent installations that you’ll never move again.
Frequently Asked Questions
What is considered heavy duty shelving?
Heavy duty shelving must support at least 1,000 pounds per shelf with evenly distributed weight. This classification requires specific frame construction (14-16 gauge steel), cross-bracing, and load testing documentation. Light duty supports 200-500 lbs per shelf, while medium duty handles 500-1,000 lbs. Always check for ANSI MH16.1 compliance rather than trusting marketing terms.
How much weight can heavy duty shelves actually hold?
Individual shelf capacity ranges from 1,000 to 2,500 pounds depending on shelf width, support bracket spacing, and frame design. A 4-foot shelf typically holds less than a 3-foot shelf with the same materials due to increased deflection across longer spans. Total unit capacity multiplies shelf capacity by number of shelves but assumes perfect weight distribution. Real-world capacity is 60-70% of rated capacity when you factor in uneven loading and long-term stress.
What is the best material for garage shelving?
Steel frame construction with either steel wire shelves or thick particle board shelves provides the best strength-to-cost ratio for garage environments. All-steel wire prevents moisture damage in humid climates. Steel frame with 5/8-inch particle board costs less and works fine in climate-controlled garages. Heavy duty resin shelving resists rust and handles temperature extremes but costs 20-40% more. Avoid lightweight aluminum and thin-gauge steel that flexes under load.
How do you install heavy duty shelving units safely?
Start by leveling the floor area and checking for concrete cracks that could affect stability. Assemble the frame completely before adding shelves. Use a 4-foot level to ensure vertical uprights are plumb. Attach wall anchors if loading above 70% capacity or if the unit exceeds 6 feet tall. Tighten all bolts with a wrench—hand-tight assembly fails under heavy loads. Place heaviest items on lower shelves to lower the center of gravity. Test stability by applying side pressure before loading.
Are plastic shelves as strong as metal for heavy duty storage?
High-density resin shelving rated as heavy duty matches steel performance up to 1,200 lbs per shelf. Cheap plastic utility shelving tops out at 200-300 lbs and doesn’t qualify as heavy duty. The key difference is material density and frame reinforcement. Quality resin units use thick structural resin (not hollow plastic) with steel reinforcement rods inside the uprights. Check the weight rating and certification rather than judging by material alone. Resin costs more but never rusts and handles temperature extremes better than steel.
What is the difference between light duty and heavy duty shelving?
Light duty shelving supports 200-500 pounds per shelf and uses thinner gauge steel (18-20 gauge) with minimal cross-bracing. Heavy duty uses 14-16 gauge steel, comprehensive cross-bracing, and reinforced shelf brackets. Frame design differs significantly—light duty often uses spot welds while heavy duty requires bolted connections. Shelf material thickness varies too, with heavy duty using thicker steel wire or particle board. Price reflects these differences, with heavy duty costing 2-3 times more than light duty units. Don’t try to upgrade light duty by simply distributing weight better—the frame won’t handle long-term stress.
Your Next Step: Making the Right Choice
You now understand more about heavy duty shelving units than 90% of people shopping for garage storage. You know that “heavy duty” means at least 1,000 pounds per shelf, how to calculate your actual weight needs, and which materials work best for garage environments.
Start by inventorying your storage weight using the chart provided earlier. Add 30% to your total for a safety margin. Then measure your available wall space, accounting for clearances. Match your weight requirements to certified shelving (look for ANSI MH16.1 compliance), and don’t forget that installation takes 45-90 minutes even for “simple assembly” units.
Choose shelving that fits your actual needs rather than buying the strongest unit available. A properly loaded 1,200 lb capacity unit outperforms an overloaded 2,000 lb unit every time. Get your garage organized safely, and you’ll never worry about collapse again.

Callum Langham
Founder & Technical Storage Editor
Callum Langham is the founder and technical editor of Rack System. With over 12 years of hands-on field experience in warehouse logistics, garage organization, and industrial storage installations, Callum specializes in engineering safety standards, beam load calculations, and OSHA/RMI compliance. Every guide on Rack System is audited against verified steel gauge tolerances and municipal building codes.