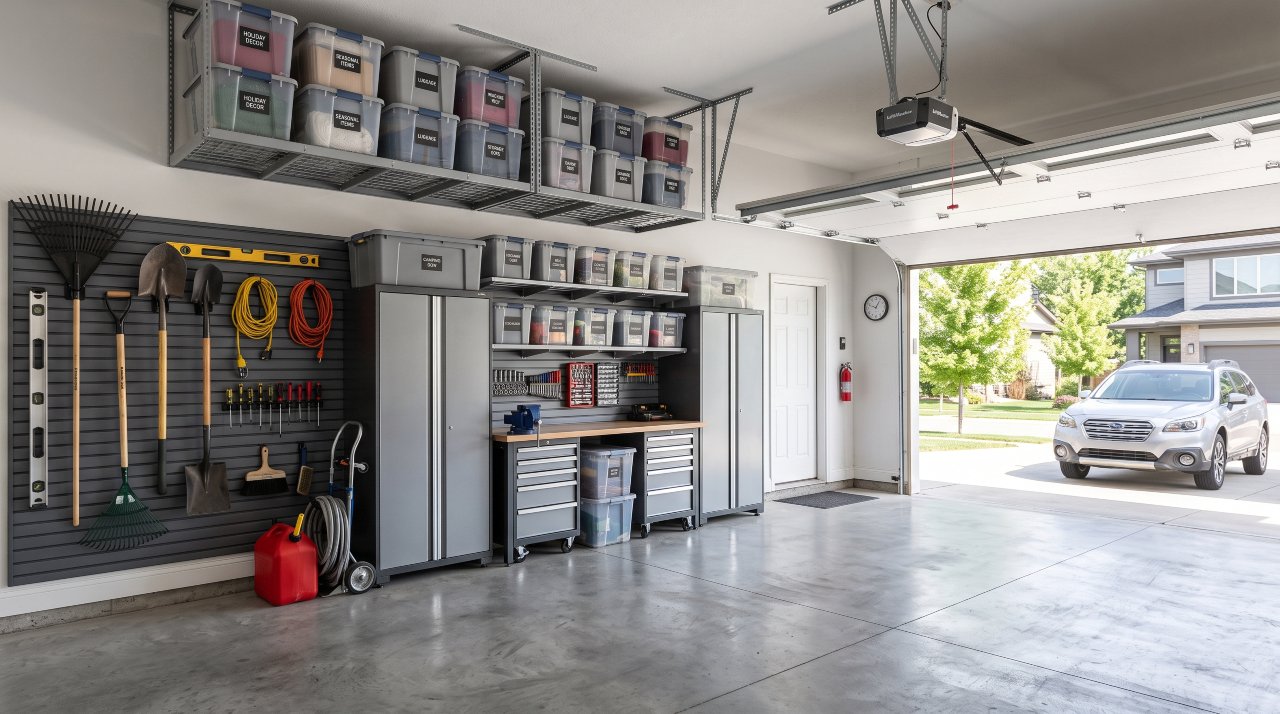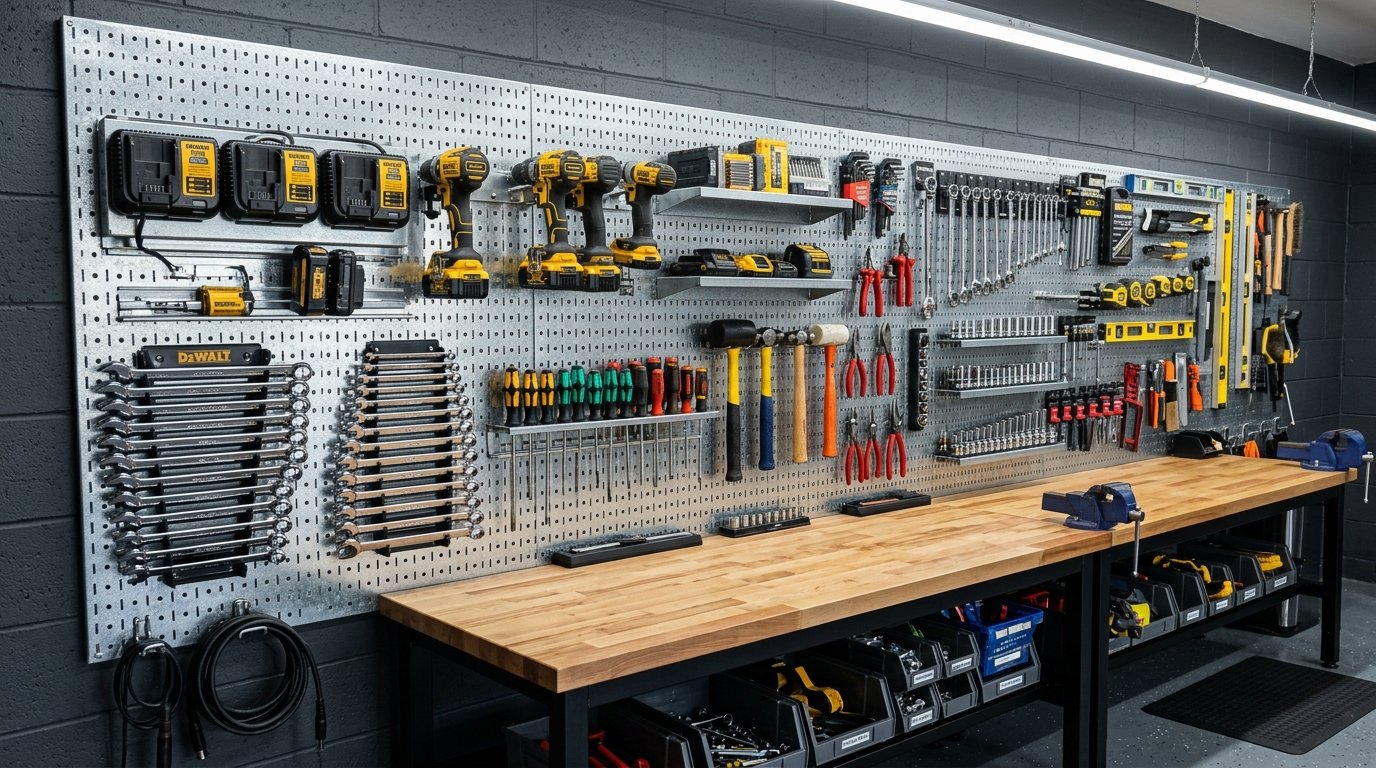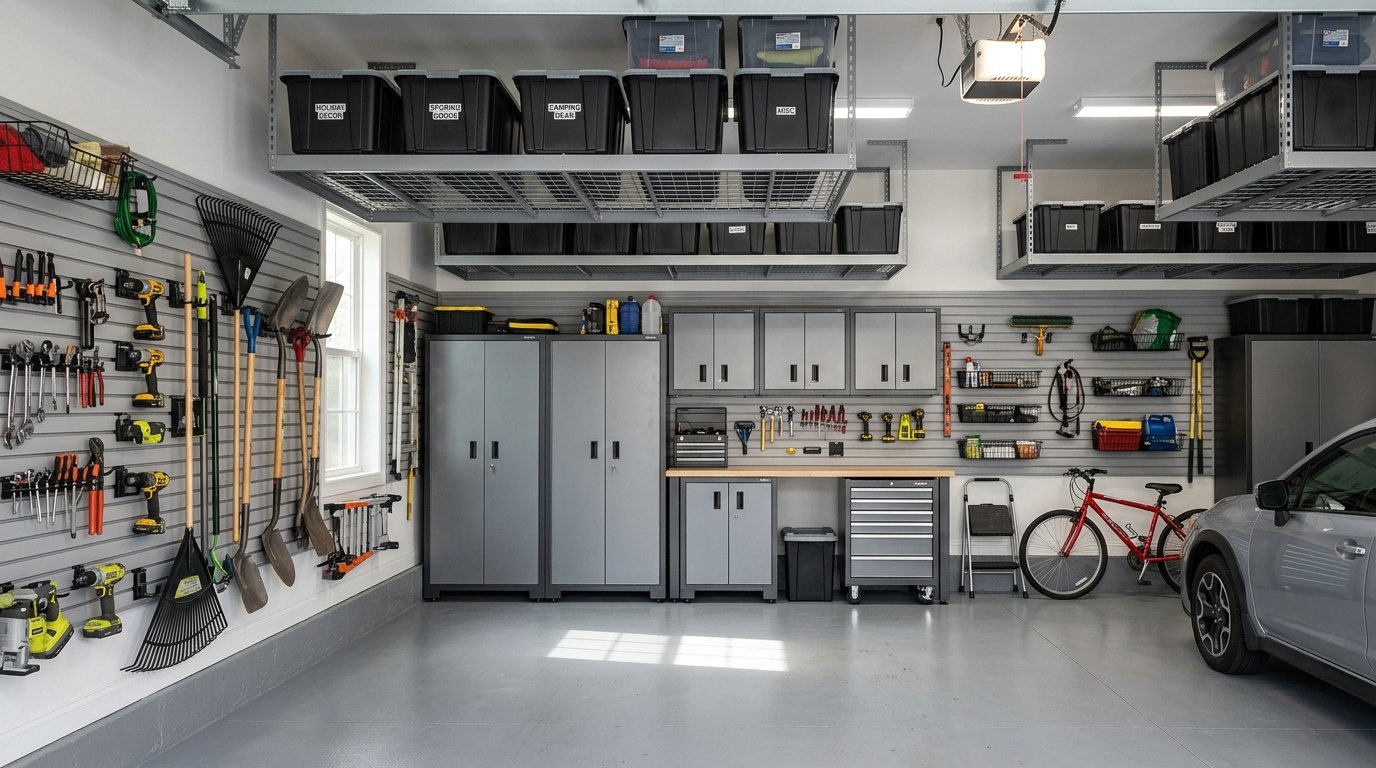
Garage Rack Installation Guide: Step-by-Step DIY Safety
Installing heavy-duty garage storage racks is one of the most effective home improvement projects for clearing floor clutter and maximizing vertical space. However, anchoring heavy overhead ceiling platforms or wall-mounted shelving systems into wood framing requires strict adherence to structural engineering rules, accurate stud finding, lag screw math, and level alignment.
Improper garage rack installation risks catastrophic structural detachment, causing heavy bins or equipment to crash down onto vehicles or homeowners. Failing to locate framing joist centers or using weak drywall anchors instead of lag screws creates severe safety hazards.
This comprehensive step-by-step installation guide covers stud-finding tools, ceiling joist lag anchoring, leveling freestanding steel units, and safety tip-over prevention.
1. Tools and Materials Required for Safe Installation
Gathering professional installation tools before starting ensures accurate, secure mounting: electronic deep-scanning stud finders, impact drivers, bubble levels, 3/8 x 3-inch zinc-plated steel lag screws, and protective eyewear.
2. Step 1: Finding and Marking Wall Studs and Ceiling Joists
Never anchor heavy garage racks into drywall or hollow plaster alone. All structural weight must transfer directly into solid wood framing (standard 16-inch or 24-inch stud centers). Drill 3/16-inch pilot holes into stud centers to confirm solid wood engagement. For overhead storage platform rules, explore our guide on overhead garage storage racks.
3. Step 2: Anchoring Wall Tracks and Ceiling Brackets
Drive 5/16×2.5-inch lag screws for wall tracks and 3/8×3.0-inch lag screws for ceiling brackets at least 2.5 inches into joist timber centers. Learn how to arrange your layout in our guide on how to organize a garage or review wall-mount track options in wall mounted garage shelving.
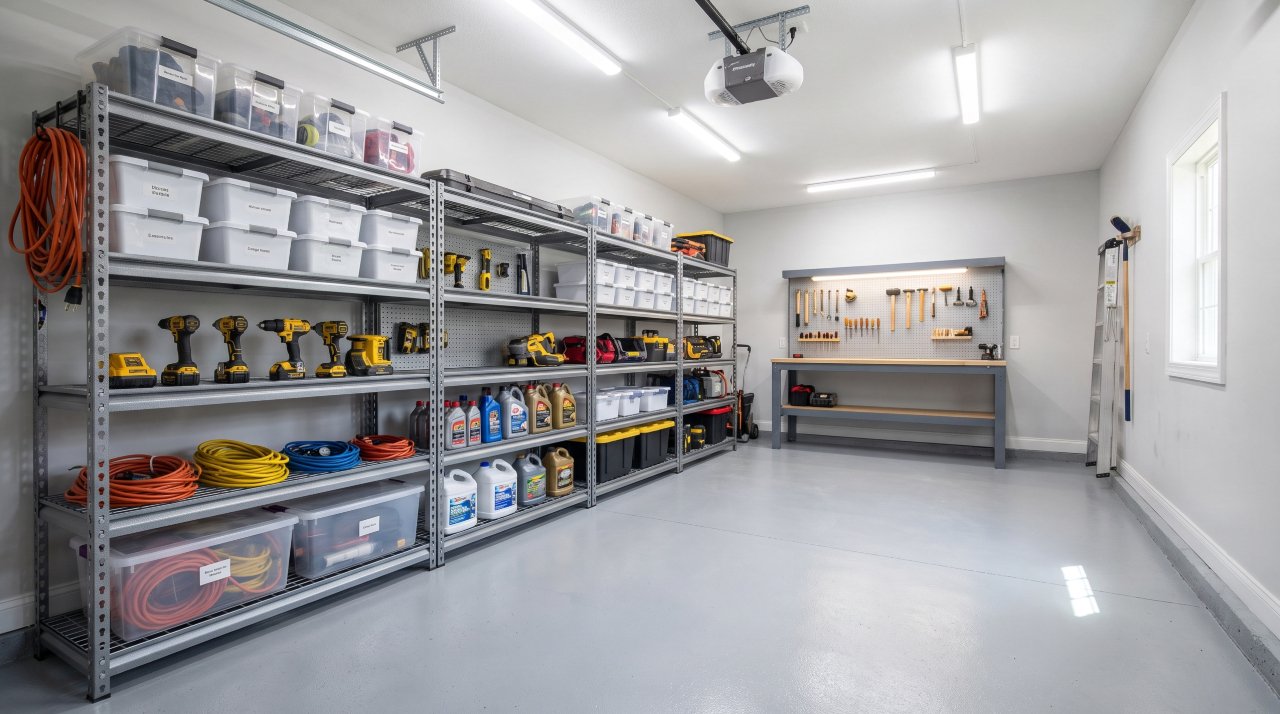
4. Step 3: Leveling Freestanding Steel Units and Anti-Tip Anchoring
Use steel shims under post footplates to bring freestanding steel shelving units level on sloped concrete floors, then secure top rear corners to wall studs using L-shaped anti-tip safety brackets.
5. Building Codes and Safety Compliance
Verify residential roof truss loading limits using InterNACHI Structural Inspection Guidelines and maintain home workspace safety according to CDC Household Injury Prevention Standards.
Frequently Asked Questions
How long should lag bolts be for garage ceiling racks?
Use 3/8 x 3-inch steel lag screws embedded at least 2.5 inches into the center of solid wood ceiling joists.
What should I do if a lag screw spins freely during installation?
If a lag screw spins freely, it missed the stud center or stripped the wood. Back the screw out, fill the hole, move 1 inch vertically, and re-drill into solid stud wood.
Achieving a Safe, Professionally Installed Garage
Following a systematic installation process ensures your garage storage racks remain safe, stable, and capable of supporting maximum rated inventory loads. By verifying joist centers, driving heavy lag screws, and securing anti-tip anchors, you build a permanent garage storage upgrade.

Callum Langham
Founder & Technical Storage Editor
Callum Langham is the founder and technical editor of Rack System. With over 12 years of hands-on field experience in warehouse logistics, garage organization, and industrial storage installations, Callum specializes in engineering safety standards, beam load calculations, and OSHA/RMI compliance. Every guide on Rack System is audited against verified steel gauge tolerances and municipal building codes.