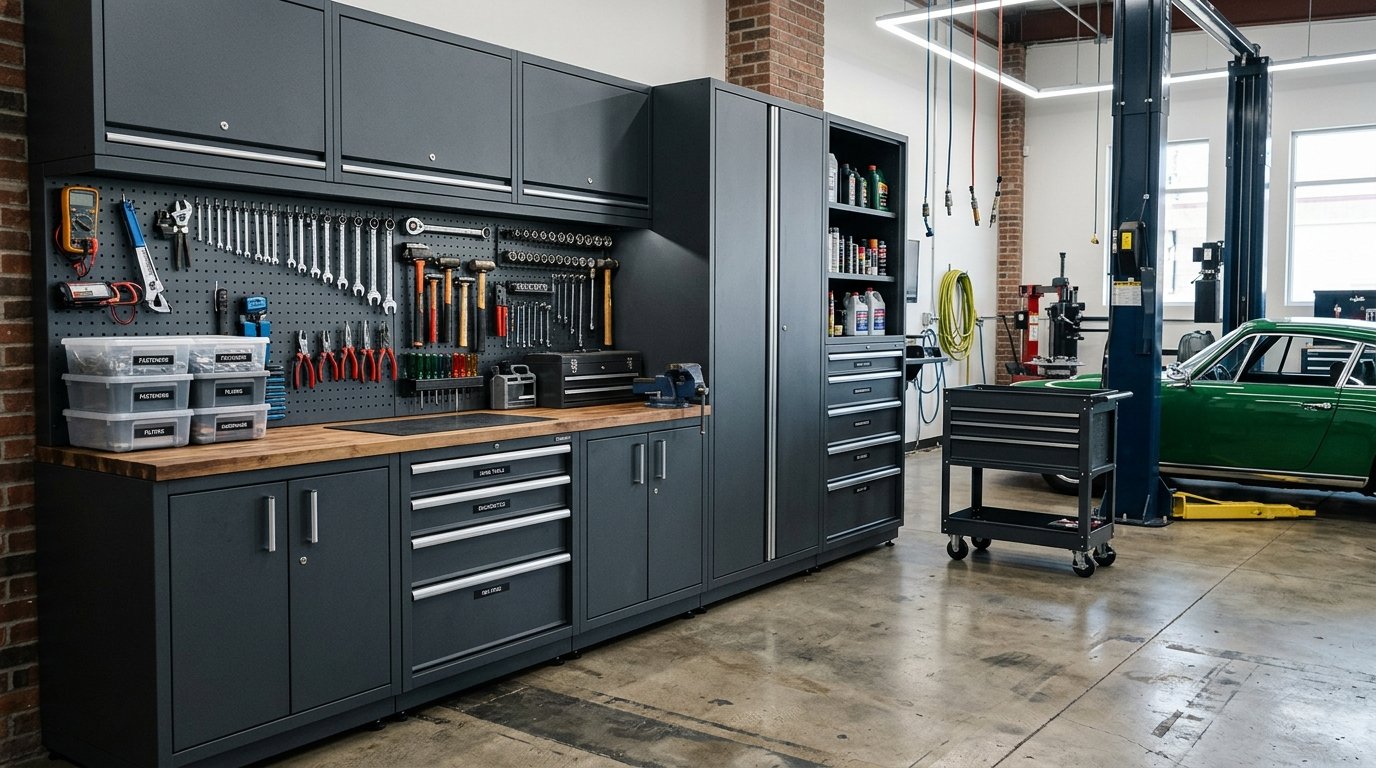

A garage rack system can turn wasted wall and floor space into useful storage. The right rack keeps tools, bins, tyres, sports gear, and seasonal items off the floor. It also makes your garage safer and easier to use.
Before you buy, check the rack’s load rating, size, frame material, shelf design, and fixing method. A cheap unit may look useful, but it can bend, wobble, or fail when loaded with heavy boxes. This guide covers the main rack types, sizing rules, safety checks,.
And setup tips you’ll need to make a sound choice.

What Is a Garage Rack System?
A garage rack system is a storage structure made from steel, aluminium, or heavy-duty plastic. It can stand on the floor, attach to a wall, or hang from the ceiling. Most systems use several shelves, posts, brackets, or beams to hold stored items.
The best setup depends on your garage layout and the items you need to store. A freestanding rack works well in an open corner. A wall-mounted rack saves floor space and suits narrow garages.
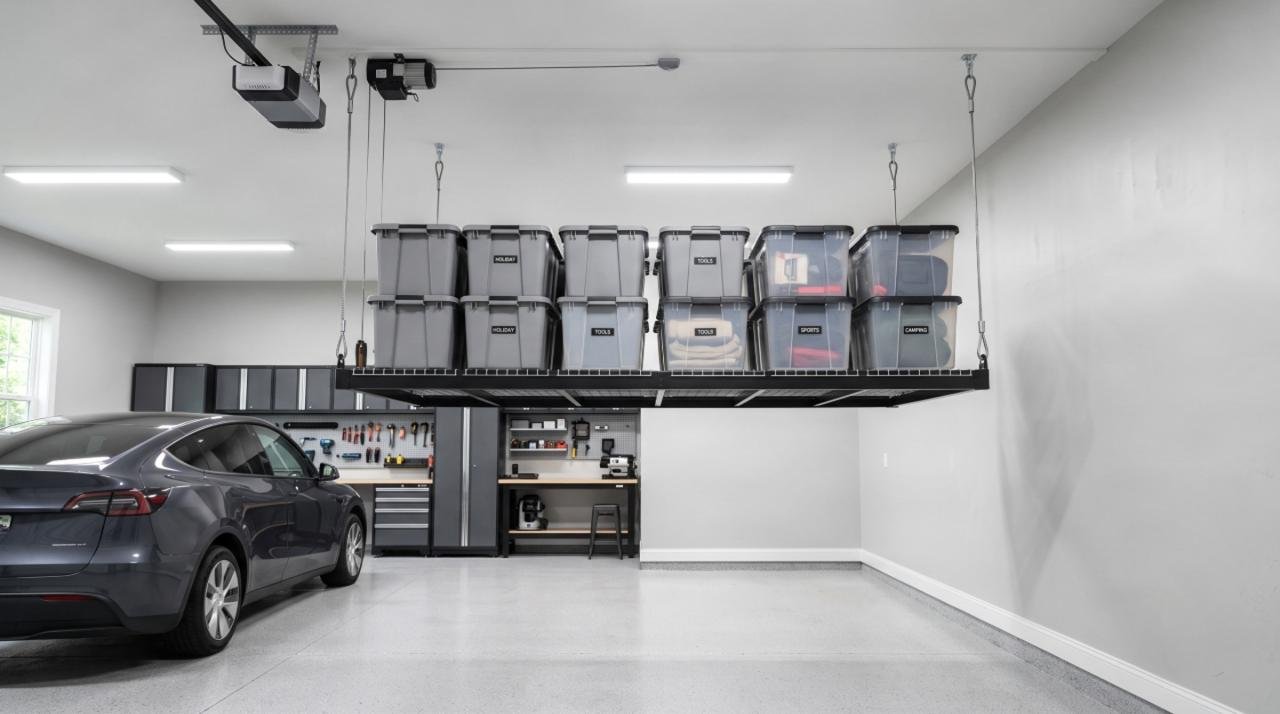
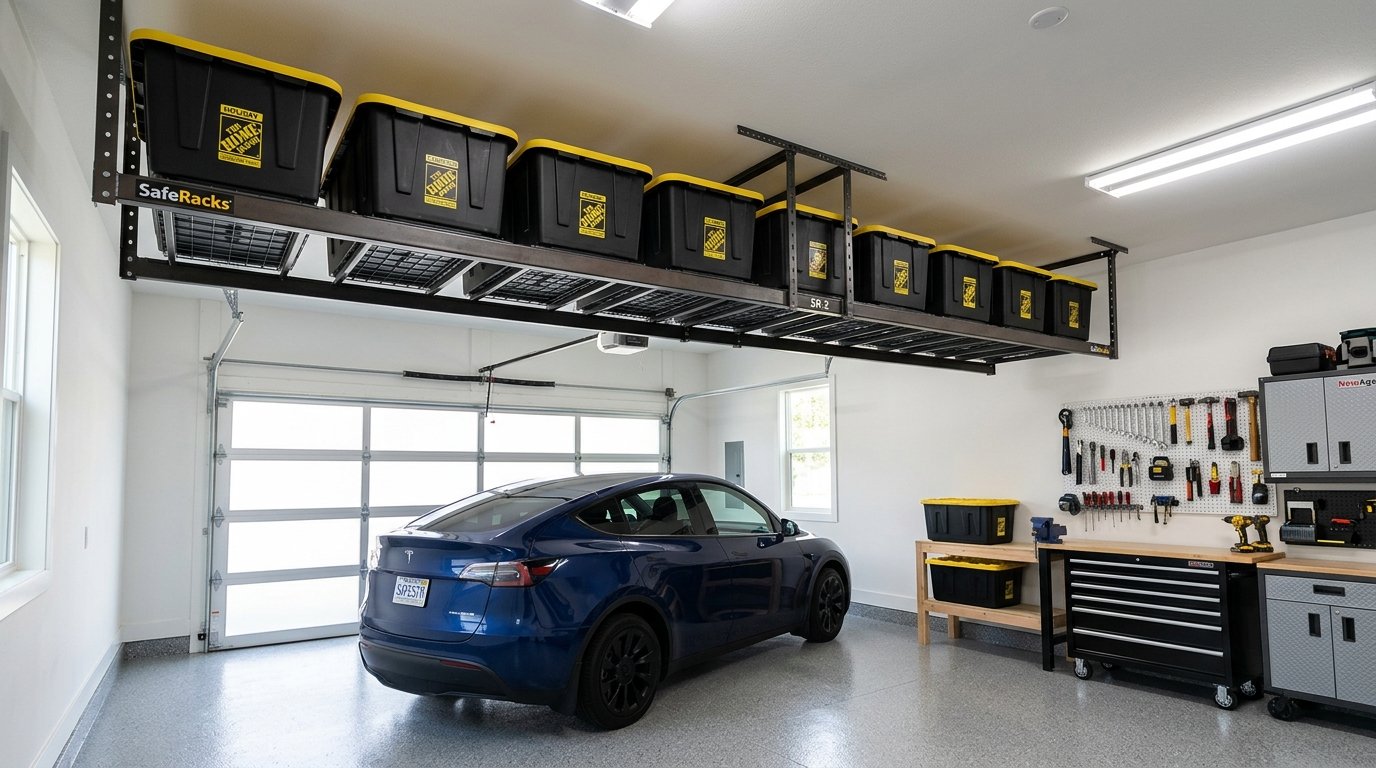
An overhead rack keeps bulky items above vehicles, work areas, and walking routes.
Many systems use adjustable shelves. This lets you change the shelf height for tall tubs, power tools, coolers, or boxes. Some systems also accept hooks, cabinets, drawers, and pegboards.
Why Use a Garage Rack System?
Floor storage quickly becomes hard to manage. Boxes get stacked too high, tools become buried, and loose items create trip risks. A garage rack system gives each group of items a fixed place.
- More usable space: Vertical storage makes use of the garage’s height.
- Better access: Shelves keep items visible and easier to reach.
- Less floor clutter: Bikes, boxes, tools, and garden items can leave the floor.
- Better weight control: A rated shelf gives you a clear limit for stored goods.
- Faster cleaning: You can sweep below and around a raised rack.
- Safer storage: Secured racks are less likely to tip or spill their contents.
Good storage starts with a clear plan. Measure first, sort your items, and then choose the rack type. Don’t buy a rack just because it has a large shelf count.
A unit that blocks the garage door, car doors, or electrical panel won’t help.
Garage Rack System Types
Freestanding Garage Racks
Freestanding racks use upright posts and shelves. They’re simple to place and can often be moved when your needs change. Most are made from bolted steel, boltless steel, or welded steel.
These racks suit homeowners who need general storage for bins, paint supplies, car care products, hand tools, and spare parts. They’re also a good choice for renters, since they don’t always require wall or ceiling fixing.
Look for adjustable shelves, thick steel posts, levelers, and a back brace. A tall rack should be fixed to a wall if the maker allows it. This helps prevent tipping when a heavy box is pulled from a high shelf.
Wall-Mounted Garage Racks
Wall-mounted racks attach to studs, masonry, or a track system. They keep the floor clear and can make a narrow garage feel less crowded. They work well above benches, beside doors, and along unused wall sections.
The wall must support the rack and its contents. Drywall alone usually isn’t enough for heavy loads. Locate the studs, use the correct fasteners, and follow the maker’s fixing instructions.
For brick or concrete, select anchors made for that surface.
Wall racks suit lighter bins, hand tools, cleaning supplies, and small equipment. Heavy shelves can work too, but the wall structure and fasteners need to match the load. Don’t rely on a rack’s advertised capacity if it’s fixed to a weak surface.
Overhead Garage Racks
Overhead racks hang from the ceiling or ceiling joists. They’re useful for holiday decorations, camping gear, empty luggage, and other items you don’t use each week.
Measure the ceiling height, garage door movement, vehicle height, and light fitting locations before buying. The rack must sit far enough above the vehicle to avoid contact. Keep the walking path clear, and don’t store items that need regular access.
An overhead system needs secure fixing to joists or another approved structural point. Never attach a heavy rack to a thin ceiling finish alone. Check the load rating for the full rack, each shelf, and every fastener.
Garage Rack System Comparison
The figures below show common ranges. Always use the manufacturer’s rating for the exact model you buy. Capacity can change based on shelf spacing, fasteners, floor condition, and how the weight is spread.
| Rack type | Weight capacity | Common width | Common depth | Assembly type |
|---|---|---|---|---|
| Freestanding | 400 to 2,500 lb per unit | 36 to 96 in | 18 to 36 in | Boltless, bolted, or welded |
| Wall-mounted | 100 to 1,000 lb per shelf | 24 to 84 in | 10 to 24 in | Bracket, rail, or direct mount |
| Overhead | 200 to 600 lb per unit | 24 to 96 in | 22 to 48 in | Ceiling brackets and bolts |
Freestanding racks usually offer the highest capacity and the easiest setup. Wall-mounted racks save the most floor space. Overhead racks provide storage above the main work area, but they require careful measuring and secure ceiling fixing.
How to Choose the Right Size
Measure the Available Space
Measure the wall, floor area, and ceiling height. Record the distance from the rack location to the garage door tracks, side doors, windows, vehicles, and workbenches.
Leave enough room to open car doors and walk safely. A rack that fills the full width of a wall may leave no space for handles, bins, or electrical access. You’ll also need room to carry large boxes in and out.
For a freestanding rack, check the floor. Sloped, cracked, or uneven concrete can make a tall unit unstable. Adjustable feet can help, but they won’t correct a badly damaged floor.
Check Shelf Depth
Deep shelves hold large containers, but they can waste space and make items hard to reach. Shallow shelves work better for hand tools, spray bottles, small boxes, and parts bins.
Measure your largest storage tubs before choosing shelf depth. Add a little clearance so the bins don’t scrape against the posts. If you store long tools, check the shelf width and the distance between the uprights.
Plan for Future Storage
Don’t fill every shelf from the first day. Leave some room for new tools, replacement parts, and seasonal gear. A rack with adjustable levels gives you more options as your storage needs change.
Check Weight Capacity Carefully
Rack capacity is often shown per shelf or per complete unit. These figures aren’t the same. A rack rated for 800 pounds per shelf may have a lower total rating when all shelves are loaded.
Check if the rating applies to an evenly spread load. A concentrated load, such as a heavy engine part in the middle of. A shelf, can create more stress than several lighter boxes spread across the surface.
Use a safety margin. If your stored items weigh about 300 pounds, don’t select a shelf rated for exactly 300 pounds. A higher rating gives you room for changes and reduces strain on the frame.
Place heavy items on the lower shelves. Keep lighter boxes and items that you rarely use higher up. This lowers the rack’s center of gravity and makes it less likely to tip.
For general workplace storage guidance, review the OSHA material handling storage requirements. Residential garages may not follow every workplace rule, but the safety principles still help.
Choose the Right Rack Material
Steel Racks
Steel is common for heavy-duty garage storage. It handles high loads and resists damage from tools and boxes. Powder-coated steel also resists surface rust, but it can still corrode in damp garages.
Check the thickness of the posts, beams, and shelf panels. Thin metal may suit light storage, but it can bend under repeated heavy use. Welded steel usually feels firm, while boltless systems are easier to assemble and change.
Plastic Racks
Plastic racks suit light items such as cleaning products, towels, small bins, and gardening supplies. They won’t rust, and they’re often easy to clean.
Plastic shelves can sag under heat or heavy loads. Check the temperature range and load rating before storing paint, tools, or dense boxes. Keep the rack away from heaters and direct heat sources.
Wood Shelves
Some steel frames use particleboard, plywood, or solid wood shelves. Wood offers a flat surface for boxes and small parts. It may swell if the garage gets damp, so check the panel finish and ventilation.
Don’t place wet items on untreated panels. A sealed surface lasts longer and is easier to wipe clean.
Assembly and Installation Tips
Read the instructions before opening every part. Sort the posts, beams, bolts, brackets, and shelf panels. A rubber mallet, socket set, level, tape measure, stud finder, and work gloves are useful for most installations.
- Clear the work area and sweep the floor.
- Measure the rack position again before assembly.
- Build the frame on a flat surface when possible.
- Keep all joints loose until the frame is square.
- Use a level before tightening bolts or locking beams.
- Install shelf panels and check that they sit fully on their supports.
- Fix tall racks to the wall if the instructions call for it.
- Load the bottom shelves first, then add lighter items above.
For a full walkthrough, follow this garage rack installation guide. Don’t modify posts, drill new holes in load-bearing parts, or remove braces unless the manufacturer approves the change.
Two people should handle tall or heavy racks. One person can hold the frame while the other checks the level and fits the fasteners. If the ceiling.
Or wall structure is unclear, ask a qualified builder or installer to check it before you load the rack.
Garage Rack Safety Rules
- Keep the rack level and stable before adding items.
- Follow the stated capacity for each shelf and the complete unit.
- Put dense, heavy items low down.
- Don’t climb on shelves or use them as ladders.
- Keep chemicals in closed containers with clear labels.
- Store sharp tools in boxes, holders, or drawers.
- Keep emergency exits, electrical panels, and heating equipment clear.
- Check bolts, brackets, welds, and shelf panels every few months.
- Replace bent parts instead of trying to straighten them by force.
Use storage bins with lids for dust-sensitive items. Clear bins help you find contents quickly, while solid bins protect items from sunlight and dirt. Label each bin on the front, not just the top, so you can identify it when shelves are full.
For product dimensions and load details, compare the maker’s data with a retailer’s garage storage product information. Product pages can show shelf size, materials, and assembly details that aren’t clear from a short rack listing.
How to Organise the Shelves
Group items by task. Keep car care products together, garden tools in one area, and sports gear in another. This reduces the time you spend searching and helps you return items to the correct shelf.
Place items you use every week between waist and shoulder height. Put seasonal items higher up or at the back. Store bulky items low, but leave enough space to lift them without hitting the shelf above.
Add small bins for screws, cable ties, drill bits, and other loose parts. A narrow rack beside a workbench can hold these items without taking up much floor space.
If your garage is short on floor area, these small garage. Storage ideas can help you plan the rest of the room around your rack.
Common Buying Mistakes
Buying by Shelf Count
More shelves don’t always mean more useful storage. A rack with many shallow shelves may not hold your large tubs. Choose shelf spacing and depth based on the items you own.
Ignoring the Fixing Surface
A strong rack can still fail if it’s fixed to a weak wall or ceiling. Find studs or structural joists, select suitable anchors, and check the surface before installation.
Using the Full Rated Load
Load ratings are limits, not targets. Keep a margin and spread weight across the shelf. Look for sagging, bent beams, loose joints, or cracked panels during routine checks.
Blocking Access
Measure around doors, cars, light switches, windows, and panels. Leave a clear route through the garage. Storage should make the room easier to use, not create a new obstacle.
Frequently Asked Questions
What’s the best garage rack system for heavy items?
A steel freestanding rack is usually the most practical choice for heavy boxes, tools, and workshop parts. Check the shelf. And unit ratings, choose a rack with braced uprights, and place the heaviest items on the bottom shelves.
Fix a tall unit to the wall when the manufacturer requires it.
Can a garage rack system damage the wall?
It can if the wrong anchors are used or the rack is overloaded. Fix the rack into studs or suitable masonry, avoid relying on drywall alone, and follow the maker’s instructions. Spread the load across several fixing points when the system allows it.
How high should an overhead garage rack be?
Set it high enough to clear the vehicle, garage door, and walking area. Measure the tallest vehicle, the door’s full movement, and the height of the stored bins. Leave enough space to remove items without standing under an unsafe load.
How do I stop a freestanding rack from tipping?
Use a level floor, install all braces, keep heavy items low, and avoid uneven loading. Secure the rack to a wall when possible. Don’t place dense items on one side or pull a heavy box from a high shelf.
Final Buying Checklist
Before you order a garage rack system, confirm the following:
- The rack fits the measured space.
- The shelves suit the size of your bins and equipment.
- The weight rating covers your stored items with a safety margin.
- The fixing method matches your wall, floor, or ceiling.
- The rack leaves doors, vehicles, lights, and panels clear.
- The frame includes braces, levelers, or other stability features.
- Replacement parts and extra shelves are available.
- You can assemble it safely with the tools and help available.
A well-chosen garage rack system gives you dependable storage without taking over the room. Measure first, keep heavy loads low, secure the frame, and leave clear access around the garage. Those simple steps will help your rack stay stable and useful for years.

Callum Langham
Founder & Technical Storage Editor
Callum Langham is the founder and technical editor of Rack System. With over 12 years of hands-on field experience in warehouse logistics, garage organization, and industrial storage installations, Callum specializes in engineering safety standards, beam load calculations, and OSHA/RMI compliance. Every guide on Rack System is audited against verified steel gauge tolerances and municipal building codes.