A ceiling storage rack turns unused space above your car, workbench, or laundry area into useful storage. It can hold plastic bins, seasonal items, camping gear, tools, and other goods that you don’t need every day. The rack keeps these items off the floor, which can make a garage easier to clean and safer to use.
Good results depend on more than buying the largest rack you can find. You’ll need to check the ceiling structure, measure the available space, confirm the load rating, and install every fastener correctly. This guide covers the main rack types, safe installation steps, weight planning, and common mistakes to avoid.

What Is a Ceiling Storage Rack?
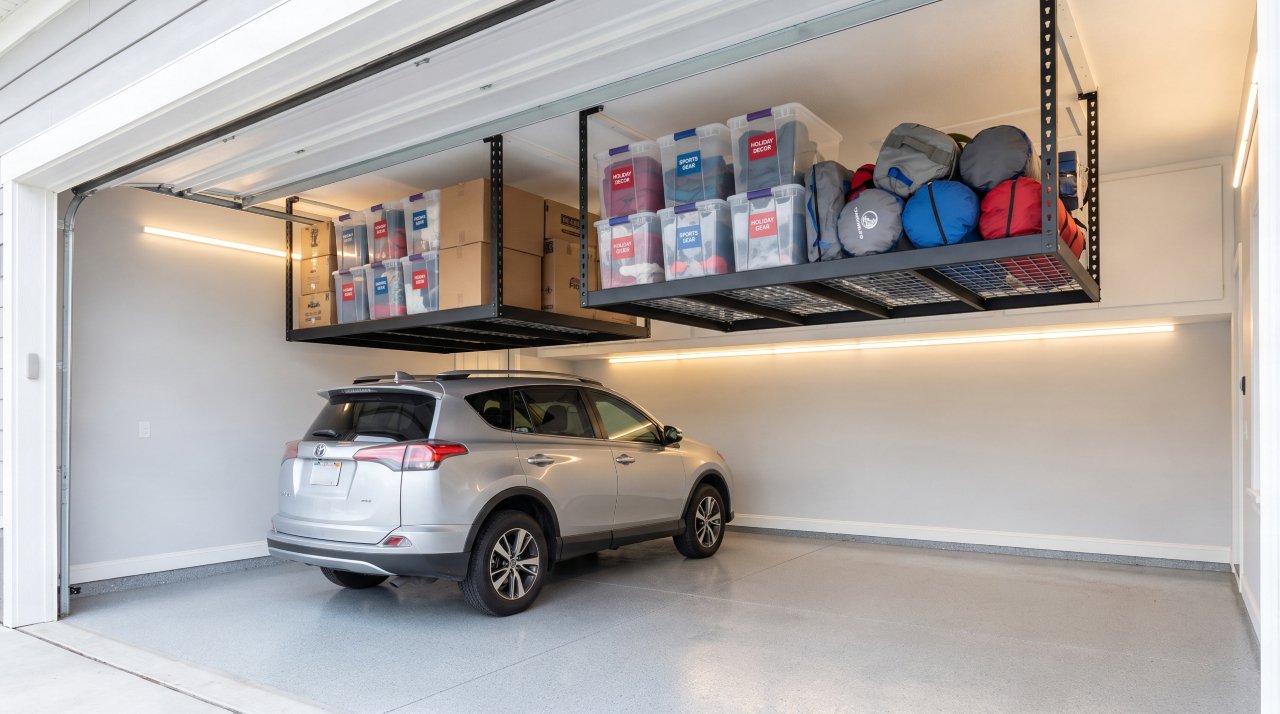
A ceiling storage rack is a platform or frame that attaches to ceiling joists, beams, or other approved structural supports. Most garage models sit 12 to 30 inches below the ceiling. This gap creates a storage shelf above vehicles and floor-level equipment.
Many racks use steel frames with wire or solid panels. A typical unit holds several large bins, but capacity varies by design and installation method. Some racks are fixed in place.
Others use a pulley system or motor to lower the platform for loading.
A ceiling rack differs from a simple hook or hanger. It spreads weight across several mounting points, giving you a stable platform for grouped items. The support frame must still connect to real structural members.
Drywall, plaster, and thin ceiling panels can’t carry the load by themselves.
Why Use Overhead Garage Storage?
Garage floors often fill up with bins, sports gear, spare materials, and seasonal decorations. Floor storage takes away parking space and creates trip hazards. A ceiling storage rack moves these items into an unused area.
Overhead storage can also protect goods from water on the floor, vehicle tires, and accidental impact. Lidded plastic bins work well because they keep out dust and make each group of items easy to label.
Use the rack for items you access a few times a year. Christmas decorations, patio cushions, roof cargo bags, and camping equipment usually fit this use. Keep daily tools, heavy power equipment, and emergency supplies at chest height or lower.
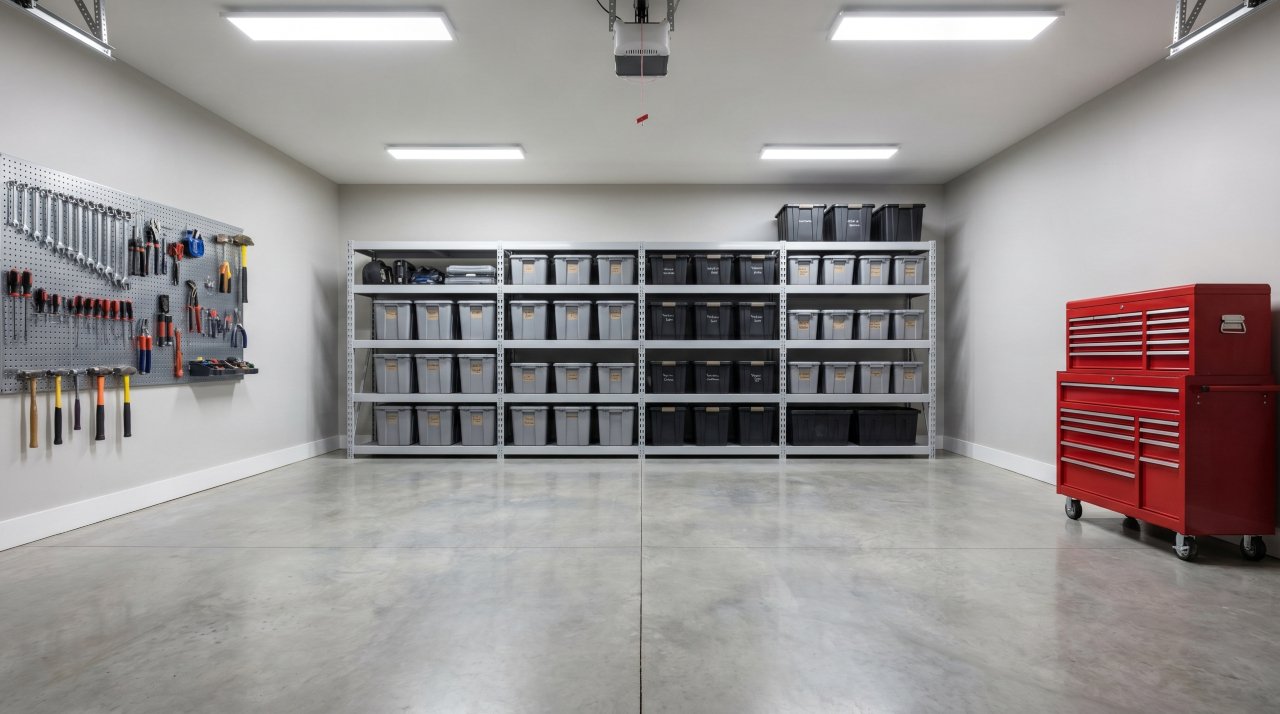
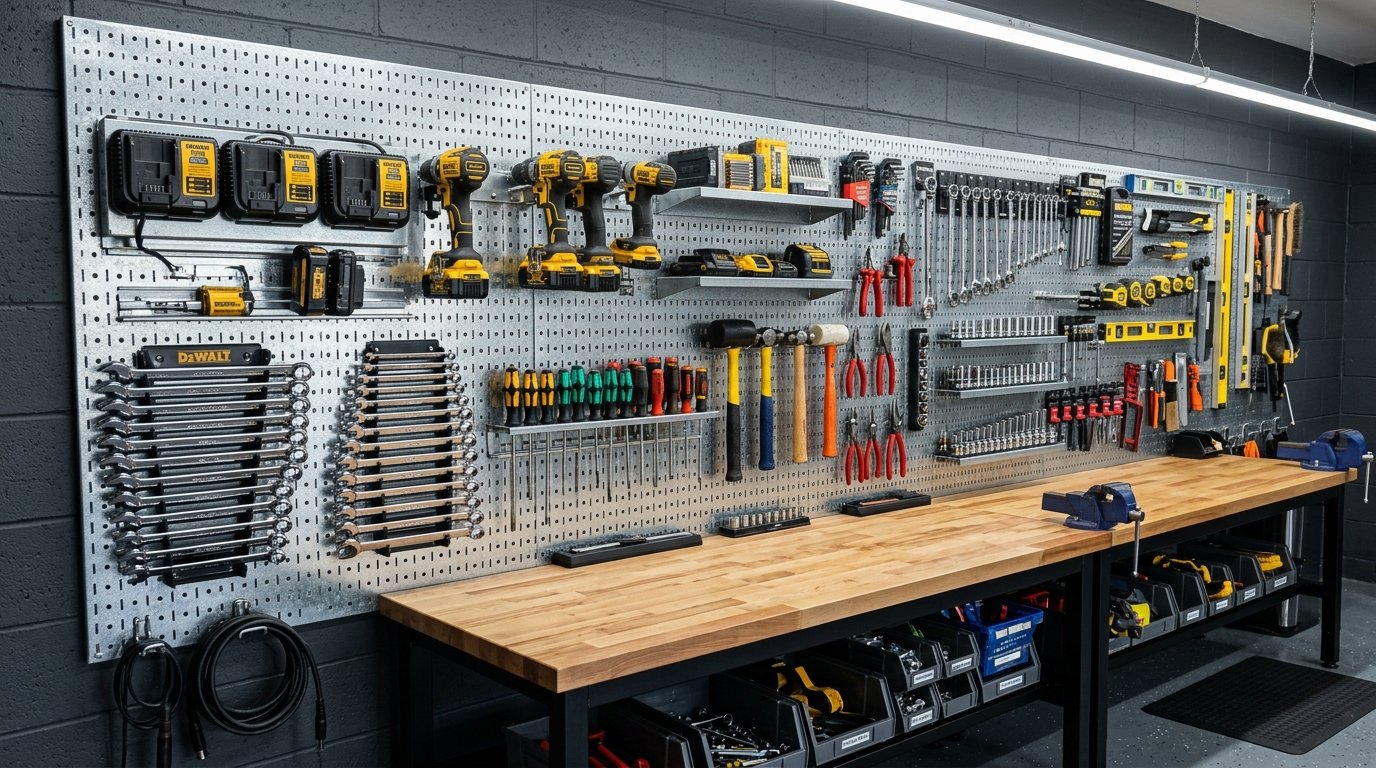
If you need more storage at eye level, pair a ceiling rack with wall mounted garage shelving. This setup gives you a place for daily-use goods while the ceiling holds items you can store for longer periods.
Three Main Rack Types
Motorized Overhead Racks
A motorized rack uses an electric lift to raise and lower the storage platform. You load the rack at a safer height, then use a control switch. Or remote to move it back near the ceiling.
This type costs more and needs power near the installation area. It also has more parts that can wear out, including the motor, cables, limit switches, and lifting hardware. Check the motor rating and the manufacturer’s rules for uneven loads.
Motorized models suit people who have trouble lifting bins overhead or who want regular access without using a ladder. The lift must have a reliable locking system. Don’t use a rack that can drift downward when power is off.
Pulley Overhead Racks
A pulley rack uses ropes, cables, pulleys, and a locking cleat. You lower the platform by hand, load it, then raise it back up. These racks cost less than motorized systems and don’t need a nearby outlet.
The pulley system still needs careful setup. The rope must run cleanly through each pulley, and the locking point must hold the full load. Inspect the rope for fraying and replace it if you see damage.
A pulley rack can be a good fit for lighter loads and occasional access. You’ll need enough open floor space to lower the platform. Keep people clear of the area while the rack is moving.
Fixed Ceiling Racks
A fixed ceiling rack stays at one height. It has fewer moving parts than other types, so maintenance is simple. Fixed racks also tend to cost less and can carry heavy loads when installed into suitable joists or beams.
The main drawback is access. You may need a step ladder to load and unload the platform. Leave enough room around the rack for safe ladder placement,.
And don’t store items so high that you must reach far above your shoulders.
Rack Type Comparison
| Rack type | Access method | Best use | Main benefit | Main concern |
|---|---|---|---|---|
| Motorized overhead rack | Powered lift | Frequent access or limited mobility | Loads at a comfortable height | Higher price and more parts to inspect |
| Pulley overhead rack | Hand-operated rope or cable | Light to medium seasonal storage | Lower cost without electrical work | Rope, pulley, and locking parts need checks |
| Fixed ceiling rack | Ladder or raised platform | Long-term storage and heavy bins | Simple design with few moving parts | Items are less convenient to reach |
How to Choose the Right Size
Start with the objects you plan to store. Measure each bin’s length, width, and height. Add space between bins so you can lift them without scraping the frame.
A rack that’s packed too tightly is harder to use. And may encourage you to drag heavy items across the platform.
Next, measure the garage ceiling and the tallest vehicle. The bottom of the rack must stay high enough to clear the vehicle, including roof racks, hatch doors,. And raised tailgates.
Leave extra clearance for movement and for the rack’s frame.
Check the rack’s outside dimensions, not just the listed platform size. Mounting brackets may extend past the platform. Also check the distance between support points.
A large rack may need more joists than a small rack, and some models need blocking between joists.
Make sure the rack won’t block garage doors, attic access, lights, sprinklers, vents, or openers. A rack placed near a garage door can interfere with the door’s travel path. Mark the planned footprint with painter’s tape before drilling.
How Much Weight Can It Hold?
Every ceiling storage rack has a stated load rating. This rating may apply only when the unit is mounted in a. Certain way, using the included hardware, with the weight spread across the platform.
Read the product instructions before treating the number as a target.
Make a quick load list. For example, four bins at 25 pounds each equal 100 pounds. Add the weight of the rack itself if the instructions require it.
Then keep a safety margin instead of loading right up to the listed limit.
Heavy objects should sit near the support points, not in one large pile at the center. Spread bins across the platform. Never add weight by attaching hooks, shelves, or hanging equipment unless the maker allows those changes.
For workplace storage, review the OSHA materials handling and storage guidance. For a residential garage, local building rules and the rack maker’s instructions still control the installation. If you’re unsure about the ceiling structure, ask a qualified contractor or structural professional to inspect it.
Check the Ceiling Structure First
The rack must attach to structural framing. In many garages, that means ceiling joists, roof trusses, or solid beams. Use a stud finder as a starting point, then confirm the framing with a small test hole.
Or an accessible attic area.
Don’t assume that every ceiling line contains a joist. Joist spacing can vary, and some garages have drywall attached to furring strips. A screw that enters only drywall won’t support a loaded rack.
Look for wiring, plumbing, ductwork, and garage door hardware before drilling. Turn off power to nearby circuits if you’ll drill close to electrical wiring. If you find an obstruction, move the rack rather than forcing the mounting point into a risky location.
Some roofs use engineered trusses. Don’t cut, notch, or alter truss members to fit a rack. A truss can look like ordinary framing while serving a key structural role.
Get professional advice if the rack location requires changes to the framing.
Installation Steps That Matter
1. Mark the Layout
Use a tape measure, level, and pencil to mark the rack’s support points. Check the layout from several angles. The frame should run square with the garage and stay clear of doors, lights, and vehicles.
2. Confirm Each Support Point
Locate each joist or beam and mark its center. Use a narrow drill bit to confirm the location if needed. Don’t rely on a single measurement from a wall, since framing may not be evenly spaced.
3. Drill the Correct Pilot Holes
Use the bit size listed in the instructions. A hole that’s too large can reduce fastener grip. A hole that’s too small can split wood or make it hard to seat the screw fully.
4. Install the Mounting Hardware
Use the supplied lag screws, bolts, washers, and brackets unless the instructions call for a different approved fastener. Drive screws into the center of the framing. Don’t substitute drywall anchors for structural fasteners.
5. Build and Level the Frame
Assemble the platform on the floor when possible. Tighten connections until the frame is secure, but don’t crush wire panels or strip the threads. Lift the frame into place with help.
A large ceiling rack can be awkward and unsafe for one person.
6. Test It Before Loading
Check every bolt, bracket, cable, and locking point. Apply light pressure to the empty platform and watch for movement. Add a small test load, inspect the rack again, then increase the load in stages.
Safe Loading and Daily Use
Put the heaviest bins low on the platform and near the support areas. Place light items in the center and along the outer edges. Keep the load level so the rack doesn’t twist or pull unevenly on its brackets.
Use containers with lids that fit well. Label each bin on two sides, so you can read the contents from the driveway or from inside the garage. Keep a simple list on your phone or near the garage door for items stored above.
Don’t climb onto the rack. Don’t stand below it while a motorized or pulley platform moves. Keep children away from ropes and control switches.
Tie up loose pulley rope so it can’t catch on a vehicle or tool.
Leave room to inspect the mounting points. A rack packed tightly against the ceiling is harder to check. Every few months, look for bent steel, loose fasteners, rust, frayed cable, cracked pulleys, or sagging supports.
Common Mistakes to Avoid
Choosing Capacity by Size Alone
A large platform doesn’t always carry more weight. Capacity depends on the frame, brackets, fasteners, and ceiling structure. Read the full rating and installation conditions.
Using the Wrong Fasteners
Longer screws aren’t always safer. A fastener may hit wiring or pass through a thin framing member without gaining strength. Use the size and type listed by the manufacturer.
Ignoring Vehicle Clearance
Measure the vehicle with the garage door closed and open. Include roof boxes, antennas, and hatch movement. A rack that clears the roof may still block a hatch or liftgate.
Concentrating Weight in One Spot
One heavy box in the center can place more stress on the platform than several lighter bins spread across it. Group similar items, then place them across the rack instead of building one dense stack.
Skipping Periodic Inspections
Fasteners can loosen from vibration, especially near a garage door opener. Seasonal temperature changes can also affect wood framing. Add a rack check to your spring and fall garage cleanup.
Ceiling Rack or Wall Shelves?
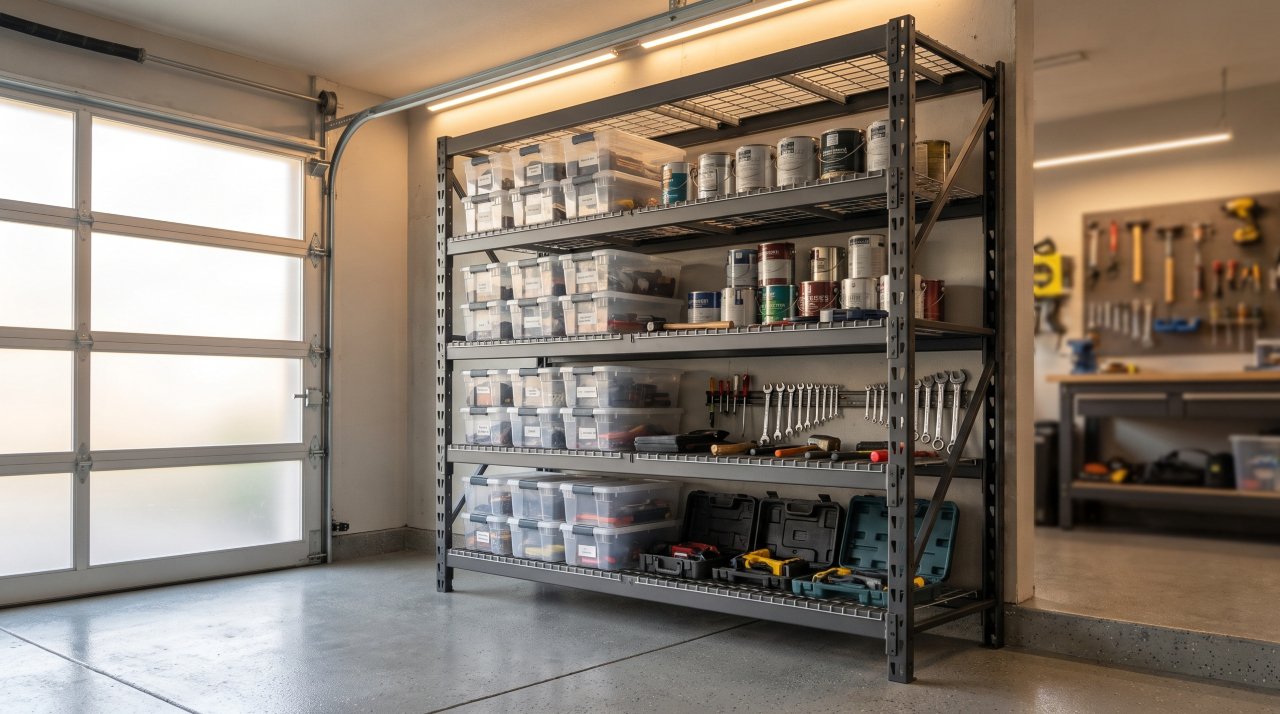
A ceiling storage rack uses space that walls and floors can’t provide. It’s a strong choice for bulky items that you rarely need. Wall shelves are easier to reach and suit tools, paint, small parts, and daily supplies.
Many garages benefit from both options. Use wall storage for items you handle each week. Use a ceiling rack for seasonal goods.
If your ceiling has limited framing. Or poor access, compare several overhead garage storage racks before choosing a mounting plan.
Frequently Asked Questions
Can a ceiling storage rack hold heavy bins?
It can, if the rack, fasteners, and ceiling framing all support the planned load. Check the manufacturer’s load rating and spread the weight across the platform. Don’t attach a rack to drywall alone, and don’t exceed the rating even if the frame looks strong.
How high should a garage ceiling rack be?
Set the rack high enough to clear your vehicle, doors, and walking path. Measure the tallest vehicle point, then add clearance for movement and stored items. Leave enough room to remove bins without scraping the ceiling or nearby fixtures.
Are pulley ceiling racks safe?
They can be safe when the pulleys, rope, locking cleat, brackets, and frame match the load. Inspect the rope and locking parts often. Keep people clear while the platform moves, and replace damaged parts before using the rack again.
Do I need professional help to install one?
You may handle a small rack if you can locate the framing, follow the instructions,. And lift the frame safely with another person. Get professional help if the ceiling uses trusses you can’t identify, if wiring.
Or plumbing blocks the mounting points, or if the planned load is heavy.
Final Buying Checklist
- Measure the ceiling, vehicle, doors, lights, and garage opener.
- Confirm the rack will attach to joists, beams, or approved structural supports.
- Choose a fixed, pulley, or motorized design based on access needs.
- Read the load rating and plan a margin below the maximum.
- Check the platform size against the bins you already own.
- Use the correct fasteners and pilot hole sizes.
- Plan safe loading, inspection, and access procedures.
- Keep heavy or frequently used goods at a lower level.
A ceiling storage rack works best when it matches the garage structure and the way you store items. Measure first, plan the load, and install each support point with care. With those steps in place, overhead storage can free floor space without creating a new safety problem.

Callum Langham
Founder & Technical Storage Editor
Callum Langham is the founder and technical editor of Rack System. With over 12 years of hands-on field experience in warehouse logistics, garage organization, and industrial storage installations, Callum specializes in engineering safety standards, beam load calculations, and OSHA/RMI compliance. Every guide on Rack System is audited against verified steel gauge tolerances and municipal building codes.