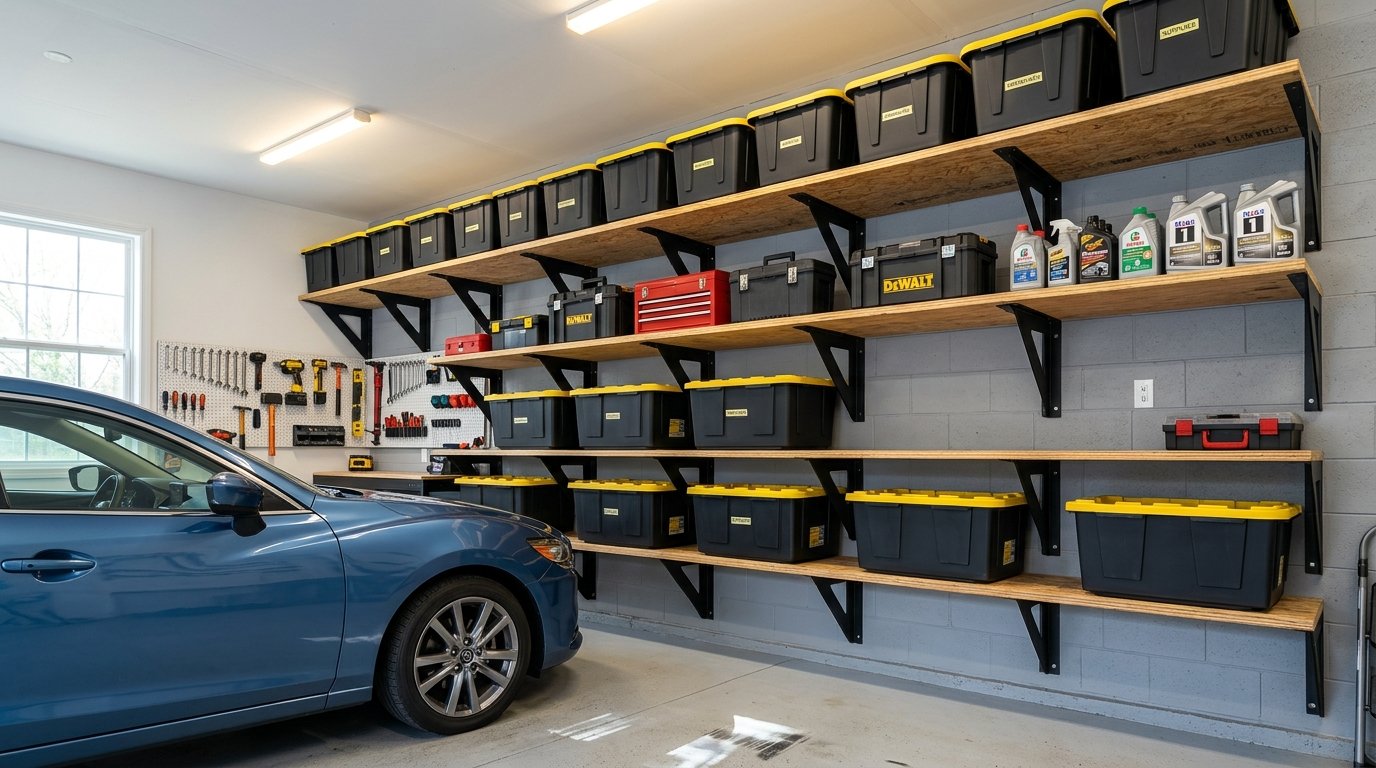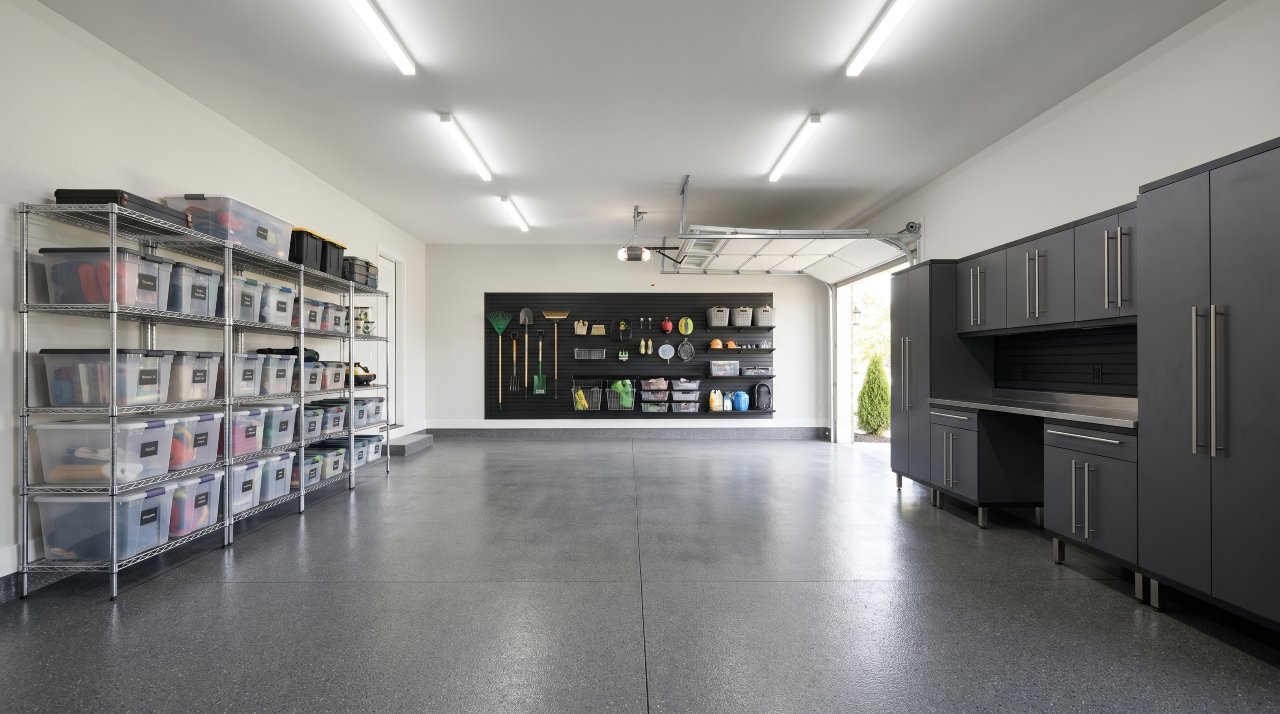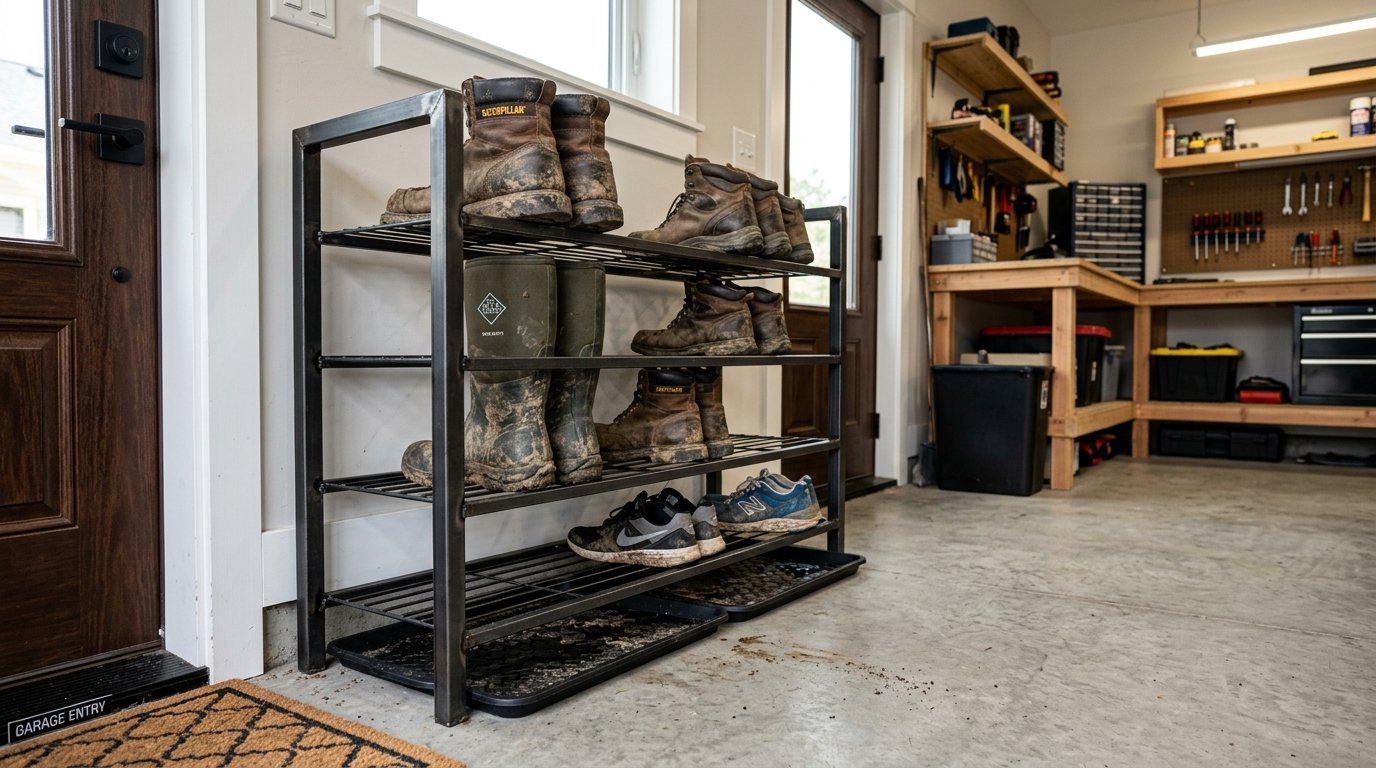
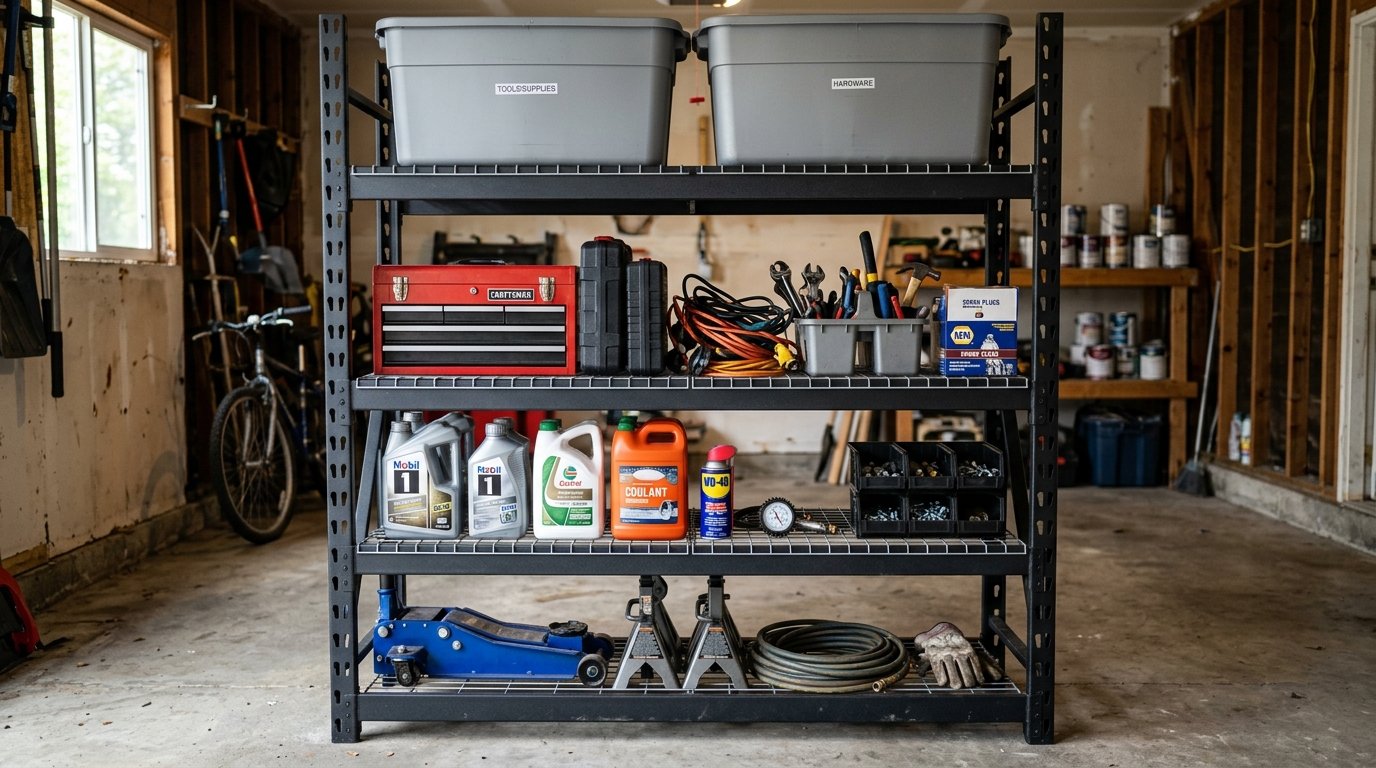
A heavy duty rack for garage storage can turn loose tools, boxes, tires,. And seasonal gear into a safe, usable storage system. The right rack will carry serious weight, use vertical space, and keep items off the floor.
The wrong rack can bend, wobble, rust, or fail when shelves are loaded unevenly.
This guide covers the main points you should check before buying a garage rack. You’ll learn how to choose the right load rating, material, shelf depth, frame design, and safety features. You’ll also see how to plan the rack’s location and load it without putting people or property at risk.

Why Use a Heavy Duty Garage Rack?
Garage floors often become storage areas by default. Boxes stack beside the car, tools sit on the floor, and bulky equipment blocks access to the wall. A heavy duty rack gives these items a fixed home and makes better use of the space above them.
Most garage racks are built with steel uprights, horizontal beams, and shelves made from steel panels, wire decking, or wood. The frame transfers weight down to the floor. This design lets a rack support much more than a small plastic shelf or light household bookcase.
A well-built unit can hold storage bins, power tools, paint supplies, spare parts, camping gear, lawn equipment, and vehicle supplies. It can also keep heavy items at a safe height. So you don’t need to lift large boxes onto a narrow ledge.
Before you buy, check the rack’s stated shelf capacity. A shelf rated at 1,000 pounds usually assumes the weight is spread across the full shelf. A small box weighing 300 pounds in one corner can.
Create more stress than several lighter boxes spread across the deck.
Check Your Garage Before You Buy
Measure the space first. Record the available width, height, and depth. Then measure doors, vehicles, workbenches, water heaters, windows, and electrical panels.
A rack that fits on paper may still block a door or leave too little room to walk around it.
Measure Height and Ceiling Clearance
Vertical storage works best when you use the height of the garage, but you need safe clearance above the rack. Leave room for ceiling lights, garage door tracks, and the movement of the garage door. If the door runs along the ceiling, a tall rack may need to sit on a side wall instead.
Leave enough space above the top shelf to remove boxes without scraping your hands or hitting the ceiling. You should also be able to see the top shelf clearly while standing on the floor. Don’t plan to climb on the rack frame or use an unstable box as a step.
Check the Floor and Wall
The floor should be fairly level and strong enough for the loaded rack. A sloped or cracked slab can cause the frame to lean. Small leveling feet can correct minor differences, but they won’t fix a badly damaged floor.
Check the wall material before planning an anchor point. Concrete, masonry, wood studs, and drywall each need different fasteners. Drywall alone can’t support a large rack.
If the rack sits near a wall, use the correct anchors or attach it to structural framing.
Pick the Right Load Rating
Load rating is one of the most important details in a heavy duty rack for garage storage. Look for a rating listed per shelf, not just a total rack capacity. A rack rated for 4,000 pounds may support 1,000 pounds per shelf across four shelves.
It doesn’t mean each shelf can hold 4,000 pounds.
Make a rough list of what you’ll store. Estimate the weight of each group, then add extra capacity. For example, five storage tubs at 60 pounds each weigh 300 pounds.
Add tool cases, spare parts, and future items, and the shelf may need a 500-pound rating or more.
Leave a safety margin instead of loading every shelf to its stated limit. Ratings can depend on even weight distribution, proper assembly, level placement, and the use of all required beams and braces. Missing parts or a damaged frame can reduce capacity.
Watch for UDL Ratings
UDL means uniform distributed load. It describes weight spread evenly across the shelf. This rating doesn’t cover a very heavy object placed in one small spot.
An engine block, steel drum, or dense tool chest may need a shelf with stronger decking and better point-load support.
Ask the seller how the shelf rating was tested. Check if the rating applies to the complete assembled rack or to the beam pair only. You’ll also want to know if the number changes when shelves are adjusted to different heights.
Compare Common Rack Materials
Steel is the usual choice for serious garage storage because it resists bending and handles repeated use. Still, steel racks differ in coating, frame construction, decking, and connection style. Use the table below as a quick starting point.
| Rack Material | Rivet Assembly Type | UDL Shelf Rating | Corrosion Resistance |
|---|---|---|---|
| Powder-Coated Steel | Double-rivet Z-beam | 800 to 1,500 lb per shelf | High (garage damp environments) |
| Zinc-Plated Wire Deck | Keyhole rivet post | 500 to 1,000 lb per shelf | Medium (dry storage needed) |
| Welded Steel Frame | Bolted step beams | 1,500 to 3,000 lb per shelf | Very High (industrial garage) |
Powder-Coated Steel
Powder-coated steel has a baked-on finish that helps protect the frame from scratches and light moisture. It’s a strong fit for most home garages, workshops, and storage rooms. The coating can chip if metal parts are dragged across the beams, so touch up damaged areas before rust spreads.
Double-rivet Z-beams connect the shelf beams to the uprights with a strong mechanical joint. These racks often assemble without nuts and bolts, which can save time during setup. You still need to seat every rivet fully and check each connection before loading the shelves.
Zinc-Plated Wire Deck
Zinc-plated wire decks resist rust better than bare steel in dry conditions. The open deck lets light pass through and may help air move around stored goods. It can also make it easier to see smaller items on lower shelves.
Wire decking may need extra support under small, dense loads. A narrow caster, metal foot, or box corner can press between the wires. Use a solid shelf panel or a load-spreading board when storing items with small contact points.
Welded Steel Frames
Welded steel frames offer high strength and good resistance to movement. They’re useful for heavy toolboxes, machinery parts, drums, and other dense loads. The tradeoff is that welded racks can cost more and may be harder to move after assembly.
Bolted step beams make a strong connection, but they take longer to assemble. Tighten every bolt with the correct tool, then check the fasteners. Again after the rack has carried a load for a few days.
Choose the Right Shelf Depth
Shelf depth affects both storage space and access. A 12 to 18 inch shelf can work well for hand tools, small bins, paint supplies, and household boxes. A 24 inch shelf gives you more room for large tubs, tires, and equipment cases.
Deep shelves can create a problem if you can’t reach the back safely. Store light. Or rarely used items behind heavier items only when you can remove them without pulling down the front row.
Keep daily-use supplies near the front or on a shallower shelf.
Measure your largest containers before choosing shelf depth. Add a few inches of clearance so boxes don’t hang over the edge. Overhanging loads can catch clothing, reduce walking space, and place extra stress on the beam.
Pick Rivet, Bolt, or Welded Assembly
Rivet racks use tabs or rivets that fit into slots in the upright posts. They’re often quick to assemble and easy to adjust. A rubber mallet can help seat the connections, but don’t strike painted parts with a steel hammer.
Bolted racks use nuts, bolts, and sometimes angle braces. They usually take more time to build, but they offer a familiar connection that can be tightened during maintenance. Use the fasteners supplied with the rack unless the maker gives an approved replacement.
Welded frames arrive with major sections already joined. They can feel solid right away, but they’re less flexible if you later need a different layout. Check the rack’s assembled weight and doorway clearance before delivery.
Plan the Shelf Layout
Put the heaviest items on the lowest shelf. This lowers the center of gravity and reduces the chance of tipping. Medium-weight items can go in the middle, while light boxes and seasonal goods can sit higher.
Keep heavy loads centered between the uprights. Don’t place a dense box at the front edge or on one corner. If the shelf has adjustable beams, install them at the.
Height needed for the load instead of leaving large unused gaps.
Use clear plastic bins when possible. Labels on the front let you find items without unloading a shelf. For larger racks, label each bay and shelf with a simple code, such as B2-S3 for bay two, shelf three.
Leave a small gap between stored items and the wall. This helps you inspect the rack and spot moisture, pests, or damage. It also prevents boxes from rubbing against the wall or blocking vents.
Anchor the Rack for Safety
A tall rack can tip if a heavy item is pulled from a high shelf or if the load shifts. Anchor the uprights to a wall when the maker allows it. Use fasteners that match the wall structure, and follow the installation instructions.
Anchoring doesn’t replace good loading practice. The rack still needs to be level, fully assembled, and loaded from the bottom up. Don’t remove braces because they interfere with a box.
Braces help keep the frame square and stable.
If children or pets use the garage, keep climbable items off the lower shelves. Store hazardous liquids, sharp tools, and chemicals in closed containers. Keep these materials away from heat sources and follow the product label for storage.
For workplace or commercial storage, review the OSHA storage regulations. These rules cover safe stacking, clearance, and stored material conditions in covered work areas.
Protect Against Garage Moisture
Garages can collect moisture from wet vehicles, rain, snow, and temperature changes. A coated or plated rack gives better protection than bare steel, but no finish lasts forever in standing water.
Keep the rack off wet areas and repair leaks before storing metal tools. Wipe down shelves after a spill and check the bottom of the uprights for rust. A small rubber foot or approved leveling pad can help keep the frame away from damp concrete.
Don’t store cardboard boxes directly on the garage floor. Moisture can move through the slab and damage the contents. Use the lowest rack shelf for items that need protection, while keeping enough clearance for cleaning and inspection.
Assembly Tips That Prevent Problems
Read the parts list before starting. Lay out the uprights, beams, braces, shelf panels, feet, and fasteners. Missing one brace or installing a beam backward can affect the rack’s shape and capacity.
Build the frame on a clear, level surface. Wear work gloves because steel edges can be sharp. If the rack is tall or heavy, have another adult help hold the uprights during assembly.
Start with a loose fit on bolted connections, square the frame, and then tighten the bolts. For rivet racks, make sure every tab sits fully inside its slot. Push down on the beam until the connection is seated, then inspect both sides.
After assembly, check the rack from the front and side. The uprights should be straight, and the shelves should sit level. Push the frame gently to check for excess movement.
Some movement can come from an uneven floor, but a loose connection needs attention before loading.
Where to Find More Storage Ideas
Rack size and shelf style depend on what you’re storing and how often you’ll use it. Review these heavy duty storage racks for more information on rack features, weight planning, and garage layouts.
If you need a shelf system for lighter tools, bins,. Or wall-adjacent storage, compare these heavy duty garage shelves. You can also review the Lowe’s garage shelving guide for common sizes and garage storage options.
Common Buying Mistakes
Choosing by Price Alone
A low price may mean thinner steel, lower shelf capacity, weaker connections, or poor corrosion protection. Compare the frame thickness, shelf rating, finish, warranty, and included hardware before choosing a rack.
Ignoring the Loaded Weight
Many buyers estimate the weight of empty boxes instead of the contents. A bin filled with books, tools, or vehicle parts can weigh far more than it looks. Weigh a sample container if you aren’t sure.
Blocking Access and Equipment
Don’t place a rack where it blocks the electrical panel, furnace, water heater, or garage door controls. Keep walkways open and maintain the clearance required for equipment access and service work.
Skipping Regular Inspections
Check the rack twice a year, and inspect it after moving heavy loads. Look for bent beams, cracked welds, loose bolts, missing rivets, rust, and shelf boards that have started to sag. Remove damaged parts from service until they’re replaced.
Frequently Asked Questions
How much weight can a garage rack hold?
The capacity depends on the frame, shelf design, beam size, and assembly method. Many heavy duty models support 800 to 1,500 pounds per shelf, while industrial welded models can support more. Check the manufacturer’s UDL rating and spread the load across the shelf.
Should heavy items go on the top shelf?
No. Put heavy items on the lowest shelf to reduce tipping risk and make lifting safer. Use upper shelves for light boxes, empty containers, seasonal decorations, and other items you don’t need often.
Are rivet racks strong enough for a garage?
Yes, a properly assembled rivet rack can work well in a garage. Check the shelf rating, rivet design, upright size, and brace layout. Make sure every rivet is seated and anchor a tall rack when the manufacturer permits it.
Can a steel rack rust in a garage?
Yes. Moisture, road salt, leaks, and condensation can damage even coated steel over time. Choose a coated or plated finish, keep shelves dry, clean spills quickly,.
And inspect the frame for chips or rust spots.
Final Buying Checklist
- Measure the rack area, doors, ceiling, and garage door tracks.
- Confirm the shelf rating is listed per shelf.
- Check if the rating uses a uniform distributed load.
- Choose a shelf depth that fits your largest containers.
- Pick a finish that suits the garage’s moisture level.
- Check the connection type and included hardware.
- Plan to place heavy items low and light items high.
- Confirm the rack can be anchored to the wall or floor.
- Keep access clear around doors, panels, heaters, and equipment.
- Inspect the frame, beams, braces, and shelves on a regular schedule.
A heavy duty rack for garage storage should match the space, the load, and the way you work. Measure first, select a suitable capacity, assemble every connection correctly, and keep the heaviest items low. With those steps, your garage can hold more gear while staying easier and safer to use.

Callum Langham
Founder & Technical Storage Editor
Callum Langham is the founder and technical editor of Rack System. With over 12 years of hands-on field experience in warehouse logistics, garage organization, and industrial storage installations, Callum specializes in engineering safety standards, beam load calculations, and OSHA/RMI compliance. Every guide on Rack System is audited against verified steel gauge tolerances and municipal building codes.