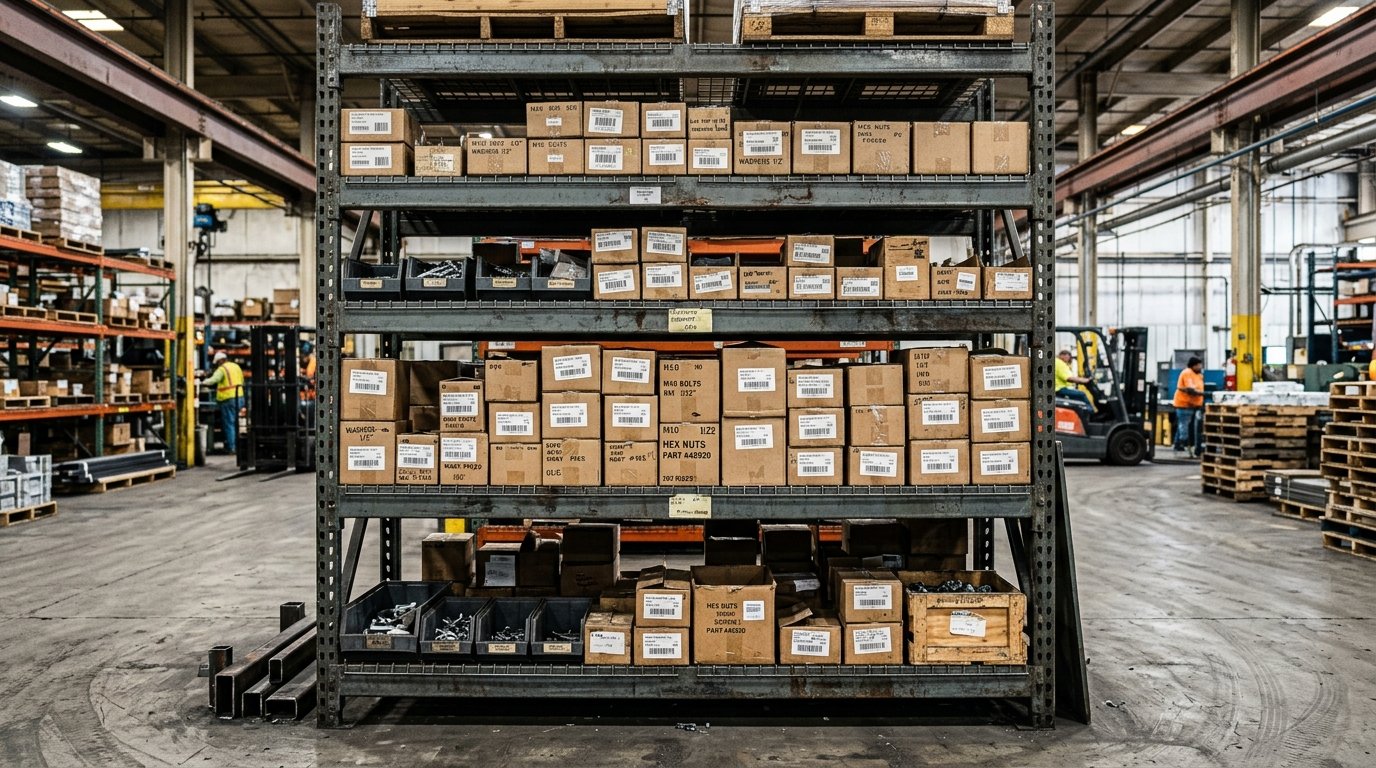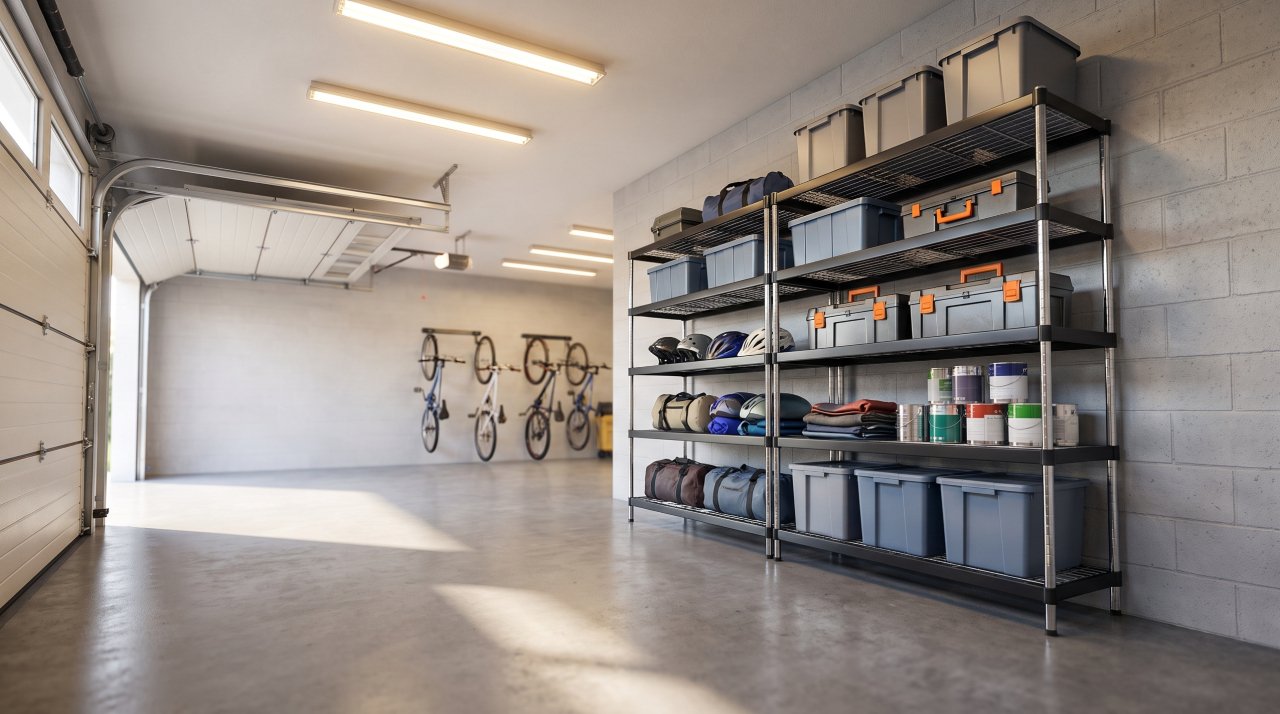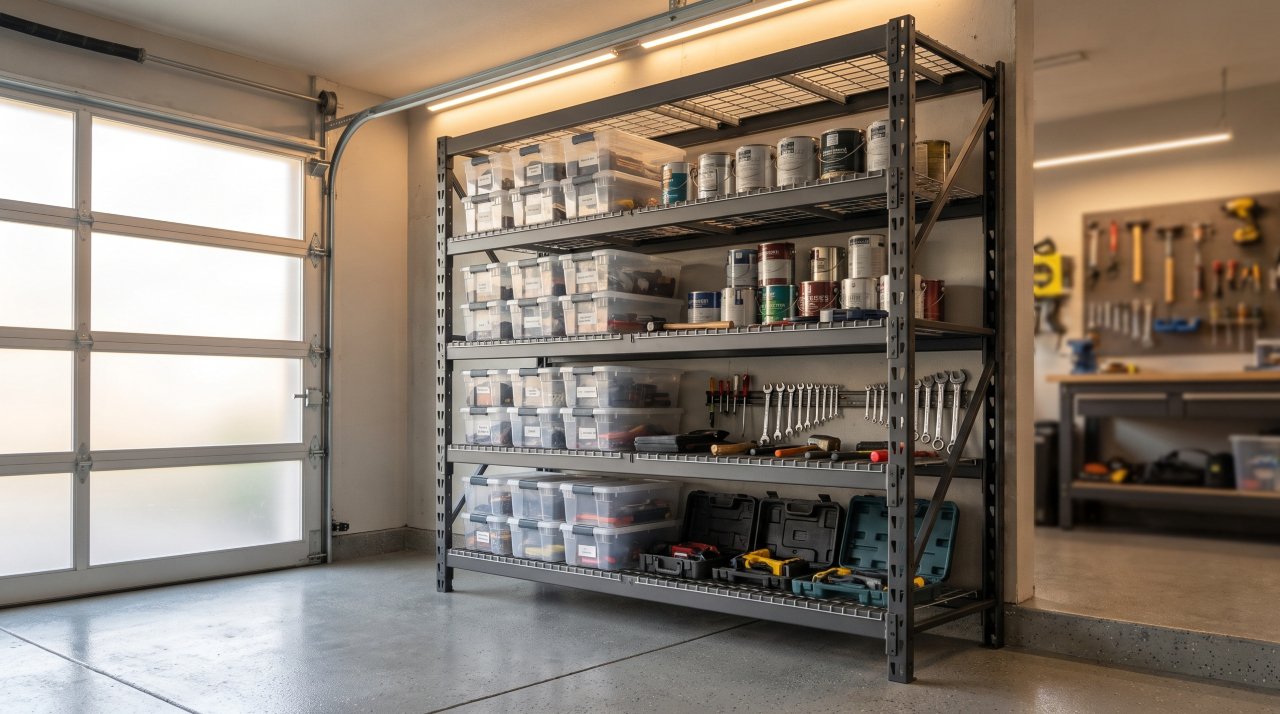
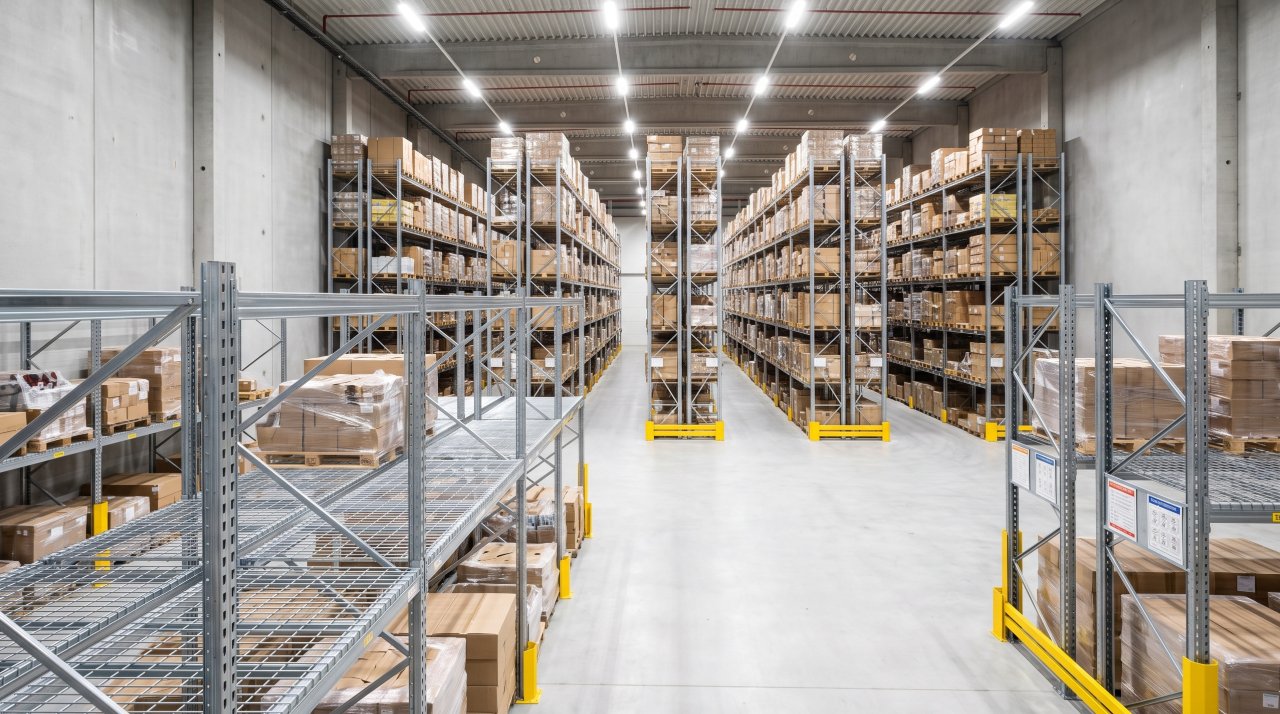
Most warehouse racking supply orders go wrong the same way. Someone measures the floor, picks an upright height, finds a beam length that fits the pallet, and places the order. Then the rack arrives, the installation starts, and someone realises they forgot the safety pins, the column protectors, the wire decking, the anchor bolts, or the row spacers. At best, that means a second shipment and a delayed setup. At worst, it means a rack that goes up without the safety hardware that keeps it from failing.
Warehouse racking supplies aren’t just the rack frames and beams. They’re everything that goes into making a storage system structurally correct and OSHA-compliant from day one.
This guide covers every category of warehouse racking supplies, the spec details that actually matter, and a complete buying checklist organised by component type. It also covers how the supply list shifts depending on which racking system you’re running — because what you need for a selective pallet rack setup is different from what you need for drive-in racking or cantilever systems.
The Core Structure: What Every Racking System Needs
Before getting into system-specific supplies, these four components form the structural backbone of any warehouse rack. Get any one of them wrong and the rest of the build is compromised.
1. Upright Frames
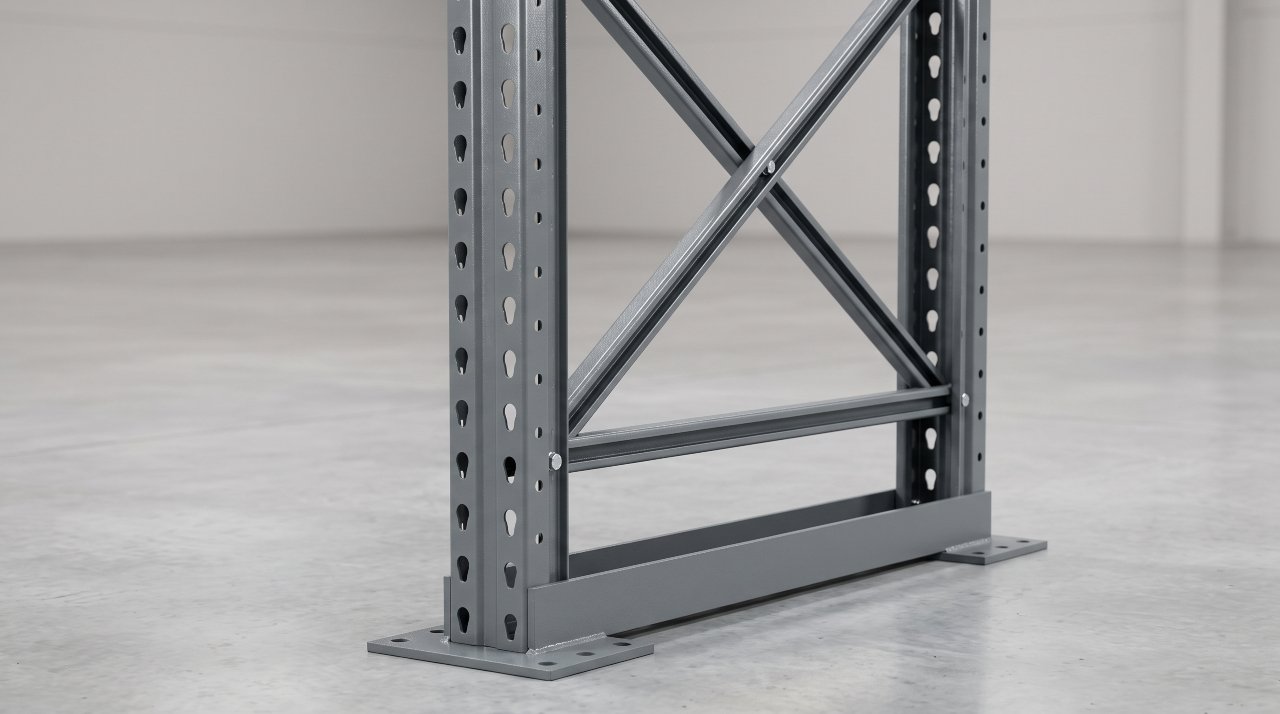
The upright frame is the vertical backbone of the system — two steel columns joined by diagonal and horizontal bracing, with a baseplate welded to the bottom. Everything else bolts to or rests on the uprights.
Specs to know before ordering:
- Column profile: Standard teardrop-style uprights (the most common in the US) use 3″ x 3″ or 3″ x 1-5/8″ column profiles. The teardrop slot pattern is what allows beam connectors to hook in at adjustable heights.
- Steel gauge: 14-gauge steel is the industry standard for most industrial upright frames. Heavy-duty configurations use thicker gauges for higher column capacities.
- Height: Standard industrial uprights run from 8 feet to 20+ feet. Match to your usable ceiling clearance minus 48 inches (clearance required above top load for fire suppression systems in most codes).
- Depth (frame depth): Determines how far front-to-back a pallet can sit. Common depths are 36″, 42″, and 48″ for standard pallet storage.
The number most buyers miss — the unsupported span rule: Upright capacity is not fixed. It decreases as the distance between beam levels increases, because a wider gap creates a longer unsupported column section that’s more vulnerable to buckling under load. A 20-foot upright rated at a given capacity assumes beam levels at specific vertical intervals. Space the beams too far apart and the column’s effective capacity drops significantly — sometimes by 30–40%. Always pull the manufacturer’s column capacity table and match it to your intended beam layout before ordering.
2. Horizontal Beams
Beams are the horizontal members that connect between uprights to create each storage level. They carry the load directly and transfer it down to the uprights.
Specs to know:
- Length: Common beam lengths are 8′, 9′, 10′, and 12′ in the US market. Match beam length to your pallet width plus 3–6 inches of clearance on each side.
- Capacity: Listed as the maximum distributed load per pair of beams at a given length. A typical 8-foot beam pair in a standard selective rack holds 2,000–5,000 lbs depending on beam profile depth and steel gauge. Heavier industrial setups go higher.
- Beam profile: Step beams (with a built-in step for wire decking) vs. box beams (flat face, used with separate pallet supports). Know which type your decking or accessories require.
- Connector type: Teardrop connectors (most common, hook into upright slots), bolt-in connectors (used on structural rack for higher-capacity applications).
Here’s where most people get this wrong: Beam capacity is rated for uniformly distributed load — the weight spread evenly across the full beam length. If you’re placing a single heavy pallet centered on the beams, the actual capacity may be lower than the listed rating. For point loading (concentrated weight in one spot), check the manufacturer’s point load tables, not just the UDL rating.
3. Decking and Pallet Supports
Decking fills the space between beams to create a stable shelf surface. Not all racking configurations require decking, but any rack storing non-palletized goods, small containers, or irregularly shaped items needs it.
Types:
- Wire decking: The standard for most warehouse applications. Open mesh allows water from fire suppression sprinklers to flow through to lower levels — a code requirement in many jurisdictions. Standard wire deck sizes are 42″ x 46″ and 42″ x 52″ to match common beam spans and pallet depths.
- Solid steel decking: Used where wire decking creates gaps that could allow small items to fall through. Higher cost, blocks sprinkler flow, so check local fire code before specifying.
- Pallet support bars: Steel bars that span between beams to give additional support to non-standard pallets or heavy loads. Used instead of full decking on pallet rack, or in addition to wire decking for extra support.
4. Baseplates and Anchor Bolts
The baseplate is welded to the bottom of the upright and distributes the column’s load to the concrete floor. Anchor bolts run through the baseplate into the slab and keep the upright fixed in position.
What to check:
- Baseplate size: Larger baseplates (5″ x 5″ and up) distribute loads better and are required for taller or more heavily loaded uprights.
- Anchor bolt spec: The manufacturer’s load documentation specifies the minimum anchor bolt diameter, embedment depth, and concrete strength required for the system to achieve its rated capacity. Using undersized anchors or anchoring into a slab that’s too thin voids the capacity rating. Most industrial installations require 3/4″ or larger anchor bolts with minimum 3″ embedment into concrete of at least 3,000 psi strength.
Essential Safety Accessories (Non-Optional)
This is the section most orders shortchange. These items aren’t add-ons — they’re part of a compliant, safe racking installation.
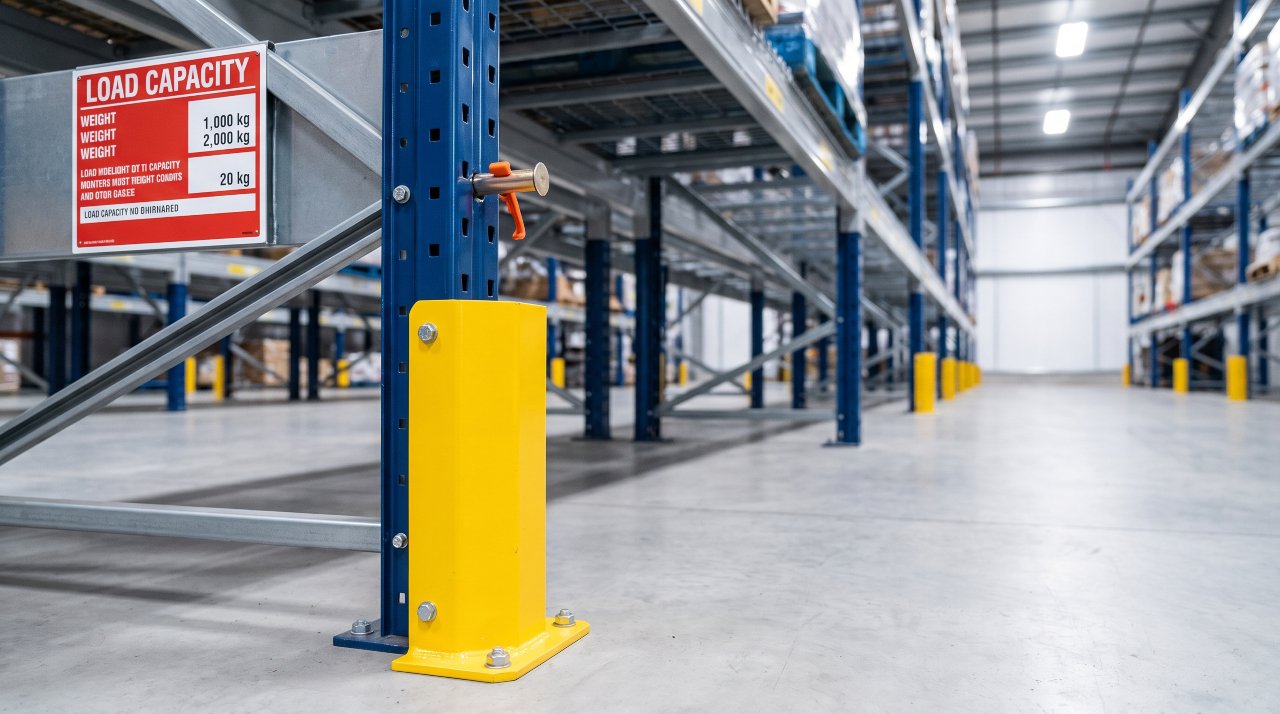
Column protectors (post guards)
Steel or polymer guards that bolt to the floor around the base of uprights at aisle-facing positions. They absorb forklift impact before it reaches the upright. A single forklift collision with an unprotected upright can cause enough deformation to reduce column capacity by 20–30%. Column protectors are inexpensive relative to the cost of upright replacement or a rack collapse. Budget one for every aisle-facing upright column.
Safety pins (beam locking pins)
Metal pins that drop through the beam connector into the upright slot to prevent the beam from lifting out under impact or upward forklift force. OSHA and ANSI/RMI rack standards require beam locking devices on all pallet rack installations. Safety pins are rated for approximately 1,000 lbs of upward force per connection — they keep the beam seated, not carry primary load. They come with the beams on new systems; verify they’re included on used rack orders.
Row spacers
Steel tubes that bolt between back-to-back rows of racking to maintain consistent spacing and add lateral rigidity to the row. Required on any installation with two rows running back to back. Row spacers also prevent uprights from gradually shifting under repeated forklift impacts.
Load capacity placard
Required by OSHA for every racking installation. Displays the maximum load per shelf level and the maximum total system load. Manufacturers supply these; make sure yours arrives with the system and is mounted at the end of each row before anything goes on the rack.
Upright frame repair kits
Not a “buy now” item, but a “have on hand” item. Forklift damage to uprights is when, not if. Repair kits (column repair brackets) let you restore a damaged upright’s structural integrity without full replacement, if the damage is within the repair bracket’s spec. Stock one or two per rack system.
System-Specific Supply Additions
Your core supply list above applies to all systems. Here’s what changes depending on which system you’re running.
Selective Pallet Racking
Standard teardrop uprights, step beams, wire decking, column protectors, safety pins, row spacers, load placard. This is the baseline — everything listed above. Selective rack is the most common system precisely because the supply list is straightforward and components are widely available.
Add: Pallet backstops or load stops on the back side of each bay if your forklift drivers tend to push pallets too far back. These prevent pallets from falling off the rear of the rack into an adjoining aisle.
Double-Deep Racking
Same core components, but uprights run deeper (72″–84″ frame depth is common to store two pallets deep). Requires a double-deep forklift or reach truck with extended reach. The supply list itself is similar to selective rack.
Add: Pallet guides on each arm level to keep pallets aligned as they’re pushed back. Without guides, the second pallet tends to skew and become difficult to retrieve.
Drive-In and Drive-Thru Racking
This is where the supply list changes most significantly. Drive-in rack has no horizontal beams in the traditional sense — instead, rails run the depth of the bay on which pallets rest. Uprights are structural and take significant lateral load from forklift traffic inside the bays.
Additional supplies required:
- Pallet rails (guide rails): Run depth-wise inside each bay lane. Pallets rest on these rails rather than cross-beams.
- Continuous column guards: Full-height column protection on all interior-facing uprights, not just base guards.
- Forklift guide bars: Floor-mounted guide rails that keep forklifts tracking straight as they drive into the bay.
- Rear rack stops: Prevent pallets from being pushed off the far end of the rail system.
Cantilever Racking
Cantilever systems use a different supply category entirely — uprights, arms, bases, and bracing rather than frames and beams. For the full breakdown of cantilever-specific supplies, our guide to cantilever racking options covers every component and arm spec in detail.
New vs. Used Warehouse Racking Supplies
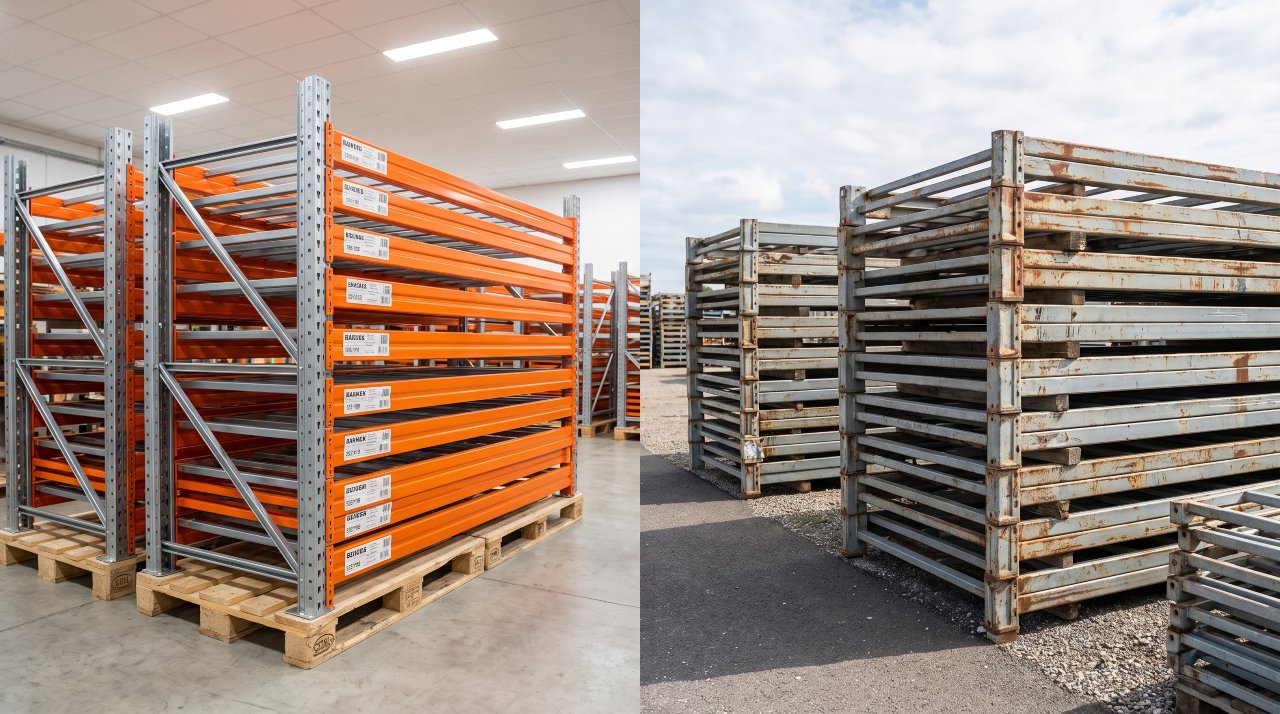
Used racking is 30–50% cheaper than new and often available for immediate pickup. It’s a real option — but with specific conditions.
When used racking makes sense:
- Short-term storage expansion where the system may be reconfigured or removed within 2–3 years
- Supplemental overflow racking in a low-traffic area
- When the seller can provide original load documentation and the system has been professionally inspected
When to buy new:
- Any primary, high-throughput warehouse installation
- Systems that will store heavy or high-value inventory
- When you need a specific configuration that isn’t available in the used market
- Any application requiring OSHA-compliant load placards from the original manufacturer
The critical check for used racking: Bent uprights, damaged beam connectors, or missing safety pins are disqualifying defects. A bent upright has compromised structural capacity that can’t be reliably calculated without engineering assessment. Never put a load on used racking before a professional inspection, and never assume a “slightly bent” upright is still within spec.
New selective pallet racking costs 55–200 per pallet position for standard configurations. Complex systems like drive-in or pallet flow run 200–500 per position. Installation typically adds 20–30% on top of component cost.
Your Pre-Order Buying Checklist
Work through this before placing any warehouse racking supplies order:
- Measure your heaviest pallet. Length, width, height, and weight. Every component gets sized from this number.
- Check your ceiling clearance. Subtract 48″ for fire suppression clearance. That’s your usable rack height.
- Map your aisle widths. Confirm your forklift type and its minimum turning radius. Your aisle width determines whether selective, double-deep, or drive-in is operationally feasible.
- Pull the upright load table. Confirm your intended beam level spacing against the manufacturer’s capacity table. Don’t just check the upright’s listed capacity — check it at your specific beam spacing.
- Build the full supply list. Core components first (uprights, beams, decking, baseplates, anchors), then safety accessories (column protectors, safety pins, row spacers, load placards), then system-specific additions.
- Confirm anchor bolt spec against your slab. Get your concrete slab thickness and psi rating before finalising the baseplate and anchor bolt spec.
Frequently Asked Questions
What are warehouse racking supplies?
Warehouse racking supplies are all the components and accessories that make up an industrial storage rack system. This includes structural components (upright frames, horizontal beams, baseplates), decking and pallet supports, and safety accessories (column protectors, safety pins, row spacers, load placards, anchor bolts). The exact supply list varies by racking system type — selective, drive-in, cantilever, and double-deep each have different component requirements.
How much do warehouse racking supplies cost?
Standard selective pallet racking runs 55–200 per pallet position for components. High-density systems like drive-in or pallet flow cost 200–500 per pallet position. Installation adds approximately 20–30% on top of the component cost. Used racking runs 30–50% less than new, but requires professional inspection and original load documentation before use. Always budget for safety accessories — column protectors, safety pins, and anchor bolts — on top of the core component cost.
What safety accessories are required for warehouse racking?
OSHA warehousing requirements require beam locking devices (safety pins) on all pallet rack installations, and a load capacity placard on every racking system showing maximum load per level and total system capacity. Column protectors (post guards) are strongly recommended on all aisle-facing uprights to prevent forklift damage. Row spacers are required for back-to-back row configurations. These items aren’t optional on a compliant installation.
What is the difference between new and used warehouse racking?
New racking comes with manufacturer load documentation, warranty, and OSHA-compliant load placards. Used racking costs 30–50% less but has an unknown damage history. Bent uprights, damaged connectors, or missing safety hardware on used rack are disqualifying — the capacity of a damaged upright can’t be reliably determined without engineering assessment.
How do I know what size uprights and beams to order?
Start with your heaviest pallet dimensions and weight. Beam length should equal pallet width plus 3–6 inches of clearance on each side. Upright height should match your usable ceiling clearance (total ceiling height minus 48 inches for fire suppression clearance). Upright capacity must be verified against the manufacturer’s column load table at your specific beam level spacing — capacity decreases as the vertical distance between beam levels increases. Always pull the load table, not just the headline capacity figure.
Can I mix racking components from different manufacturers?
In most cases, no — and it’s not worth the risk. While some “universal” accessories like safety pins are designed to fit most teardrop-style uprights, structural components (uprights, beams) from different manufacturers have different steel grades, connector tolerances, and load ratings. Mixing structural components invalidates the manufacturer’s load certification and creates configurations with unknown capacity. Stick to one manufacturer’s system, or have a structural engineer certify any mixed configuration before loading it.
Conclusion
Getting your warehouse racking supplies right the first time comes down to three things: knowing every component on the list (not just the obvious ones), checking the upright load table at your actual beam spacing before ordering, and including the safety accessories that most first orders forget.
For a full picture of how these systems fit into your racking strategy, read our complete heavy duty racking guide before finalising your system choice. If you’re storing standard palletized goods, our guide to pallet shelving options walks through the spec decisions for that specific setup.
Bookmark this page before your next supply order. The checklist in the pre-order section is worth running through every time, even on a reconfiguration.

Callum Langham
Founder & Technical Storage Editor
Callum Langham is the founder and technical editor of Rack System. With over 12 years of hands-on field experience in warehouse logistics, garage organization, and industrial storage installations, Callum specializes in engineering safety standards, beam load calculations, and OSHA/RMI compliance. Every guide on Rack System is audited against verified steel gauge tolerances and municipal building codes.