The average American spends 55 minutes per week searching for misplaced tools – that’s nearly two full days every year lost in a cluttered garage. If you’ve ever started a quick repair job and spent more time hunting for your socket wrench than actually fixing anything, you know exactly how frustrating poor garage tool organization feels.
This guide gives you a clear, step-by-step approach to organizing your garage tools properly — without wasting money on systems that don’t fit your space. You’ll learn which storage methods work best for which tools, how to zone your garage like a pro, and how to keep everything organized long-term. Whether you’re starting from scratch or fixing a space that’s gotten out of control, you’re in the right place.
Why Most Garage Tool Organization Fails
Most people skip the planning phase entirely. They buy a pegboard or a tool chest, stick it on a wall, and wonder why their garage is still a mess six months later.
The real problem isn’t the products — it’s the lack of a system. According to the National Association of Professional Organizers, the number one reason organization systems fail is that they don’t match the user’s actual workflow. You need storage that works with how you use your tools, not against it.
Good garage tool organization starts with three questions: What tools do you own? How often do you use each one? And how much wall, floor, and ceiling space do you actually have?
1: Sort Your Tools Before You Buy Anything
Don’t spend a single dollar on storage until you sort your tools first. Pull everything out of your garage and sort by category — hand tools, power tools, garden tools, automotive tools, and everything else.
Then sort each category by frequency of use: tools you grab every week, tools you use monthly, and tools you rarely touch. This single step changes everything about which storage system you should buy. A drill you use three times a week needs completely different storage than a pipe wrench you touch twice a year.
Discard or donate anything broken, duplicated, or unused in the past two years. According to a 2024 study by the American Cleaning Institute, the average household holds onto 30% more items than they actively need — and garages are the worst offenders.
2: Understand the Four Garage Storage Zones
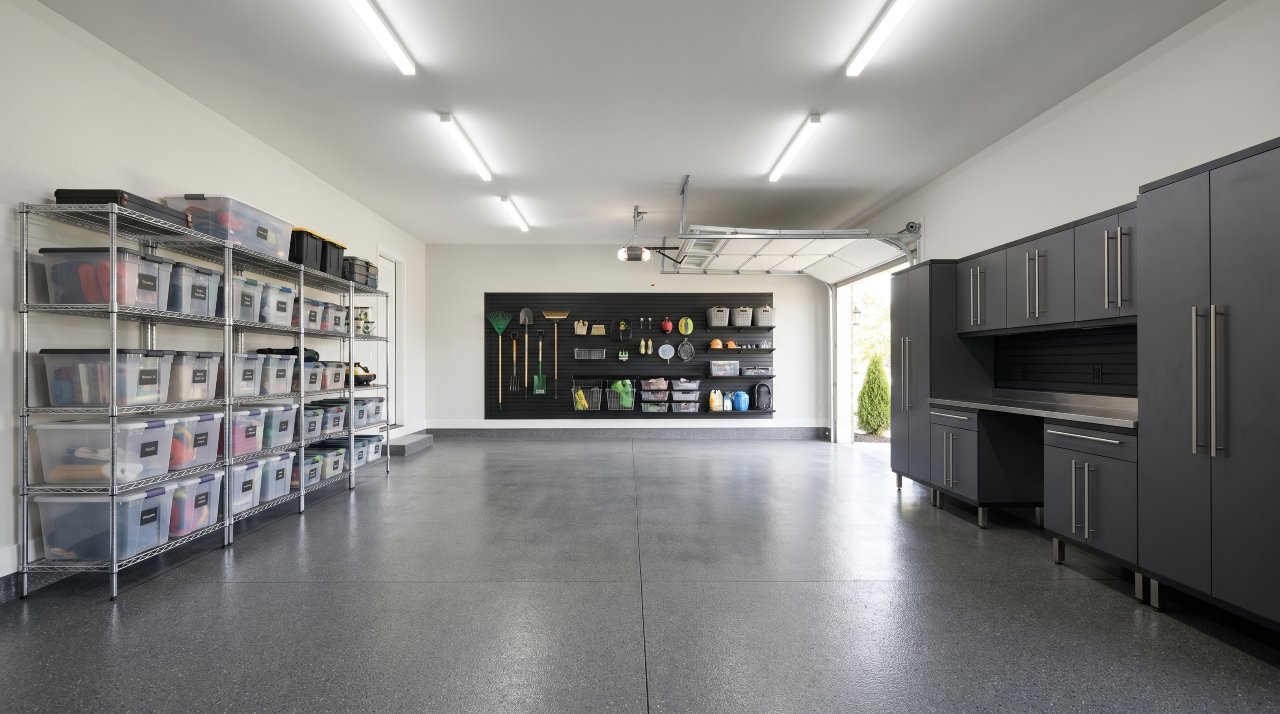
Professional organizers divide garage space into four zones, and this framework is the single most important concept in garage tool organization.
Zone 1 — Prime Real Estate: Waist-to-eye-height wall space. This is where your most-used tools live — the ones you reach for every week. Pegboards, magnetic tool strips, and shallow wall cabinets belong here.
Zone 2 — Secondary Access: Below waist and above eye level. Slightly less convenient but still accessible. Use this for monthly-use tools, spare parts bins, and medium-sized power tools.
Zone 3 — Deep Storage: Cabinets, shelves, and bins you need a step stool to reach. Seasonal tools, rarely used specialty items, and backups go here.
Zone 4 — Floor Space: Rolling tool chests, workbenches, and large equipment. Keep this zone as clear as possible for safety and movement.
3: Match the Right Storage to Each Tool Type
This is where most beginner guides fall short. Not every tool belongs on a pegboard, and not every garage needs a full tool chest. Here’s how to match storage to tool type:
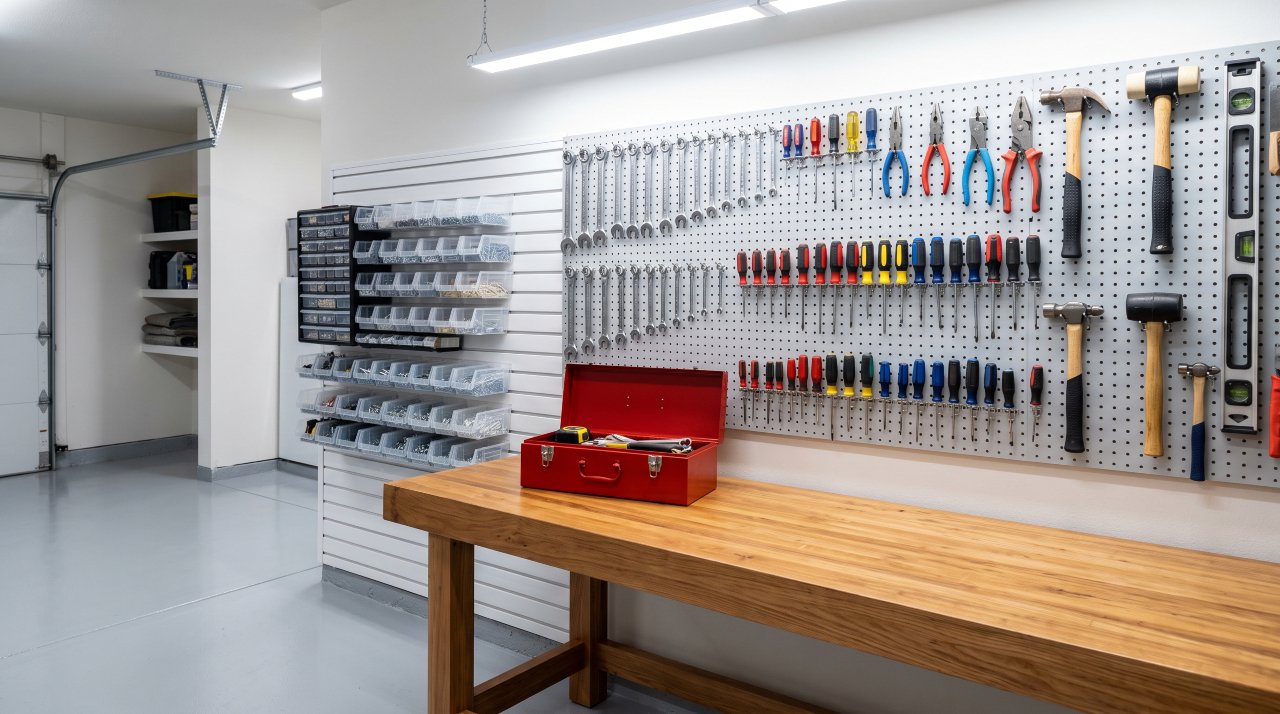
Hand tools (hammers, screwdrivers, pliers): Wall-mounted pegboards or magnetic strips are ideal. They keep tools visible, accessible, and off your workbench. Pegboards cost between $30–$80 for a 4×8 ft section, and hooks run $10–$25 per set.
Power tools (drills, circular saws, sanders): Deep shelving with labeled bins or a dedicated power tool cabinet works best. Store them with their chargers and accessories together in one spot. Never stack power tools — it damages housing and makes grabbing one safely nearly impossible.
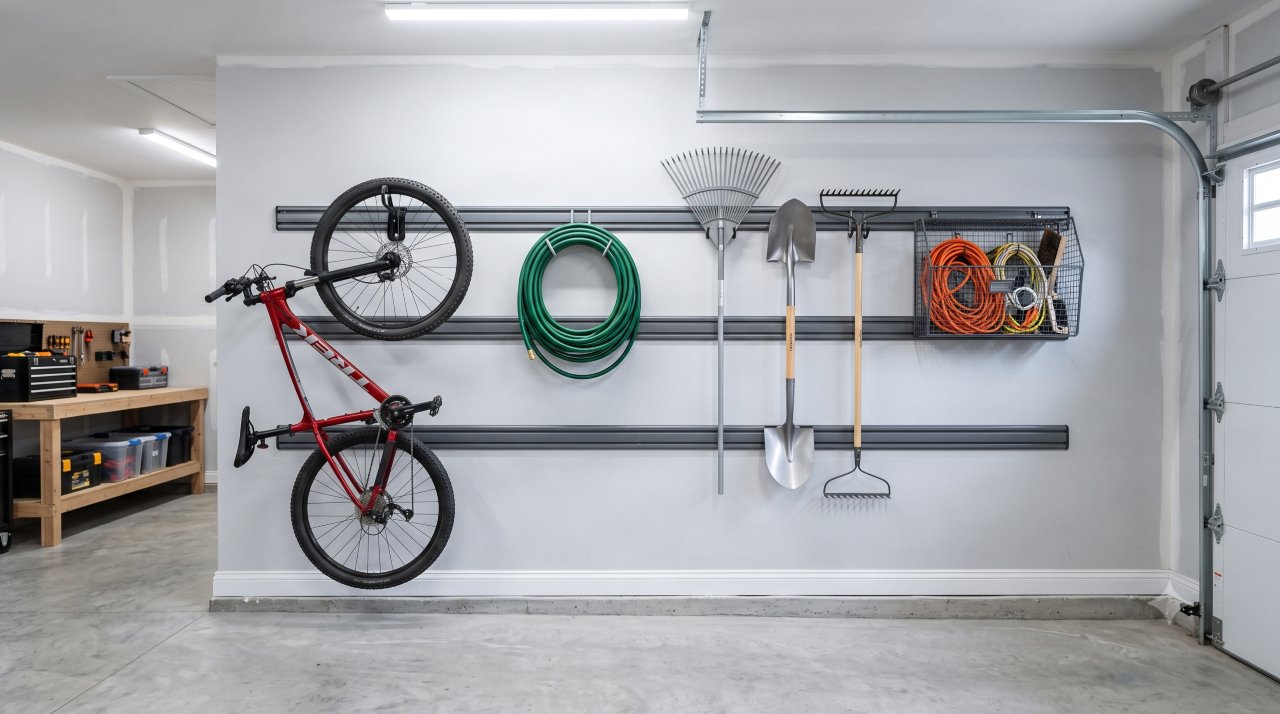
Garden tools (rakes, shovels, hoes): Long-handled tools need vertical storage. A wall-mounted rack with rubber-grip slots holds them safely off the floor. This prevents the classic “avalanche” that happens when one handle shifts.
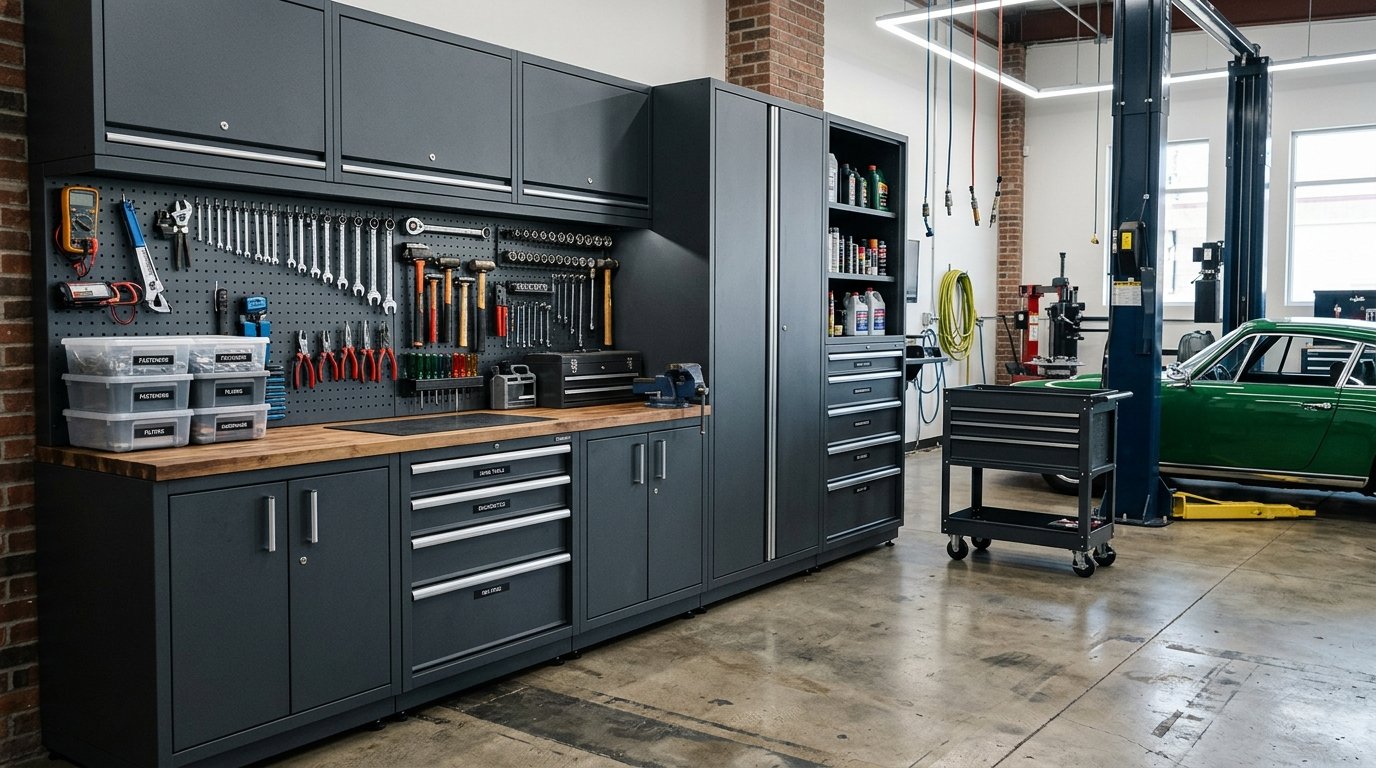
Automotive tools (wrenches, sockets, jacks): A rolling tool chest with shallow drawers is the gold standard here. Socket organizers and wrench rails inside drawers eliminate the endless search through jumbled metal.
Small hardware (screws, bolts, drill bits): Clear-bin wall systems or stackable organizer drawers are your best option. Label every bin clearly — this one habit alone saves enormous time.
The Tool Frequency System: A Smarter Approach
Here’s something you won’t find in most garage organization guides: the Tool Frequency System. Instead of organizing by tool type alone, you layer in how often you use each tool.
Picture your garage wall as three concentric rings radiating out from where you stand most often — your workbench or main work area. The inner ring holds tools you use every single week. The middle ring holds monthly tools. The outer ring holds rare-use tools.
This approach means your most-grabbed tools are always within arm’s reach, no matter which storage product you use. A pegboard loaded with tools you never touch doesn’t help you — it just looks organized. Arrange by use frequency first, tool type second, and you’ll genuinely save time every single project.
Garage Tool Organization: Key Storage Methods Compared
| Storage Method | Best For | Avg. Cost | Space Required | Skill Level |
|---|---|---|---|---|
| Pegboard + hooks | Hand tools, small power tools | $40–$100 | Wall space | Beginner |
| Magnetic tool strip | Metal hand tools | $15–$40 | Small wall strip | Beginner |
| Rolling tool chest | Automotive, power tools | $150–$800 | Floor footprint | Beginner |
| Slatwall panels | Mixed tool types | $80–$200 | Wall space | Beginner |
| Ceiling-mounted rack | Seasonal, large items | $50–$150 | Ceiling space | Intermediate |
| Wall-mount cabinet | Power tools, valuables | $100–$400 | Wall space | Beginner |
| Stackable bin drawers | Small hardware, bits | $30–$80 | Shelf or wall | Beginner |
4: Set Up Your Workbench Area First
Your workbench is the command center of your garage. Set this up before anything else.
Keep only the tools you use for active projects on or immediately near the bench. A 12–18 inch pegboard strip directly above the workbench handles your most-reached-for hand tools perfectly. Add a small parts organizer on the bench surface for whatever project you’re currently running.
Don’t let the workbench become a dumping ground — this is the single most common mistake in garage organization. Establish a rule: if it doesn’t belong to an active project, it goes back to its designated spot before you leave the garage.
The One Downside Nobody Tells You About
Good garage tool organization does take time upfront — and that’s worth being honest about. Sorting, planning, installing wall systems, and labeling everything properly takes most people a full weekend, sometimes two.
You’ll also spend real money. A solid beginner setup — pegboard, one wall cabinet, basic bins, and a small rolling cart — typically runs $200–$500 depending on the size of your garage and tool collection. That’s not a small investment.
The payoff is real, though. Research from The Spruce’s home organization data suggests that a well-organized garage increases usable space by 30–40% without adding a single square foot. And that 55 minutes per week you save searching? That’s over 47 hours per year back in your life.
5: Label Everything and Create a Maintenance Habit
Labels are the unsung hero of garage tool organization. Every bin, drawer, shelf, and hook position should have a label — even if it seems obvious right now.
Use a label maker or printed adhesive labels. Generic labels like “screws” aren’t enough — be specific: “Deck screws 1.5 inch,” “Drywall screws 2 inch.” This sounds excessive until you’re standing in your garage at 7pm with your hands full, trying to remember which bin has the right fastener.
Set a 10-minute reset habit at the end of every project. Put every tool back where it belongs before you leave the garage. This single habit is what separates people who maintain organized garages from people who reorganize theirs every two years.
You can also [read our guide on garage shelving systems to find the best products for your specific wall type and budget.
Seasonal Tool Rotation: The Step Most Beginners Skip
Your tool needs change with the seasons, and your garage storage should reflect that. In spring and summer, garden tools, lawn equipment, and outdoor power tools should be in prime-access positions. In fall and winter, snow removal tools, holiday lighting storage, and winterizing equipment take priority.
Twice a year — ideally in April and October — rotate your Zone 3 storage. Move seasonal tools to Zone 1 and Zone 2. Move off-season tools to deep storage. This small habit keeps your prime storage space working for you year-round instead of being occupied by tools you won’t touch for six months.
Safety Rules for Garage Tool Storage
Weight limits matter more than most beginners realize. Wall-mounted pegboards support around 100 lbs total — spread the load evenly and don’t overload single hooks. Shelving units have weight ratings printed on their packaging, and exceeding them is a real safety risk.
Store sharp tools — chisels, saw blades, utility knives — with blade guards on or in dedicated blade rolls. Never store sharp tools loose in a drawer with other items. Keep power tool cords properly coiled and secured; tangled cords create trip hazards and damage the cord insulation over time.
According to the U.S. Consumer Product Safety Commission, garage-related injuries send over 300,000 Americans to the emergency room each year — many from falling stored objects. Proper storage isn’t just about convenience; it’s about keeping your household safe.
FAQ: Garage Tool Organization
What is the best way to organize tools in a garage?
Start by sorting all your tools by category and frequency of use. Then assign storage zones based on how often you need each tool — keep daily and weekly tools at waist-to-eye height where they’re easiest to grab. Match your storage products to your tool types: pegboards for hand tools, cabinets or shelving for power tools, and labeled bins for small hardware.
How do I organize a garage with a lot of tools?
Focus on vertical space first. Most garages have 8–10 feet of wall height, and most people only use the bottom 4 feet. Install wall-mounted systems — slatwall panels, pegboards, or a combination — to move tools off the floor and onto the walls. Use a rolling tool chest for your most-used hand and automotive tools, and use ceiling-mounted storage for large, seasonal items.
What should I use to hang tools on a garage wall?
Pegboards are the most flexible and beginner-friendly option for hanging tools. Slatwall panels are more durable and support heavier loads. Magnetic tool strips are ideal for metal hand tools and take up minimal wall space. For long-handled tools like shovels and rakes, a wall-mounted vertical rack with rubber-grip slots is the safest and most space-efficient choice.
How much does it cost to organize a garage?
A basic garage tool organization setup costs $100–$300 for a small-to-medium garage. A mid-range setup with a rolling tool chest, slatwall panels, and labeled bin systems runs $300–$600. A fully kitted-out garage with custom cabinets, a full pegboard wall, and professional-grade storage can cost $1,000–$3,000 or more. Most beginners get excellent results in the $200–$500 range.
How do I keep my garage organized long-term?
The most effective habit is a 10-minute reset at the end of every project — put every tool back in its designated spot before leaving the garage. Label all bins and storage locations so every item has a clear home. Do a seasonal review twice a year to rotate tools in and out of prime storage positions based on what you’ll use most in the coming months.
Is a pegboard or tool chest better for garage storage?
They serve different purposes and work best together. A pegboard gives you fast, visible access to hand tools you use constantly. A tool chest gives you organized, protected storage for a large number of tools, especially automotive and power tools. If your budget only allows one, choose based on your most common work — frequent hand-tool projects favor a pegboard, while vehicle maintenance and power tool work favor a tool chest.
Your Garage Tool Organization Starts With One Decision
The most important takeaway from everything here: don’t buy storage products before you sort your tools and plan your zones. That single decision — planning first, spending second — separates a garage that stays organized from one that’s a mess again in three months.
Your clear next step is this: this weekend, pull every tool out of your garage, sort by category and use frequency, and sketch a simple zone map of your space. That sketch costs nothing and takes about an hour. It will tell you exactly which storage products you actually need — and save you from buying things that don’t fit your space or your workflow.
Start there. Everything else follows.

Callum Langham
Founder & Technical Storage Editor
Callum Langham is the founder and technical editor of Rack System. With over 12 years of hands-on field experience in warehouse logistics, garage organization, and industrial storage installations, Callum specializes in engineering safety standards, beam load calculations, and OSHA/RMI compliance. Every guide on Rack System is audited against verified steel gauge tolerances and municipal building codes.